How to Manage Android Audio Files with Android Audio Manager?

When one purchases music and stores it in their Android device, they usually organize the music in form of playlists. The playlists can be organized and placed in several folders which will enable easy access via music playing apps. Users generally organize music playlists according to its use. For example, you will find one has organized music that is soothing which is suitable for yoga or another one will organize a playlist for music suitable for workout on the treadmill. To ensure that one’s music playlist does not get lost or distorted, it is important to employ music file management. A good music file manager should be able to transfer audio files between Android and other storage device as well.
In order to manage your audio files easily via your computer, you need the compatible and easy to use Coolmuster Android Assistant. The application has the ability of importing and exporting music files from an Android device to a computer. This allows one to have a back up copy of their music playlist on their computer therefore in case of anything, one can replace lost files with ease. It also enables the user to add new music from their computer to the Android device and delete existing music files on your Android. Apart from music, it can help the user manage different information found on their devices. This includes contacts, SMS, photos and videos among others.
Android Assistant is designed to be compatible with various Android brands from different manufacturers. They include ZTE, LG, Huawei, Dell, Sony, Samsung and Motorola among others. As a safe application, the user is assured of no damage during importing, exporting and deleting of music files. Let's read the following guide together to check the details.
Step 1. Connect Android device and launch program
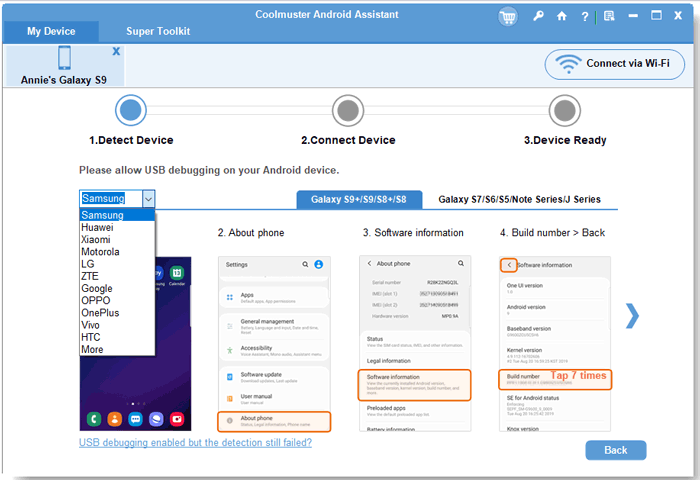
Start by connecting your Android device to the computer via the provided USB cable or via a Wi-Fi network. Launch the Android Assistant by double-clicking on the desktop icon. Then, it will detect and display your Android device. But please note you need to ensure that USB debugging is on. If not, follow the steps below to enable the USB debugging.

Follow the below instruction to enable USB debugging. If you did it before, you can skip to next step.
1) For Android 2.3 or earlier: Enter "Settings" < Click "Applications" < Click "Development" < Check "USB debugging".
2) For Android 3.0 to 4.1: Enter "Settings" < Click "Developer options" < Check "USB debugging".
3) For Android 4.2 or newer: Enter "Settings" < Click "About Phone" < Tap "Build number" for several times until getting a note "You are under developer mode" < Back to "Settings" < Click "Developer options" < Check "USB debugging".
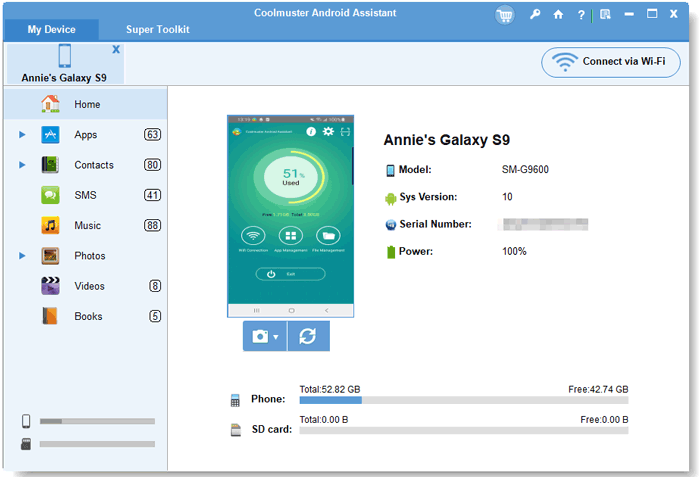
After you finish the USB debugging, you can go to your device screen to tap the "Allow" option. Then, the parameter information of your device, including phone model, system version and storage space size will be shown in the main interface.

Step 2: Manage Android audio files on computer
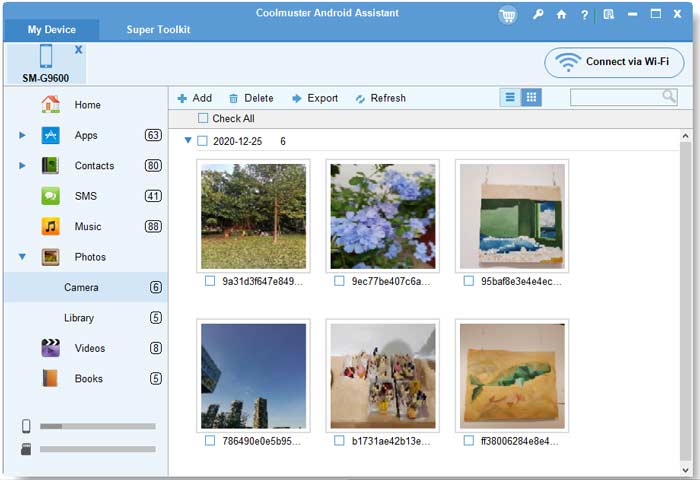
On the left panel, you will view different categories and one of them is music. Click on it and you will view all music files in your device. To export to computer, check the files you want and complete by clicking "Export". If you want to import to Android, click on "Add" and navigate to your music folder on your computer and select files to import. To delete Android music, select the music files and click on "Delete" button.

Once you have imported audio files, you can preview the imported files on the application panel. To check the exported files, navigate to the output folder on your computer.
Video Tutorial
Related Articles:


