
How to Fix No Sim Card Error on Android Smoothly? 12 Helpful Solutions

Do you notice a "no sim card" error when using your Android phone? If your response is positive, you have arrived at the right place. On this page, you will find a comprehensive guide on resolving the no SIM card problem on Android.
This is not a new error to the mobile user, but it causes alarm in those who see it for the first time. Every issue, nevertheless, has a solution. So, read this guide to learn the 12 best ways on how to fix the no SIM card error on Android.
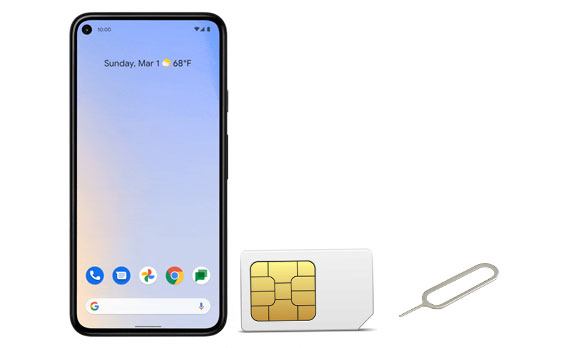
When your Android phone displays a "No SIM card inserted" message, it means the device cannot properly detect or read the SIM card. This issue can result from either hardware or software problems.
Here are the most common reasons:
Numerous phones will not detect a newly inserted SIM till you restart the phone. Restarting your phone is typically the simplest option for resolving small issues with your Android smartphone of any form.
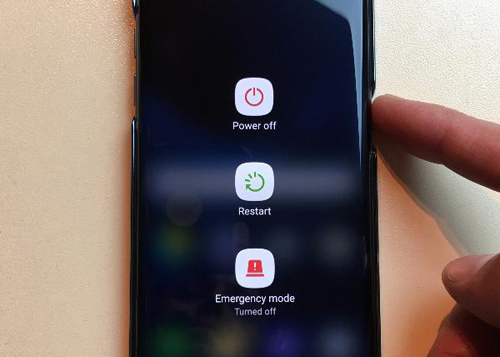
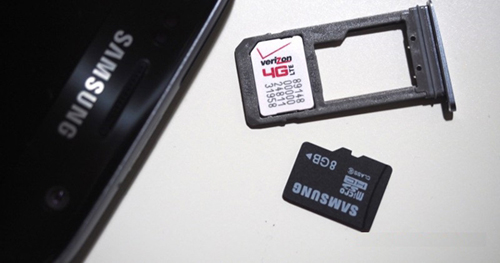
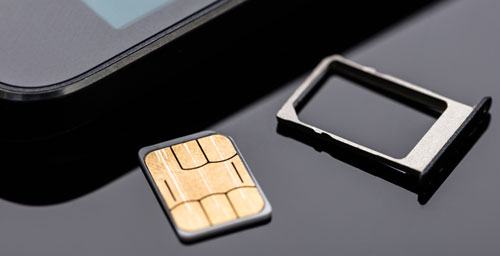
Prior to installing or removing a SIM, ensure your Android device is switched off. Otherwise, you risk damaging the gadget or the card. Also, make sure to check if the card is bent or scratched.
For numerous current devices, the SIM tray is usually right next to the power or volume button. On older Android handsets, you could get to the SIM card by sliding off the rear panel and detaching the battery.
Your settings may shift unexpectedly because of upgrades. The network may become disconnected due to this update. Contact the manufacturer's site for assistance if these guidelines vary from what you see on your user interface.
To manually choose your network operator:
1. Go to the "Settings" menu, and check for the "Wireless & Networks" option.
2. Select the "Mobile Networks" from the drop-down menu, and click the "Network Operators" icon.
3. Proceed to look for networks manually.
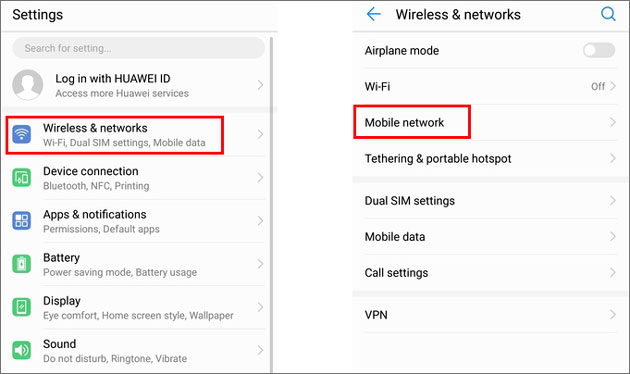
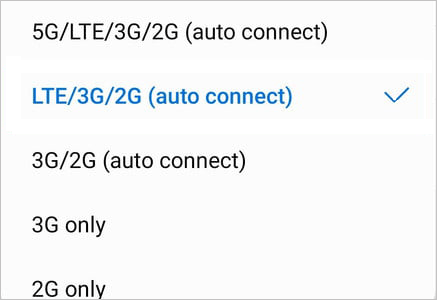
Switching your Network Mode to Auto enables your phone to choose the optimal network for you automatically. If you are unfamiliar with this alternative, obey these step-by-step directions to configure your network mode to connect automatically:
1. Go to the "Settings" menu, and check for the "Mobile Networks" option.
2. Select the Network mode, and tap on Network mode - 5G/LTE/3G/2G/(auto connect).
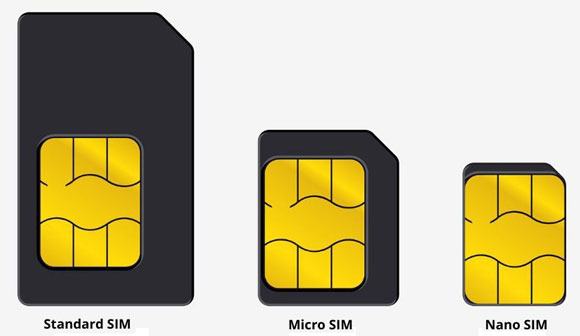
Take a look at your SIM card. Is it soiled? Is the gold side free of contaminants? You could get rid of some debris or dirt. With a soft dry cloth or air, wash the connectors/spokes on your SIM and its reader. Moreover, handle the SIM card with caution to avoid inadvertently damaging it.
Some Smartphones, particularly the most recent models, have a tiny SIM card tray. This might necessitate downsizing your regular SIM card.
If so, did you trim a regular size SIM down to nano or micro size? If not, then damage to your SIM's gold plates could be a possibility, implying you have to replace it.
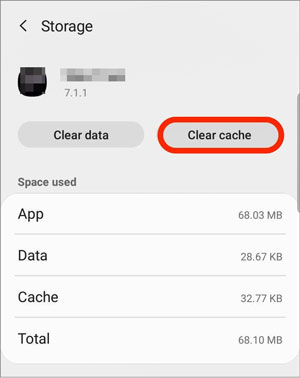
At times, cleaning your device's cached data may be the solution to this problem. Remember that stuff might take slightly longer to load the next time, and you will likely have to log back into a few of your apps.
To begin, go to your settings app and select storage from the drop-down menu. Make a second click on Apps, and choose an app > Storage. When you click Clear cache, a pop-up window will appear asking you to remove all cache files. Select the delete alternative to continue the process.
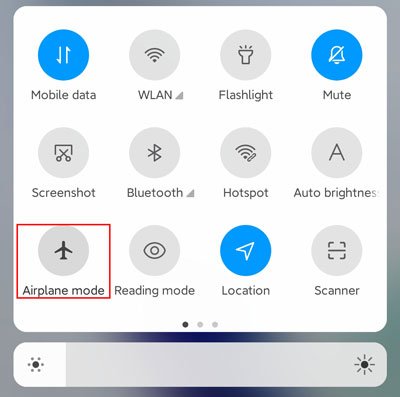
Toggling on "flight" mode is one of the most efficient solutions to a "no SIM card detected" error on Android, as it dysfunctions all broadcasts and eliminates cell reception.
To activate flight mode, numerous phones allow easy accessibility to "Quick Settings" with a slide down from the top of the screen. You may also get it from the "Settings" menu.
Wait around 30 seconds before clicking on the Airplane mode again to disable it. After completing all of the above procedures, your device will start looking for a connection again.
It is possible that your device's SIM tray is damaged or cracked, resulting in the "No SIM Card Detected" notification. Do not be concerned! Swapping the SIM card case could be an instantaneous fix to your woes.
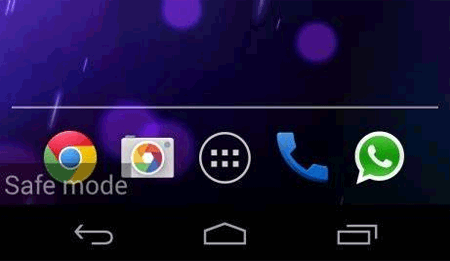
If you believe a certain program is the root of the issue, consider deleting it first. By using your phone periodically while in safe mode, you can verify which third-party apps cause issues on your device. Safe mode only executes system defaults, allowing you to eliminate any third-party software that might be causing the issue.
If your device comes through your phone carrier, verify your "service and repairs" warranty. If it is still within the timeframe, you are fortunate!
When you go to the service center, bring your device with you if they request details such as your IMEI number. In some circumstances, they might need to replace your slot reader, SIM card, or even the entire phone, depending on the extent of the issue.
Sometimes, all it requires is for your carrier's database to recognize your SIM.
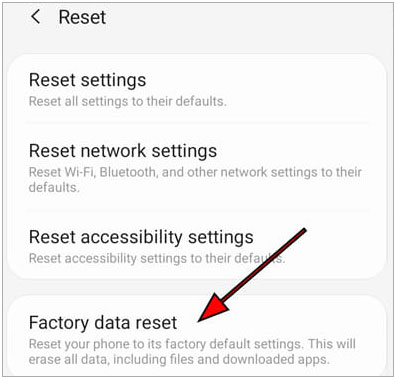
When everything fails, factory resetting your device is your last resort. Bear in mind, however, that this will restore everything to its original Factory Settings. Thus, we strongly advise performing a thorough backup ahead.
Just open "Settings" > "System (or General management)" > "Reset options" > "Erase all data (factory data reset)". Confirm by selecting "Reset phone" and entering your PIN if needed. Wait for your device to restart, then reinsert your SIM card.
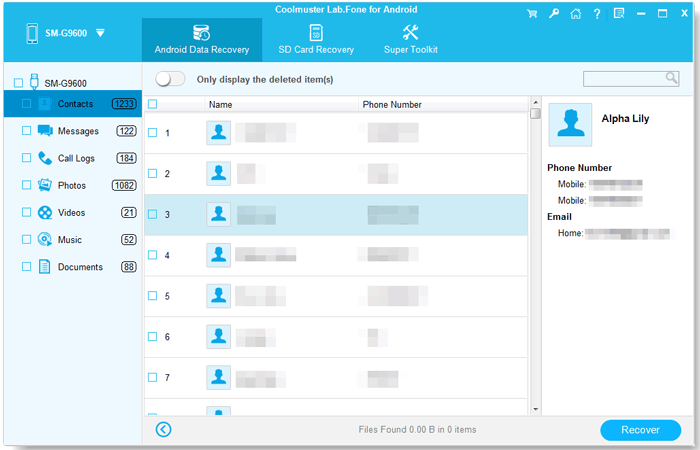
Coolmuster Lab.Fone for Android is a good option for Android users concerned about lost contacts and do not want to install many applications that only do one thing. It is the finest option for recovering deleted SIM contacts. This app could rapidly and effectively retrieve erased contact information from an Android phone's SIM card.
Naturally, this potent tool can retrieve not only contacts but also call logs, text messages, videos, images, music, and documents from the Android SIM card and internal memory card. You will not have to fret about what to do if you accidentally delete vital files because it comes with it.
This Android recovery software is relatively straightforward to use. Only three simple steps are necessary to complete the entire data recovery process for an Android tablet and phone, including:
Step 1: Connect - Run the software and use a USB cord to link your Android handset to the PC.
Step 2: Scan - Choose the data type you want to recover and allow the device connected to scan for Android data in the hopes of recovering it (Quick Scan and Deep Scan are the two scanning modes accessible for Android files).
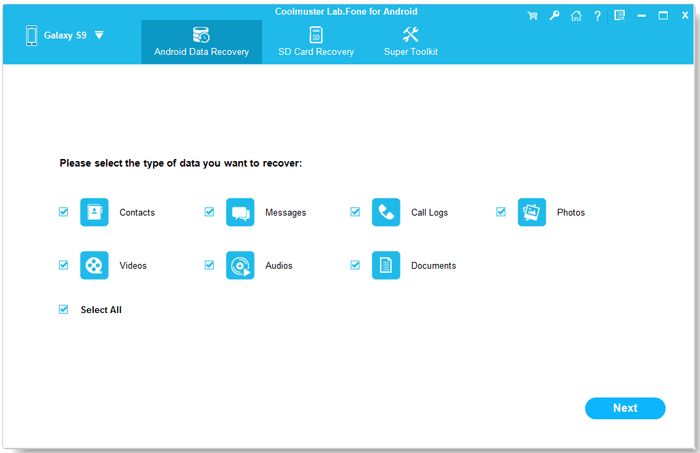
Step 3: Recover - View and choose the contacts you wish to retrieve before beginning the Android file recovery process. Then, tap the "Recover" icon to save your selected contacts to your computer.
That's it. These solutions should help you fix the "No SIM card inserted" error on your Android phone. Most of the time, the issue is minor and can be resolved by cleaning the SIM card, restarting your device, or resetting network settings.
If you accidentally lost contacts during troubleshooting, you can use Coolmuster Lab.Fone for Android to quickly recover them from your SIM card or phone memory.
Related Articles:
iPhone Says No SIM Card Installed, Why and How to Fix?
[Full Guide] How to Transfer Contacts from Android to Android in 7 Ways
The Ultimate Guide to Transfer Your SIM Card from Android to iPhone
Troubleshooting Guide: How to Fix Android Phone Says No Service


