
How to Transfer Files between Android and Flash Drive via OTG?

A lot of people save their photos, documents, videos, music, and other files in their flash drives. It is correct to say that saving data on the flash drive is safer than saving on an Android phone. It is because the data stored in an Android phone can be lost anytime due to various unexpected reasons and situations. This is why everybody should know how to transfer files between Android phone and flash drive. Sometimes, you might need to use a picture that is on your flash drive as your phone's wallpaper or use a song as your phone's ringing tone.
In this article, we are going to show you how to transfer files via OTG so that you can transfer data from Android to flash drive and vice versa easily and quickly. In addition, we will also tell you how to transfer data between Android and a computer. If you are interested in the content, please keep on reading.
How to Transfer Files between Android and Flash Drive via OTG
Tips: How to Transfer Data between Android and Computer
Almost every Android user knows how to transfer files from a phone to a computer and vice versa using a USB cable. However, the transfer process becomes more challenging when one has to use a flash drive or an OTG cable and especially for those who are new in using computers. When we are talking about an On the Go cable (OTG), we are referring to a device that allows communication between mobile phone devices and flash drives and SD card readers. To transfer files via OTG requires a lot of caution and attention. Some people have ended up losing files or duplicating them by just making simple mistakes.
Before starting the transfer process, be sure of the specific location of the files, connect the flash drive on Android and then follow the following procedure to transfer files between Android phone and flash drive.
Step 1: Confirm the phone's connectivity
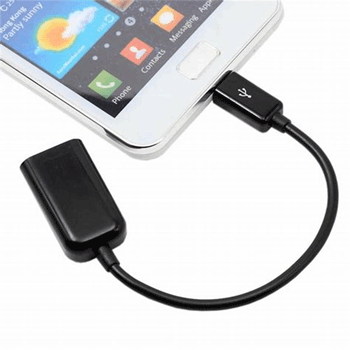
Ensure that the OTG cable or a flash drive can be connected to your phone. It can be done by using an OTG cable to connect a flash drive to the phone. Alternatively, you can connect your micro USB flash drive to your phone directly. The connectivity capacity can also be determined by using apps such as "USB OTG checker". Newer versions of Android phones can easily detect a connected device, and users only need male and female adapters and the flash drive. The difference between the male and the female ends is that the male end is the protruding side while the female end is the hollow one.
Step 2: Connect the flash drive to the phone through the OTG
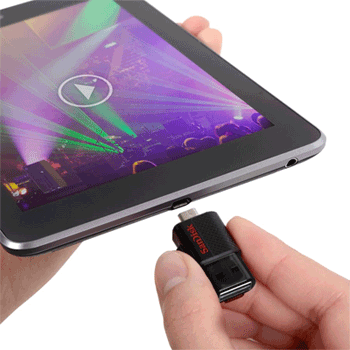
In this step, you need to learn how to use the OTG cable and USB flash drive and also how to use micro USB or the Type-C flash drive. All you need to do is to attach the female end of the OTG cable to the flash drive. Attach the phone to the male end of the wire after you insert the flash drive into the adapter. In the other method, you just insert your micro USB flash drive directly to your phone's USB port.
Step 3: Allow access
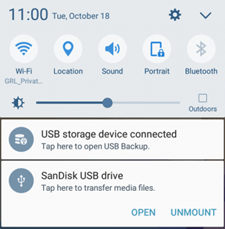
You will know whether the connection has been successful if there will be a notification requesting you to allow access. While some devices display this notification directly, others require the user to get it manually. After you have approved the access, click on the folder containing the files to select and open it.
Step 4: Transfer the files
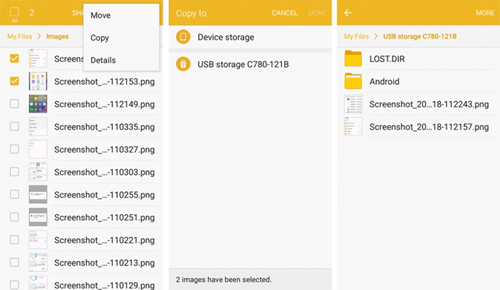
Since the folder is already open, identify the specific data that you need, tap and long-press them for a successful selection. Copy or import them and then click on the new location that you want to move them. The process will start immediately, and you can see the progress rate on a different notification bar.
Step 5: Disconnect the cable
You can only unplug the cable after all the files have been successfully transferred. If you want to confirm whether all the files have been moved, you can open the new folder and check the new files. It is advisable to give your phone the command to end the connection before unplugging the cable.
Don't Miss:
Transfer Android Files to External Hard Drive
Transfer Photos between Galaxy and Computer
Apart from using a USB cable, the transfer of files, photos, videos, contacts and text messages between Android devices and computers has been made easier by the best Android file transfer tool called Coolmuster Android Assistant. With just a few mouse clicks, the data transfer will be complete. You can also manage and edit your phone data on the computer by using this tool. You have first to download the free trial version of the Android assistant and then follow the following procedure:
Step 1: Install and launch the tool on your computer
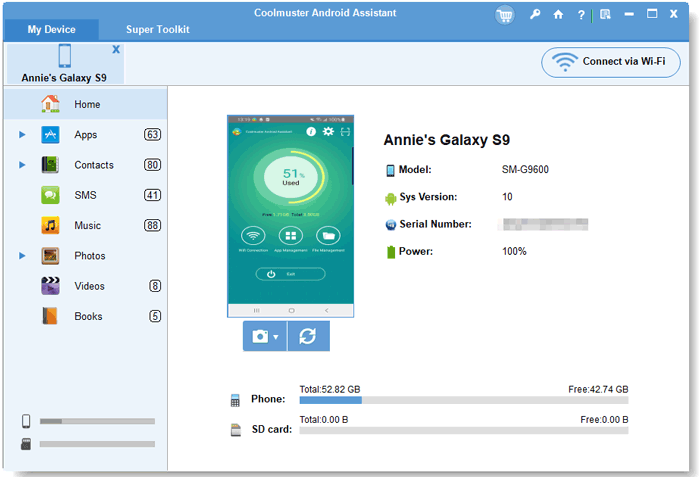
Once the download is complete, connect your Android device to the computer using a USB cable. The program interface will display some instructions which you have to follow in order to open USB debugging on your Android phone and allow it to be recognized by the program.
Step 2: Scan and preview Android data
After that, all the data in the phone will be automatically scanned and displayed on the top menu in clear categories. You will have to open each category to know the data in it.
Step 3: Transfer the files
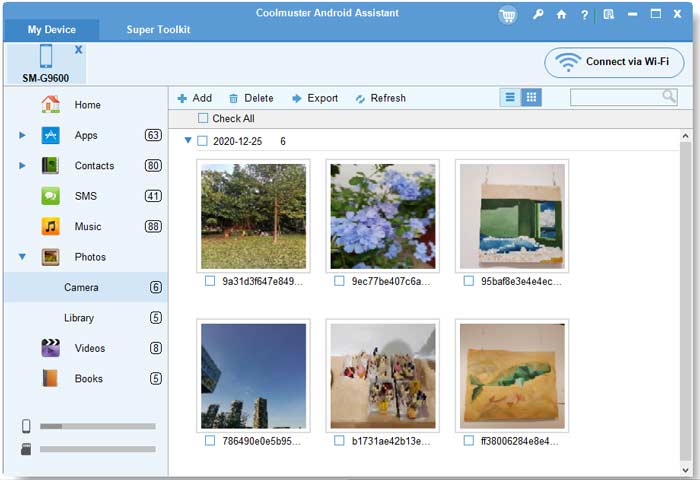
Select all the files that you need to copy from your Android device to the computer. Click the "Export" button to move them. If you want to move files apps, music, videos and other files from the computer to the Android device, click the "Import" button.
Related Articles:
How to Transfer Contacts from One iPhone to Another


