In the world of digital photography, the debate of HEIF vs RAW is ongoing. Both formats have their unique advantages and disadvantages. This article aims to provide an in-depth comparison, helping you understand the nuances and make an informed decision on which format suits your needs best. We'll also introduce Coolmuster HEIC Converter, a handy tool that's invaluable for converting HEIC/HEIF files.

HEIF, or High Efficiency Image Format, is a relatively new image format developed by the Moving Picture Experts Group (MPEG). It provides high-quality images at significantly smaller file sizes compared to traditional formats like JPEG.
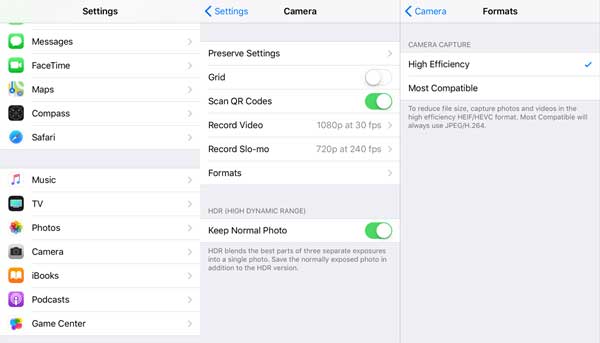
HEIF is the default format for photos on many Apple devices starting with iOS 11, where images are stored with the .heic extension.
RAW files are uncompressed and unprocessed images directly from the camera's sensor. They contain all the data captured by the sensor, which makes them ideal for professional photographers who require extensive post-processing and editing capabilities. RAW files do not lose any information due to compression, maintaining the highest possible quality.
What's the difference between HEIC and PNG file formats? Which is better? You will get your answers in this HEIC vs PNG guide.
When comparing HEIC vs RAW, the most significant difference lies in image quality and flexibility in post-processing. RAW files, being uncompressed, retain all the information captured by the camera sensor, offering unmatched image quality and the ability to recover details in shadows and highlights.
HEIF, while efficient, involves compression which can lead to some loss of detail, though it is still superior to JPEG in terms of quality and color depth.
Use Case:
For professional photographers who need maximum control over their images, RAW is the preferred choice. However, for casual photographers and everyday use, HEIF provides a good balance between quality and file size.
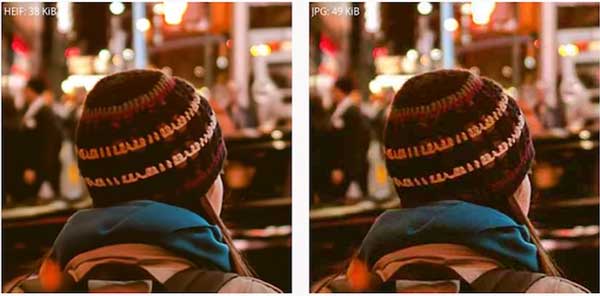
One of the main advantages of HEIF is its smaller file size compared to RAW. HEIF achieves this through advanced compression algorithms that reduce file size without significantly compromising quality. This makes HEIF an excellent choice for users who need to manage storage efficiently or share images quickly.
Example:
A RAW file from a modern DSLR can be 20-50MB per image, whereas an HEIF file of the same scene may only be 5-10MB. This difference can be crucial when storing large numbers of photos or uploading images over the internet.
RAW files are preferred for extensive editing due to their uncompressed nature. They offer greater flexibility in adjusting exposure, white balance, color grading, and more without compromising image quality.
HEIF files, while not as flexible as RAW, still offer better quality and editing potential compared to JPEG. They support 16-bit color depth, allowing for better color grading and adjustments.
Editing Example:
When editing a RAW file, photographers can adjust the exposure by several stops, recover shadows and highlights, and make precise color adjustments. HEIF or HEIC files offer less flexibility but still allow for significant edits, making them suitable for most amateur photographers and quick edits.
What is the difference between HEIC and JPEG? And which one is a better image format for you? Read this article to find out every aspect you want to know about HEIC vs JPEG.
The question of whether RAW is better than HEIC depends largely on your specific needs and usage scenarios:
For professional photographers, RAW is generally the better choice. The primary reason is the level of detail and flexibility that RAW files offer in post-processing. With a RAW file, you can:
For these reasons, RAW is preferred by professionals who need the highest quality and the most flexibility in their workflow. However, the large file sizes and the need for specialized software for processing RAW files can be a drawback for some users.
For everyday use, HEIC (HEIF) is more practical. This format offers several advantages for casual photographers:
For casual photographers and everyday use, HEIC provides a good balance of quality, file size, and convenience. It's ideal for users who want high-quality images without the hassle of large file sizes and the need for extensive post-processing.
Some photographers may find a hybrid workflow beneficial, using both RAW and HEIC formats depending on the situation. For example:
This hybrid approach allows photographers to balance quality and convenience, ensuring they have the best tool for each specific scenario.
If you want to change HEIC photos into more popular JPG or PNG format, Coolmuster HEIC Converter is an excellent tool to consider. It is able to convert single or multiple HEIC images to JPG/JPEG or PNG format with one click, and preserve the original photo quality after the conversion. Simple drag-n-drop operation is supported to make the conversion easier and faster.
How to convert HEIC to JPEG quickly?
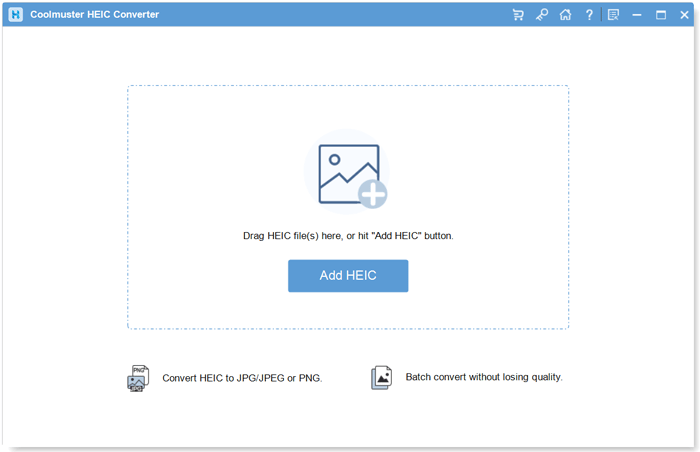
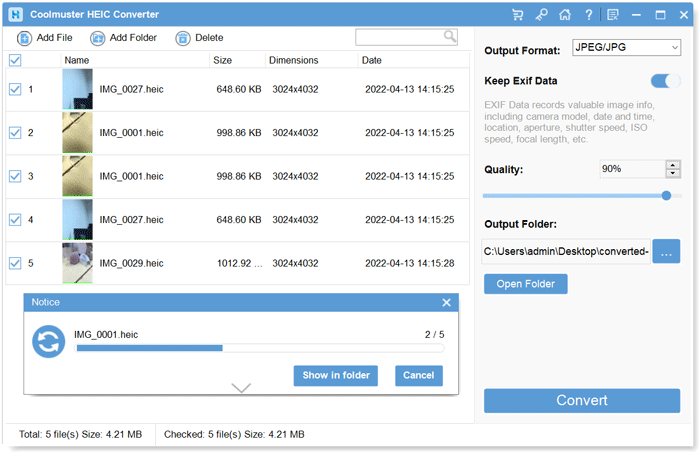
01Install and launch the application on your computer. Click the Add HEIC button to locate your HEIC files, or drag the files directly into the program window to add them. The HEIC images will then appear on the interface.
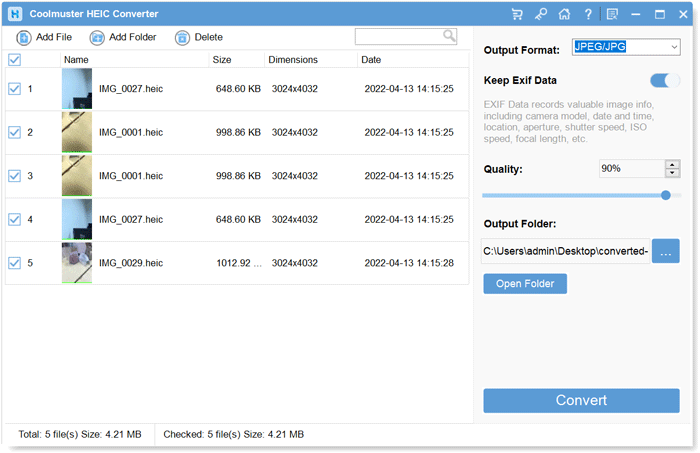
02In the right panel, choose JPG/JPEG as the output format, set the desired photo quality, and specify the storage location on your computer. To keep the Exif data, select the Keep Exif Data option.
03Click the Convert button. Once the conversion is complete, click the Open folder button to view the converted JPEG photos.
Video Tutorial:
The choice between HEIF and RAW depends on your specific needs and usage scenarios. While RAW is unmatched in quality and flexibility, HEIF offers a practical balance of quality and file size. Tools like the Coolmuster HEIC Converter can help manage your HEIF files efficiently, making it easier to integrate them into your workflow.
Related Articles:
How to Convert HEIC to JPG on Windows 11/10/8/7 PC
HEIF/HEIC Image Viewer: How to Open/View HEIC Images on Windows/Mac/Android
How to Convert HEIC to JPG on Google Drive? [3 Effective Ways]


