"Gmail is a free, advertising-supported email service provided by Google. Users may access Gmail as secure webmail, as well as via POP3 or IMAP4 protocols. Gmail initially started as an invitation-only beta release on April 1, 2004 and it became available to the general public on February 7, 2007, though still in beta status at that time. The service was upgraded from beta status on July 7, 2009, along with the rest of the Google Apps suite." - From Wikipedia
As we all know, Email has been playing an increasingly important role in people's daily life. For college students, it is no more a wonder to send homework to your teachers via email. For businessmen, making correspondence with clients via email has been regarded as a formal standard. Among email services, Google Gmail has received warm reception for its easy-to-use features and high-efficiency operations. But for some people who have newly bought their iPhone devices, they may feel confused about how to set up Gmail on iPhone. Now, you can move to the next part to learn how to set up Gmail on iPhone in different ways.
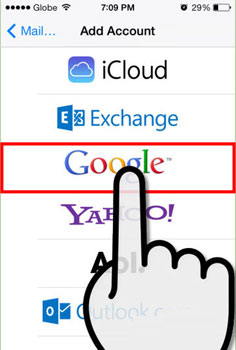
Step 1. Open Settings tab from iPhone and then choose Mail, Contacts, Calendars from the list. Under Accounts tab, choose the option of Add Account and then tap on the Google icon.
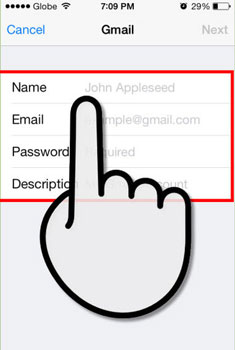
Step 2. Then fill in the blank with the right information, which includes your name, email address, and password. When finished, tap Next option. This will verify your account information and then proceed to the next screen.
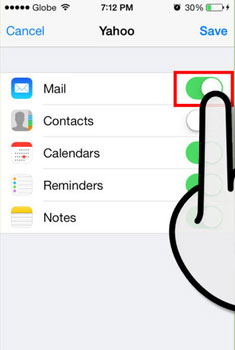
Step 3. You can then choose to sync your mail, contacts, calendars, and notes from your Google account onto your phone. And tap Save on the top right corner to continue.
Step 4. After that, go back to your Home screen of your iPhone. And then go to Mail to enter your Gmail inbox. Now, you should be able to read, write, and send emails from the Mail app as normal.
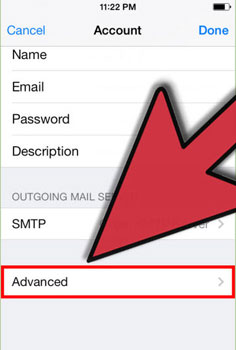
By the way, if you want to configure your account's settings, you can go to Settings > Mail, Contacts, Calendars. Under Accounts option, you can tap Gmail, then the account you just set up. Tap Advanced to access the advanced settings. You can then see the below interface. Then you are free to make adjustments of your Gmail account. For example, you can tap Fetch New Data to set up how often Mail will check for new data as you needed and wanted.
Actually, Google Gmail has already released its app version, you can click here to download Gmail App. After that, you can:
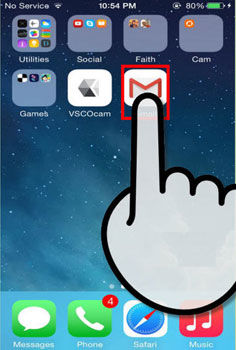
> Open the installed Gmail App on your iPhone. Then you can log into your existing Gmail account or sign for a new account. Once you have entered your Gmail account, you can check over your inbox or send email to other contacts.
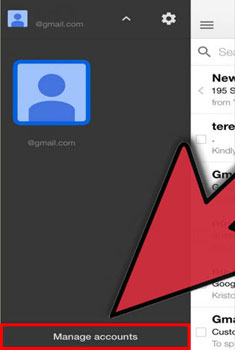
> Now, you will see the below interface. On the top left, you can tap Manage Accounts to show all accounts you're currently logged into. Tap Add account and enter your account email and password as prompted. Finally, tap Sign In to finish the login.
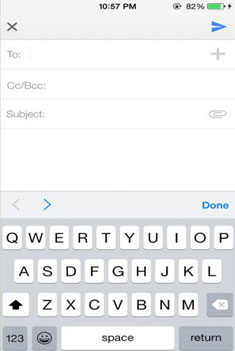
> Then, you can freely send emails to your friends or families as you wanted and needed. One thing worth your attention is that this app does not let you access your contacts list, but you can type in the contact's name to send email.
Words in The End:
Till now, you have successfully set up Gmail on your iPhone no matter which way you will choose. For iPhone users, you can also sync your iPhone contacts with Gmail, so you can get comprehensive information of your contacts once you open you iPhone. Here, if you don't want to lose your important contacts from your iPhone all of a sudden, you are suggested to backup your contacts or a safe place in case of sudden data losses. Then this Coolmuster iOS Assistant software is absolutely what you are looking for to easily share files from iPhone to computer as a backup! Also, you can choose to back up iPhone files to iCloud without any restrictions!
Related Articles: