When you lost your important contacts and messages from your iPhone due to mistaken deletion, you may feel regretful if you had a backup of your iPhone files; when you lost your precious photos from your iPad taken on a special occasion such as your graduation ceremony, you probably wish you had already backed up all these lost files; when you want to enjoy the lyrical songs saved on your iPod, only to find all the files have been already lost, you may say "if only I had made a backup!". All regrets show the importance of syncing iOS devices to iCloud.
Losing vital files all of a sudden is actually like a nightmare, right? For those victims suffering from data losses, you can try this Coolmuster iOSRescuer (Windows Version & Mac Version) to recover the lost files from your device in one click such as from water-damaged iPhone. For those survivors, you have every valid reason to backup important files on your iDevice, or otherwise it is possible such unfortunate events may come to you. In this passage, you will learn how to sync iOS devices with iCloud in one click, taking iPhone as example!
Articles Related to iCloud You Might be Interested:
How to Make Fullest Use of iCloud Photo Sharing?
Want to Change Your iCloud Account? Click Here!
Step 1. Open your iPhone and go to Settings tab.
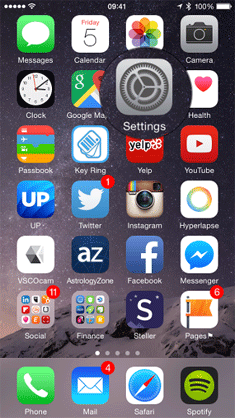
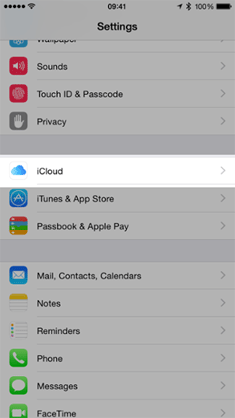
Step 2. After entering the Settings tab, scroll down to the bottom until you see the iCloud option and click on it.
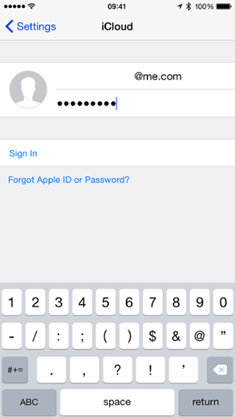
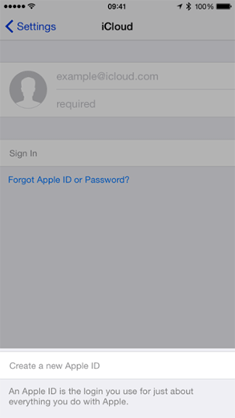
Step 3. Now enter your Apple ID and password, which is the same email/password you use to buy apps and/or songs from the iTunes and App Store. Then click on Sign In to continue.
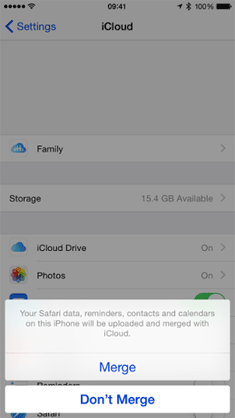
Step 4. Then you will see the below interface. Merge means that your content (contacts, calendar events, bookmarks, etc) from both your iCloud account and your iOS device will exchange information. And you are suggested to choose Merge option.
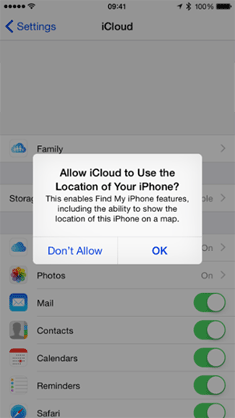
Step 5. Now, you will see the below pop-up window. You should choose OK option to enable the Find My iPhone/iPad feature on the device, which allows you to log into any iOS device or computer and locate, lock, remote wipe, and send a message to your iOS device.
Step 6. After that, you need to set up an @icloud.com Email as prompted, or otherwise this sync Notes feature will not be turned on by default.
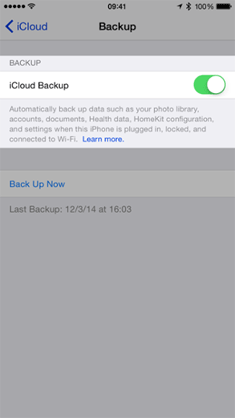
Step 7. In this step, you need to go back to Settings and then choose Storage & Backup. Click on the iCloud Backup to turn the button to ON.
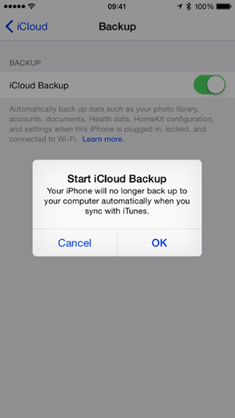
Step 8. Finally, you will see the below pop-up window. Just click the OK option to begin the iCloud backup process.
Write in The End:
After that, you just need to wait for the process to complete. But one thing you need to know about iCloud is that it offers only 5GB storage for free to all iPhone/iPad/iPod users. Not enough, right? Well, you can choose the best alternative to iCloud for backing up iPhone/iPad/iPod. This Coolmuster iOS Assistant allows you to transfer everything from your device to the computer without the limitations of storage capacity. Moreover, this software is compatible with all types of files saved on your device, which is also the weak point underlying within iCloud. Below is the free trial versions for Windows and Mac users, you can download the right one and give it a try by yourself!
Related Articles:
How to Back Up iPhone without iTunes? Top 3 Ways
How to Fix iTunes and iPhone Errors?
How Can I Manage iPhone without iTunes?


