
How to Transfer Music from iPhone to Flash Drive with/without Computer?

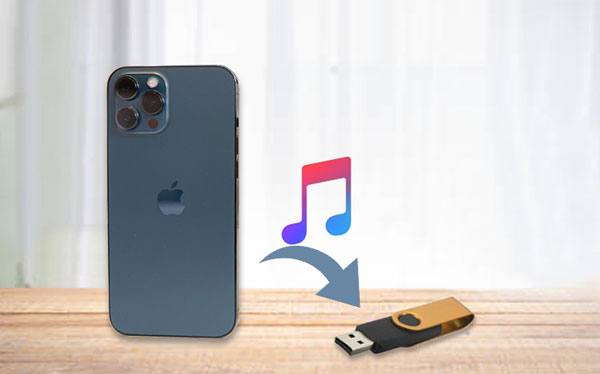
Many people like to save their favorite music on their iPhones to listen to anytime, but when the phone runs out of storage space or they need to back up or copy the music to a flash drive, things can become a bit tricky. Unlike Android users who can easily transfer their music from their phone to a flash drive, it is quite hard for iPhone users. So, is there a way to transfer music from iPhone to flash drive? Of course, there is! Today, we'll show you a few simple and effective methods to help you easily complete the task of transferring music from your iPhone to a USB or flash drive.
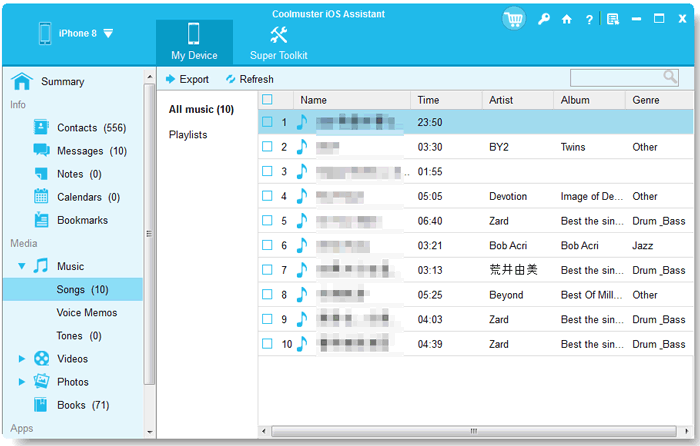
Coolmuster iOS Assistant is a data management tool specifically designed for iOS devices. It enables users to customize the output location on the computer. This makes it easier to attach the USB flash drive to the computer. Thus enabling you to directly export music, photos, contacts, messages, and other data from your iPhone to your computer or flash/USB drive with just one click. No jailbreaking is required, the operation is simple, and your data remains completely intact. It is currently one of the most highly-rated solutions for transferring music from an iPhone.
Key features of iOS Assistant:
Here is how to transfer music from iPad/iPhone to flash/USB drive using iOS Assistant:
01Download and install this tool on the computer. Then, open it and connect your iPhone to the computer using the USB cable, and don't forget to plug in your flash drive as well.
02Tap "Trust" on your device, then click "Continue" on your computer to proceed. Once your device is detected by the software, the main interface will appear as shown below. You'll see all the different file categories neatly organized on the screen.

03Click on the "Music" option found on the left panel, then choose the music files you would like to transfer from the iPhone to the flash drive. After selecting, click on the "Export" button, and choose a folder created on the USB drive. The program will export your selected music files to the destination.
Video Tutorial:
iTunes is Apple's official media player and management tool. You can use it to sync music from your iPhone to iTunes, and then transfer those tracks to a flash/USB drive. However, iTunes has certain limitations when transferring music from the iPhone. It doesn't allow for selective music file transfers and only supports transferring purchased music.
Here is how to transfer music from iPhone to USB flash drive:
Step 1. Make sure you have the latest version of iTunes installed on your computer.
Step 2. Connect your iPhone/iPad and USB stick to your computer. When prompted, tap "Trust" on your device to allow the connection.
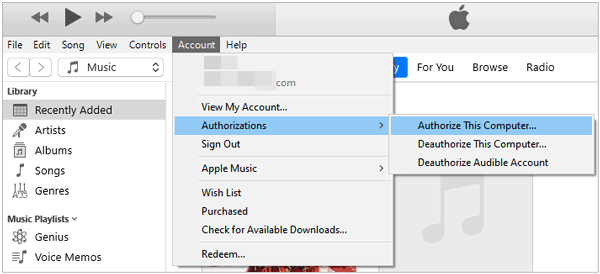
Step 3. In iTunes, authorize your computer by going to "Account" > "Authorizations" > "Authorize this Computer".
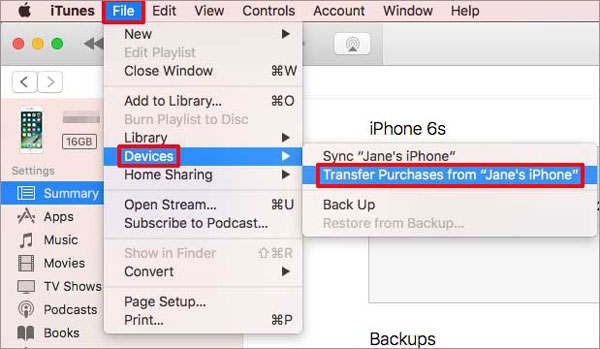
Step 4. To transfer your purchased songs to iTunes, click "File" > "Devices" > "Transfer Purchases from [your device name]".
Step 5. Visit the "Recently Added" section to view your songs. To download them to your computer, select the song and click the "Download" button.
Step 6. If the Download button isn't visible, right-click the song and select "Show in Windows Explorer" (or Finder on a Mac) to locate the music file on your computer.
Step 7. Finally, copy and paste the songs from your computer to your external hard drive.
If you prefer to transfer music from your iPhone to a flash drive without using a computer, you can use an external USB adapter. It allows you to directly connect your iPhone to the USB drive, ensuring a smooth transfer process.
Here is how to transfer music from iPhone to USB stick without computer:
Step 1. Connect the Lightning to USB adapter to your iPhone, then plug the USB stick into the adapter.
Step 2. Open the "Files" app on your iPhone. Tap the "three dots" to select the song(s) or playlist(s) you want to transfer, then tap the "Copy" icon at the bottom of the screen.
Step 3. Return to the main Files screen and tap on the USB stick under "Locations".
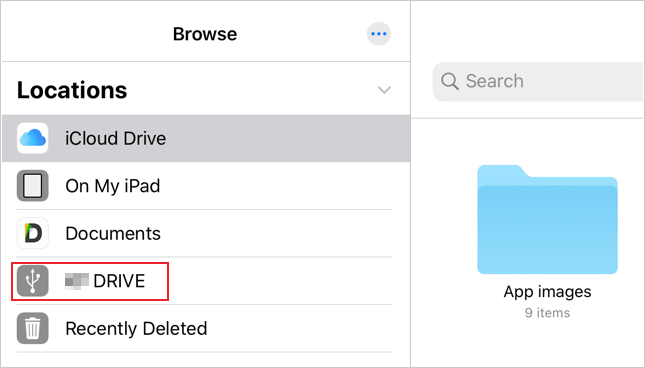
Step 4. Tap "Paste" to transfer the music to the USB stick. Once the transfer is complete, safely eject the USB stick from your iPhone.
That's it! Your music is now safely transferred to the USB stick and ready to use.
Having many music files stored on your iPhone may take up a lot of space. Besides, it can make the device operate slowly. To avoid all that, transferring your songs to a USB flash drive is a perfect choice. If you want a simple, efficient, and unrestricted way to transfer iPhone music to a USB drive, Coolmuster iOS Assistant is undoubtedly the most recommended solution.
Related Articles:
2 Simple Ways to Back Up iPhone to Flash/USB/Thumb Drive [Reassuring Guide]
[Solved] How to Use iPhone as USB Drive in a Few Simple Steps
How to Transfer Videos from iPhone to USB Stick with or without a Computer?
How to Transfer Photos from iPhone to USB with/without Computer?


