
[Answered] Do Shared Albums Take Up Storage on iPhone/iCloud?

In our daily lives, when you take a beautiful photo or an interesting video, you may want to share it with your family and friends. iPhone users often use Shared Albums to share their photos and videos with their family and friends. Then, there is a question: Do Shared Albums take up storage? If you have the same question, this article is for you. Please check it out to find the answer.
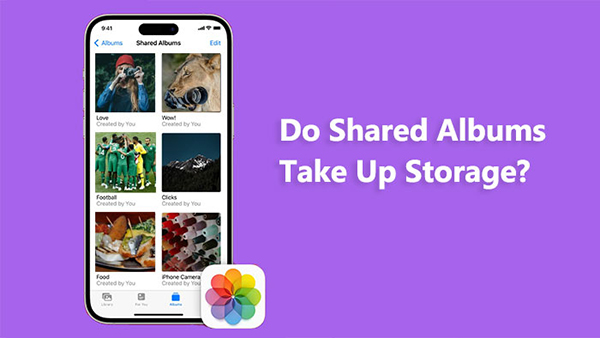
Does Shared Albums take up storage? You can find the answer after you read this part.
Do Shared Albums on iPhone take up storage? In fact, Shared Albums on iPhone don't directly consume storage space on your device. When you create a Shared Album in the Photos app and add photos or videos to it, those items are stored in iCloud rather than on your device. This means that they don't take up space on your iPhone's internal storage. But if you wish to view videos or photos from a Shared Album when you're not online, you will have to download them to your iPhone. This will take up space on your iPhone.
Are Shared Albums stored on iCloud? Actually, when you create a Shared Album and add photos or videos to it, those items are stored in iCloud. However, although the photos and videos within your Shared Albums are stored in iCloud, yet they do not contribute to your iCloud storage allocation. Apple provides 5GB of free iCloud storage space for shared albums, so even if your personal iCloud storage is full, it won't affect the usage of Shared Albums.
If your iPhone storage is almost full, you can click this page to learn how to get more storage on the iPhone?
Do Shared Albums take up storage? I believe you have known the answer. Then, how to use Shared Albums on your iPhone? You can check this part to learn how to use it.
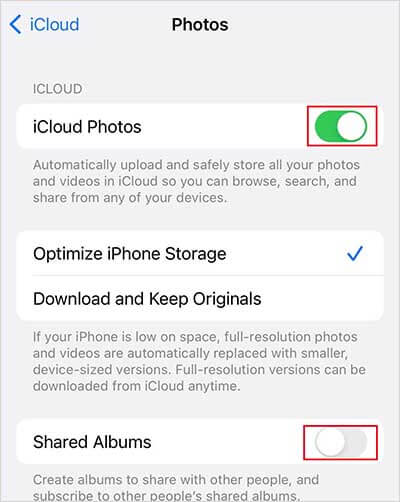
Step 1. Open "Settings" on your iPhone or iPad.
Step 2. Tap on your name at the top of the Settings menu.
Step 3. Select "iCloud" > "Photos". (How to move iPhone photos to iCloud?)
Step 4. Toggle the switch next to "Shared Albums" to turn it on.
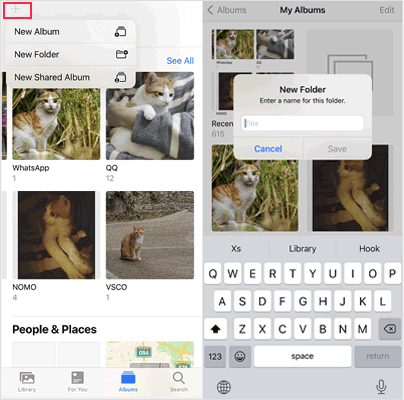
Step 1. Navigate to the "Albums" tab and click on the "Add" button.
Step 2. Select "New Shared Album" from the options.
Step 3. Provide a name for the shared album, then proceed by tapping "Next".
Step 4. Select individuals to invite from your contacts, or manually input an email address or iMessage phone number.
Step 5. Tap on "Create" to finalize the creation of the shared album. (Shared Album not showing up?)
Step 1. From the "Library" tab or within an album, initiate selection mode by tapping "Select" and then choose the photos and videos you wish to share.
Step 2. Tap the "Share" button, then select "Add to Shared Album".
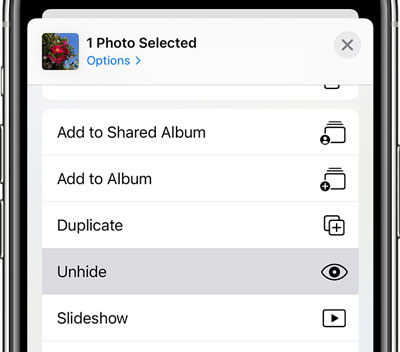
Step 3. Select the specific album where you'd like to share your media. Finally, tap "Post".
If you're currently viewing a shared album, you can also tap the "Add" button to include additional photos and videos.
Step 1. Access the shared album.
Step 2. Select the "People" icon.
Step 3. Choose "Delete Shared Album".
Alternatively, if you're viewing your list of shared albums, tap "Edit", then select the "Delete" button to remove a shared album.
If you want to learn more about how to use Shared Albums in Photos on your iPhone, you can click here.
Besides the Shared Albums in Photo, there is also an iCloud Shared Photo Library. What is the difference between them? Shared Albums in the native "Photos" app require you to manually choose which photos to distribute, while the iCloud Shared Photo Library automatically syncs all your photos and videos across devices without giving you the option to select which ones are shared. This can be problematic if you're capturing a large volume of photos and videos on your mobile device.
A shared album can contain a maximum of 5000 photos and videos. If you exceed this limit, you must delete some photos or videos before adding additional ones. Therefore, is there a way to share your photos without limitations? Of course. Coolmuster iOS Assistant is such a tool that you can transfer and manage your photos and other file types with ease.
Key features of Coolmuster iOS Assistant:
Here is how to use iOS Assistant to transfer photos:
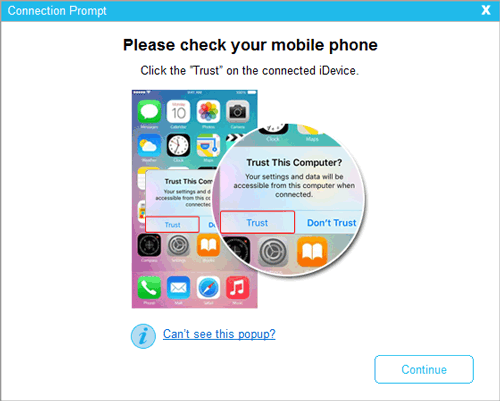
01Download and launch this program on your computer. Then, connect your iPhone to your computer, tap "Trust" on your iPhone, and "Continue" on your computer.
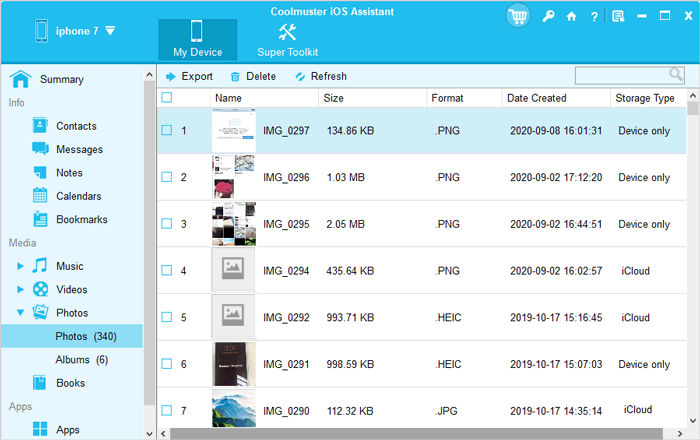
02When this software detects your iPhone successfully, you will see the main interface.

03Click the "Photos" folder on the left panel, preview, and select the photos you want to transfer. Once selected, click the "Export" button to start the transfer process.
Do Shared Albums take up storage? If you read this article from beginning to end, you will get the answer. What's more, if you want to share your photos without limitation, you can also give Coolmuster iOS Assistant a chance. It can not only help you transfer your files, not limited to photos but also can help you manage your iOS files.
If you have any questions, you can leave a comment on the below. Meanwhile, if you find this article useful, you can share it with your friends who have the same question. All in all, thanks for your reading.
Related Articles:
[Answered] How to Turn Off iCloud Photos Without Deleting Everything
[Solved] How to Download Photos from iCloud to iPhone in a Snap
[Fixed] How to Transfer Photo Albums from iPhone to PC with Ease?


