As is known to all, putting iPhone, iPad or iPod touch into recovery mode can fix a lot of iOS errors and get iDevice back to normal when something on iOS device goes wrong. In fact, recovery mode is a way to update or restore your iPhone, however, sometimes you might want to put your iPhone or iPad into recovery mode to troubleshoot the device or other reasons.
Whatever cause it is, you can follow the guide in this article to enter and exit iPhone or iPad recovery mode with ease as you like. Just keep reading to check it out!
Part 1. What You Need to Know about Recovery Mode
Part 2. How to Enter Recovery Mode on iPhone, iPad or iPod touch
Part 3. How to Exit iPhone Recovery Mode Manually
Part 4. Alternative Way to Put iPhone into Recovery Mode (No Data Lost)
Before getting your iPhone or iPad into or out of recovery mode, please get to know more about recovery mode, including when you can use recovery mode and what the difference is between DFU mode and recovery mode.
When to Use Recovery Mode?
Getting into recovery mode can help you fix many kinds of problems on iPhone or iPad. When your iOS device accidentally encounters any one of the following circumstances, you can try to get your iPhone or iPad into recovery mode to repair it.
For example:
* When your iPhone or iPad stuck on Apple logo
* When your iPhone keeps turning off
* When your iOS device stuck on verifying update
* When your need to fix iPad or iPhone frozen issue
* When your iDevice has some iPhone errors or iTunes errors like iTunes error 9006/6/1 and etc.
What's the Difference between DFU Mode and Recovery Mode?
Recovery mode does not equal to DFU mode, they are two different modes. Recovery mode only allows to upgrade or restore an iDevice while DFU mode also supports to downgrade the firmware on iOS device.
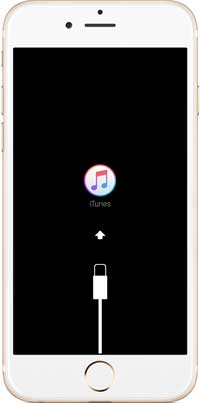
Besides, when an iDevice is in recovery mode, your iPhone or iPad screen will show you an image status to guide you to connect the device to iTunes with the iTunes logo and a USB cable on screen. And the image status looks like as below:
When you need to put your iOS device into recovery mode, you can follow the instructions to enter recovery mode as below:
1 >> Get a USB cable to connect to your Mac or Windows PC, but remember disconnect the other side of USB cable from your iPhone, iPad or iPod touch.
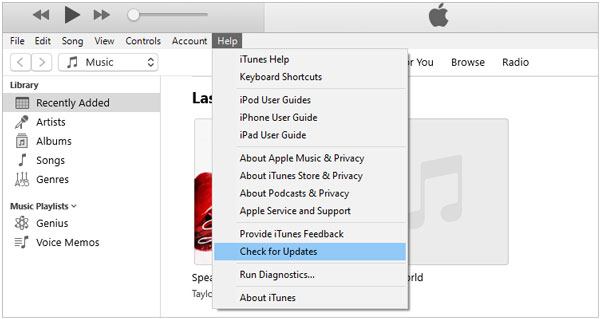
2 >> Launch iTunes on your computer. Please make sure the latest iTunes has installed on your PC. If not, you can go to Help > Check for Updates on iTunes to get the latest iTunes version.
3 >> Turn off your device. Just press and hold the Home button and Sleep/Wake button to bring out the "slide to power off" slider, then slide to the right to switch off your device.

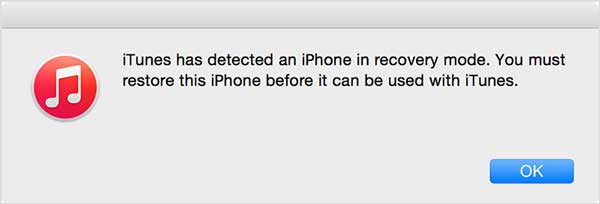
Now you have been in recovery mode, you can either restore your phone to set up it as new, recover backups, restore it to functionality again, or adjust iPhone firmware as need.
When successfully completing the restoring or upgrading firmware process, your iPhone, iPad or iPod touch will automatically restart and exit recovery mode by itself.
See Also: Tips to Recover Files from iPad Stuck in Recovery Mode
You can also exit recovery mode on iPhone, iPad or iPod touch, you can also do it manually as below:
- Firstly, turn off your iDevice. Just press and hold the Home and Power button for 15 seconds or so.
- Secondly, start your device. Directly press the Power button to boot the iOS device. Thus you can exit recovery mode.
If your iPad, iPod touch or iPhone stuck in recovery mode, you can also refer to the article to get your device out of recovery mode: How to Fix iPhone 7/7 Plus Stuck in Recovery Mode
Apart from getting into recovery mode, there is another effective way to restore iPhone and fix all kinds of iPhone errors, that is, asking for help from a professional 3rd-party tool - iOS System Recovery.
With this all-in-one tool, you can easily fix different system problems on iPhone, iPad and iPod touch, including iPhone blue/black/white/red screen of death, iPhone stuck on Apple logo, iPhone stuck on recovery mode, iPhone error 1/3/6/27/56 and etc. And it supports all generations of iOS devices, including iPhone 14/13/12/11/X/8 Plus/8/7/6, iPad Pro/Air/4/mini/2, iPod touch 8/7/6/5/4/3/2 and etc.
Below are the free trial of the software, you can download the software in Mac and Windows version for free now.
Here is how to use the program:
Step 1. Connect iDevice to PC
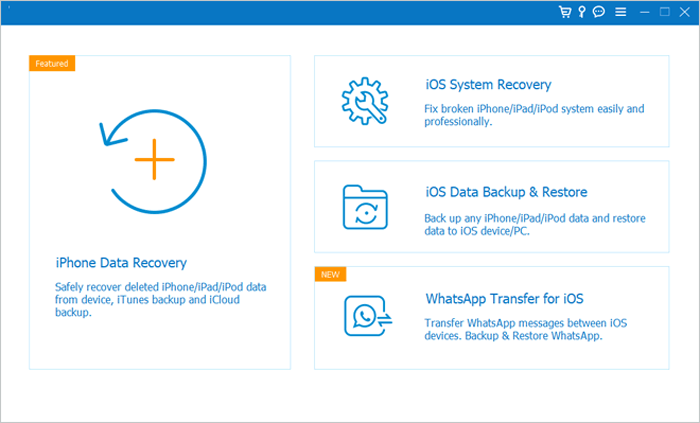
After installing the right version of the software on your computer, launch it and link your iPhone to PC with a USB cable. Then switch to "More tool" > "iOS System Recovery" on the main interface of the program.
Step 2. Detect iDevice's system problem
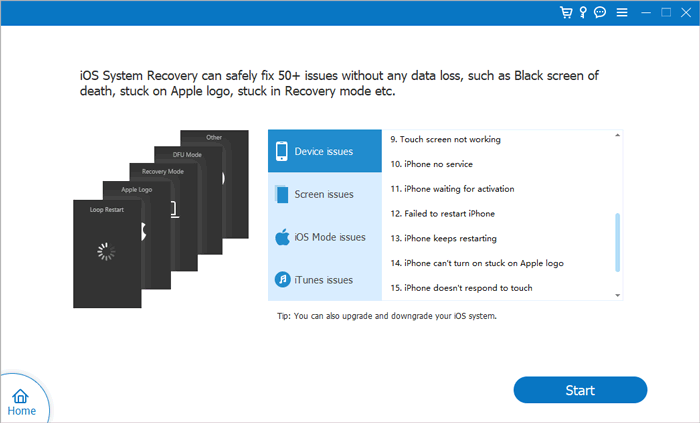
The program will automatically detect the iDevice's problem, and display the likely errors on the interface, like iPhone stuck on Apple logo, Recovery mode, iPhone won't update, iPhone Error 3 and etc. Simply click the "Start" option to move on.
Step 3. Start to fix system problem
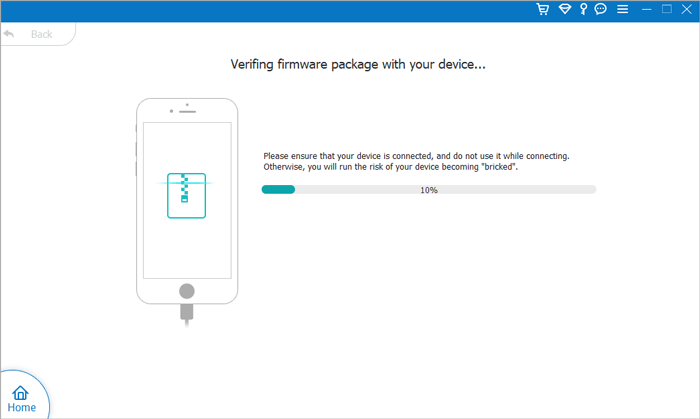
In the end, just confirm your iPhone's information as asked. If information is correct, just hit the "Repair" button to begin the repairing process. If not, select the right one and click the "Repair" button to fix the iPhone issue.
To fix your iPhone, the program will download and install the latest software update on your iPhone after detecting your iPhone's current iOS version.
Stuck on how to get in and out of recovery mode on your iPhone, iPad or iPod touch? don't worry. This article provides a complete guide on how to enter or exit recovery mode on an iOS device. Now start to follow the steps to implement it.
Related Articles: