"Trying to sell this iPhone as I have a new carrier but all buyers want it reset. When it asks for my pw I put in the correct one but nothing happens, sometimes it says verification timed out. I already changed my carrier and deactived this phone, not sure if thats the cause or not."
-from Apple Community
Before selling, gifting, or repairing an iPhone, users typically choose to erase all data on the device to ensure privacy. However, sometimes, the iPhone Erase All Content and Settings is not working, preventing the device from properly clearing its contents. This article will delve into common reasons why an iPhone won't erase and provide detailed solutions to help you successfully reset your device.
Why iPhone won't let me erase all content and settings? The following are the possible reasons:
After we know the possible reasons, here are some basic fixes to solve the iPhone won't erase all content and settings. Let's check them one by one.
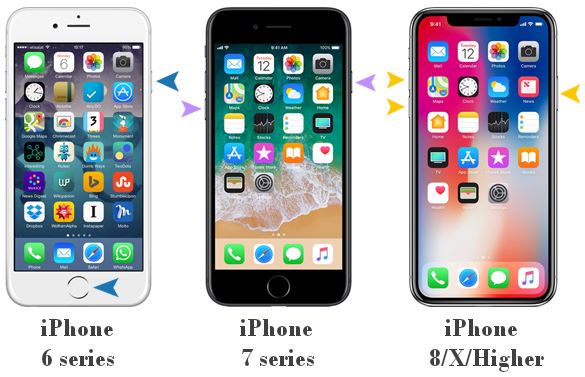
If you can't erase your iPhone, the first thing you should do is force restart your iPhone. A force restart can resolve many issues with the iPhone, including the iPhone not erasing. The specific steps may vary depending on the iPhone model.
To force restart your iPhone, follow the steps below:
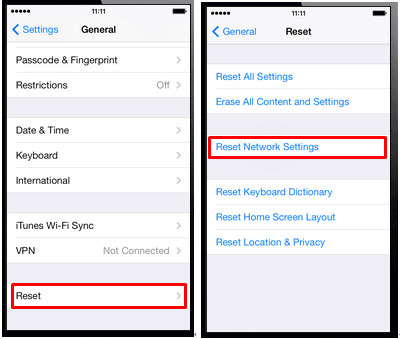
A stable network connection is required when erasing your iPhone. You can try switching to a more stable Wi-Fi network or resetting your network settings to ensure a proper connection.
To reset your network settings, follow the steps below:
Step 1. Open "Settings" > "General".
Step 2. Select "Transfer or Reset iPhone" > "Reset Network Settings".
Step 3. Enter your device password and click confirm.
The "Find My iPhone" feature is a tool designed to protect users' devices, helping them locate their device if it is lost or stolen. However, this feature must be disabled before erasing, as it can obstruct the erase operation. Turning it off removes the additional protection, allowing for a smoother content erase.
Here is how to do it:
Step 1. Open "Settings" and tap your "Apple ID" at the top.
Step 2. Select "Find My" > "Find My iPhone".
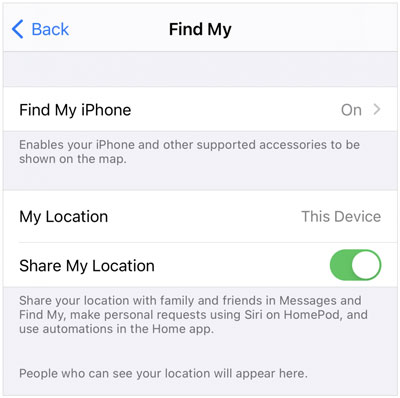
Step 3. Enter your Apple ID password and then turn off the feature.
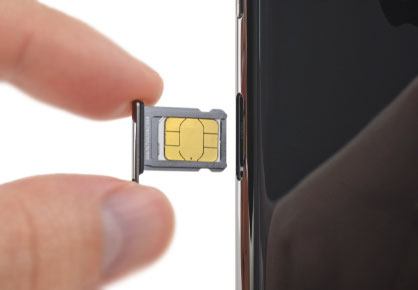
Users often forget to insert the SIM card when wiping an old iPhone or iPad, leading to a server error during the factory reset process. Therefore, ensure that a SIM card is inserted when erasing your iOS device.
Using the latest version of iOS can not only fix known bugs but also improve system stability and security. The issue of "erase iPhone not working" may arise due to compatibility or security problems with an older iOS version, so it's recommended to upgrade to the latest version before attempting to erase the device.
Here are the steps:
Step 1. Open "Settings" > "General" > "Software Update". (iPhone software update failed?)
Step 2. If an update is available, tap "Download and Install".
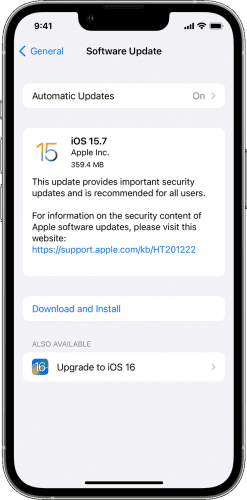
Step 3. Once the update is complete, try erasing the device again.
If none of the above methods resolve the issue of "iPhone erase all content and settings greyed out", try signing out of your iCloud account and resetting your iPhone.
Here's how it works:
Step 1. Open "Settings" and tap your Apple ID at the top.
Step 2. Scroll down to the bottom of the page and tap "Sign Out". (Can't sign out of your Apple ID?)
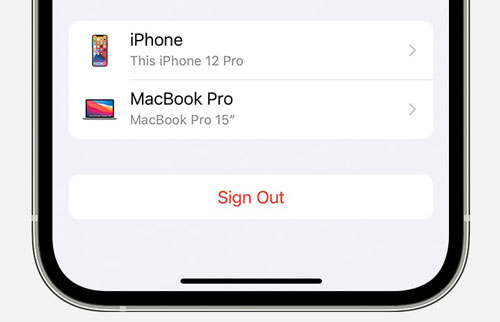
Step 3. Follow the on-screen instructions to complete the sign-out process.
If the built-in erase method still doesn't work, and you encounter the "iPhone erase all content and settings not working" issue, you can try the following alternative solutions to complete the data wipe.
Coolmuster iOS Eraser is a professional data removal tool that can thoroughly erase all data on your iPhone, making it unrecoverable by any iPhone data recovery software. Compared to the built-in erase function, this tool is more comprehensive, making it especially suitable for data wiping before selling or giving the device to someone else, ensuring that your data privacy is protected.
Main features of Coolmuster iOS Eraser:
Here is how to use iOS Eraser to delete everything from your iPhone:
01Launch the application and connect your iPhone to the computer via USB after installation. Once connected, the main interface will appear, allowing you to erase data from your iPhone.
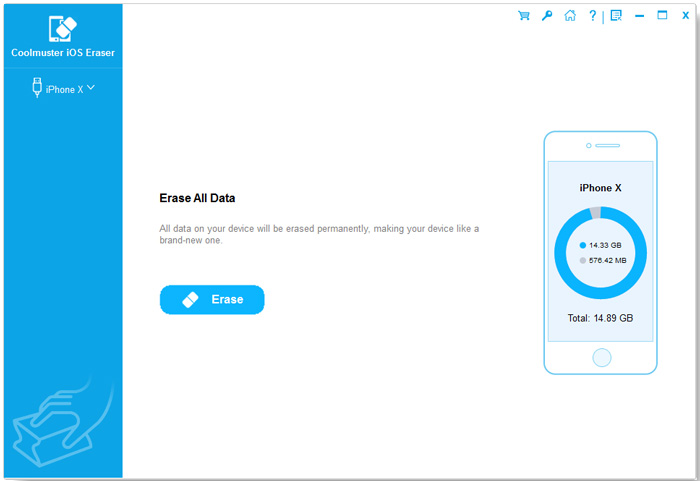
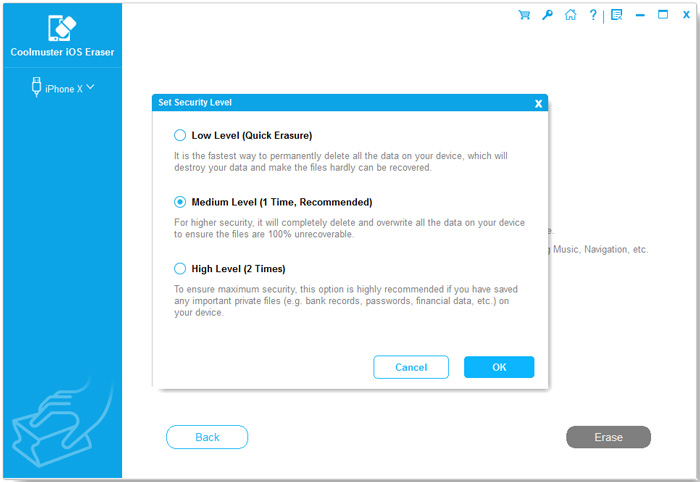
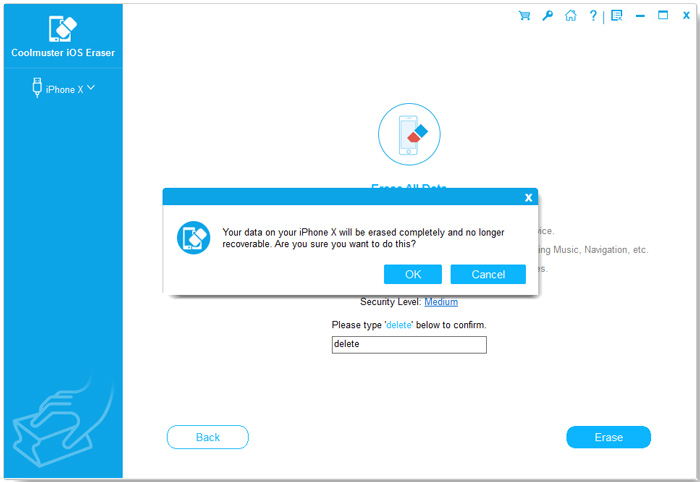
02Click "Erase" on the main interface, select your preferred security level, and confirm. You can choose from "Low", "Medium", or "High" security levels. After making your selection, click "OK" to proceed.
03Enter "delete" in the provided space to confirm, then click the "Erase" button. When prompted to confirm the complete deletion of your iPhone's data, click "OK" to begin the process. The program may start deleting your device's data after a brief scan.
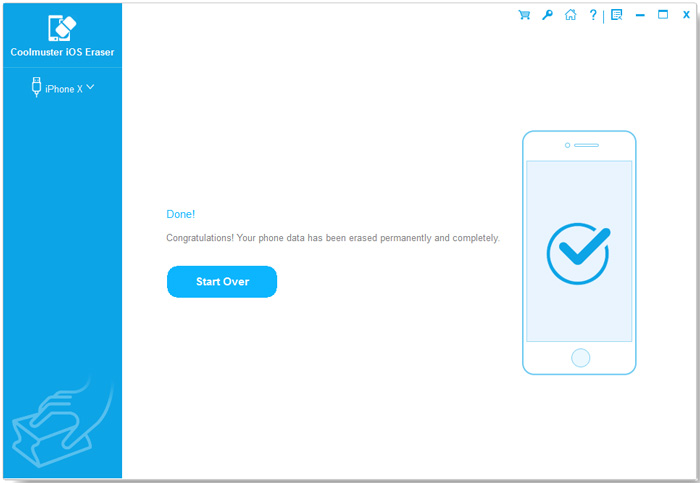
04Once the erasure process is complete, your iPhone will automatically restart. The program will then overwrite your iPhone data immediately. After the entire process finishes, all data on your iPhone will be permanently and irreversibly deleted, with no chance of recovery. You can then set up your iPhone as new.
Video Tutorial:
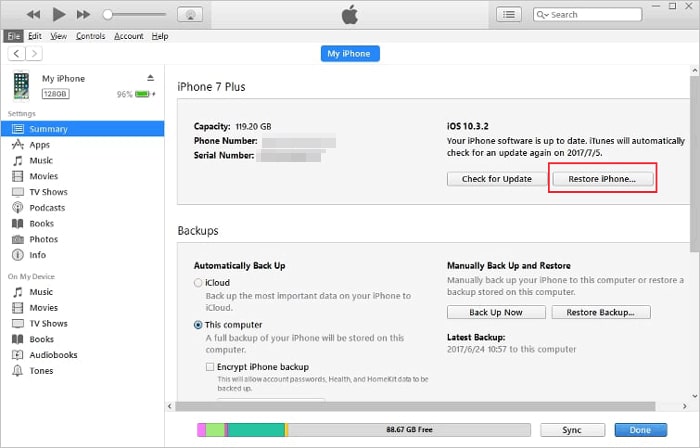
Another way is to restore your iPhone to factory settings via iTunes to erase all content and settings. To restore iPhone to factory settings via iTunes, follow the steps below:
Step 1. Turn off the "Find My iPhone" feature on your iPhone. (How to turn off Find My iPhone?)
Step 2. Connect your iPhone to the computer and open iTunes.
Step 3. Select your device in iTunes, then click "Restore iPhone".
Step 4. After confirming the operation, iTunes will automatically download the latest iOS version and restore the device to factory settings.
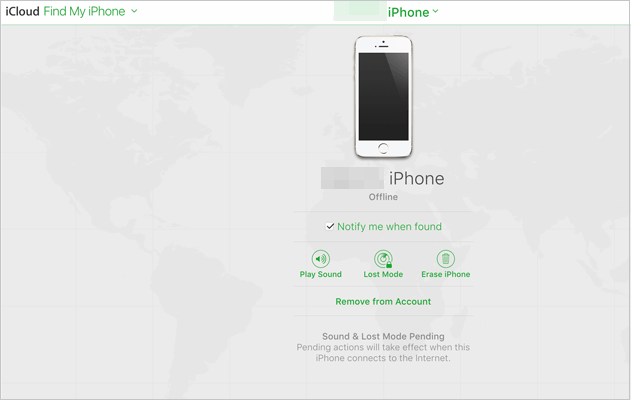
If your iPhone is connected to an iCloud account and "Find My iPhone" is enabled, you can remotely erase the device via iCloud. Here is how to do it:
Step 1. Access iCloud.com on your computer or another device and log in with your Apple ID.
Step 2. Go to the "Find My" page and select your device.
Step 3. Click on the "Erase iPhone" option and confirm the action.
When your iPhone won't erase, you can try the above methods one by one to troubleshoot and resolve the problem. For situations that require a thorough and secure data wipe, the Coolmuster iOS Eraser is a reliable choice, ensuring that the data on your device cannot be recovered, making it suitable for selling or giving the device to someone else.
Related Articles:
[Solved] How to Fix iPhone Won't Turn on After iOS 18/26 Update?
Reset All Settings vs Erase All Content [Informative Comparison]
Does Reset iPhone Delete Everything? Check the Answer Here!
How to Wipe iPhone Remotely? 4 Practical Tricks Can Solve It


 Free Download for PC
  Free Download for Mac

