
Encounter iTunes Error 14? 8 Quick Fixes You Should Try Out

At times, you may find your iPhone failing to update or even restore with the PC. In such a case, you will see a pop-up on your computer stating, "An Unknown Error Occurred". To worsen the situation, you might also be unable to boot into your iOS device.
If you are in a similar situation, fret not. This guide shows you tricks to fix iTunes error 14. So, keep reading to understand what you should do to resolve this dreadful message that appears on your computer.
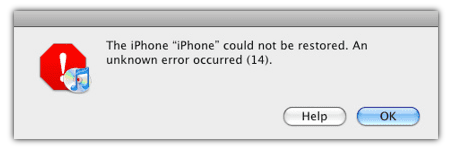
Nowadays, error 14 is a common issue many iOS users experience. Error 14, otherwise known as iPhone Error 14, occurs when iOS users try updating their device to the latest iOS 12. What this error does is stop the updating process halfway. Besides, it also interrupts the system restoration process.
If you are wondering why iPhone error 14 occurs, here are the common causes:
It is always good to understand the causes of error 14 before you can start resolving it. If you face such an issue, you just have to employ the iPhone error 14 solutions stated in the next section.
Since iPhone error 14 has several causes, there are solutions to help fix the issue. Most of the solutions are simple and can be easily performed. However, keep in mind that some methods may lead to data loss.
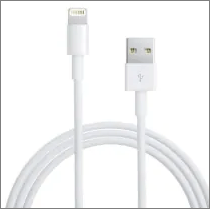
First, check the USB connections. You never know; error 14 could occur because there is no connection between the iOS device and the PC.
Step 1. Ensure you use the USB that came with the device. If you don't have it, try using another Apple device's USB.
Step 2. Use another USB port for your PC. You can also connect the device to another computer.
After trying all these and iTunes error 14 doesn't appear, then the cause will be a USB connection. If not, proceed to the next fix.
Giving your computer a fresh start might do wonders, like fixing error 14. Rebooting closes down any operation that may be active. This will enable the iOS device to update or restore successfully. Sometimes, simple things like reboot could save the day and fix error 14 for good.
An outdated iTunes version could also be the reason you are facing iPhone error 14. So, ensure your computer has the latest iTunes version installed. To confirm if you have installed the most recent version:
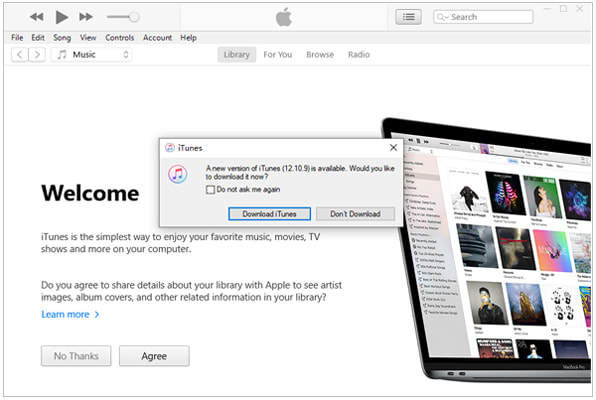
Step 1. Launch iTunes on your PC. A prompt will display on the screen showing if there is the latest version. Tap on Download and use the guide on the screen to update.
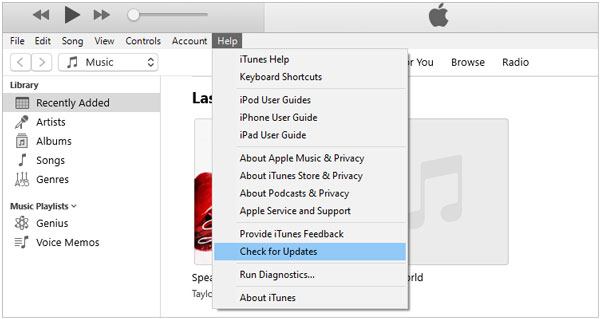
Step 2. If no prompt is displayed, tap on the menu at the top and select Help. Then click on Check for Updates and proceed to update.
Still confused? Check this guide to save you out:
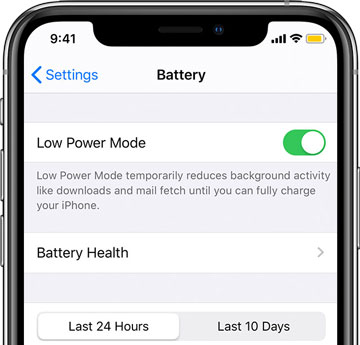
What is the Latest Version of iTunes & How to Update It?It is important to disable the low-power option before linking your iOS device to iTunes. The low-power option can prevent or complicate the update process, and this will cause error 14 on your iOS device. Follow the steps below to disable the low-power option on your device:
Step 1. On the iOS device, click Settings and choose Battery.
Step 2. You will see a green button if the low-power mode is activated. Click on it to disable it.
Step 3. Now try updating the device again.
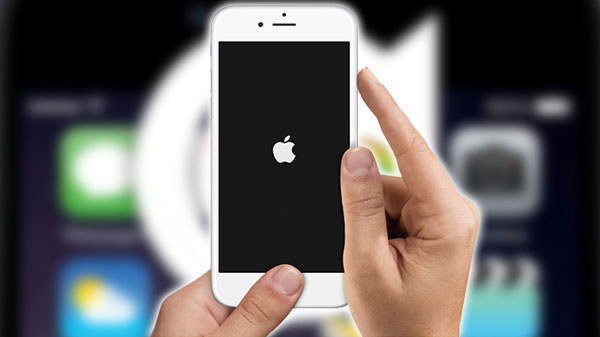
Believe it or not, this problem could be a result of software issues such as software crashes. A hard reset could be the better way out.
Here's how to hard reset an iPhone:
You should also try to reset network settings. The issue might be fixed. Here's what to do:
Step 1. On your iOS device, click on the Settings app and find General.
Step 2. Then proceed to Transfer or Reset and Reset, then click Reset Network Settings.
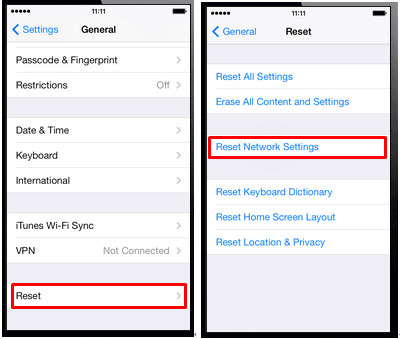
Now check if that will fix the problem. Note that it is essential to ensure that you back up your iOS data because it might lead to data loss.
If you tried updating your device only to get the dreaded iPhone error 14, and after trying again, you find that your firmware is corrupt, you should delete the downloaded upgrade firmware.
Here's how:
Step 1. First, close iTunes on the computer.
Step 2. Erase the .ipsw folder that had been downloaded. This folder can be found in the following locations according to your PC's OS:
Mac OS X:
Windows Vista, 7, 8, 10:
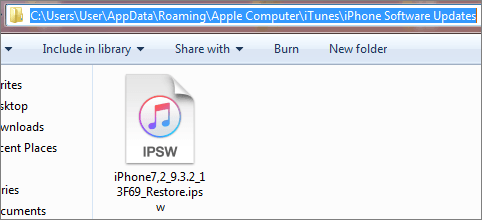
Step 3. Now reboot iTunes and upgrade your device.
Some security software can also hinder the updating process. So, turn it off and try updating your device again. If the problem persists, uninstall it and retry the updating and restoration process.
If all other methods aren't helping to fix the error 14 problem, you should try using iOS System Recovery. This is a reliable software that resolves issues related to your iOS device. The iOS System Recovery allows you to fix any issue on the device to normal. As long as the device can enter the DFU mode, you can effortlessly error 14 on your device.
All you have to do is connect the device to the computer. It will detect whether your device requires repair. A simple and clear step-by-step process will show you how to fix your iOS device to normal.
Key Features of the iOS System Recovery:
How do I fix error 14 on iTunes conveniently? Here are the steps:
01Install and launch iOS System Recovery, then use a USB to link your iPhone to the computer. Click on More Tools and select iOS System Recovery in the primary interface. This will lead you to the iPhone System Recovery tab.
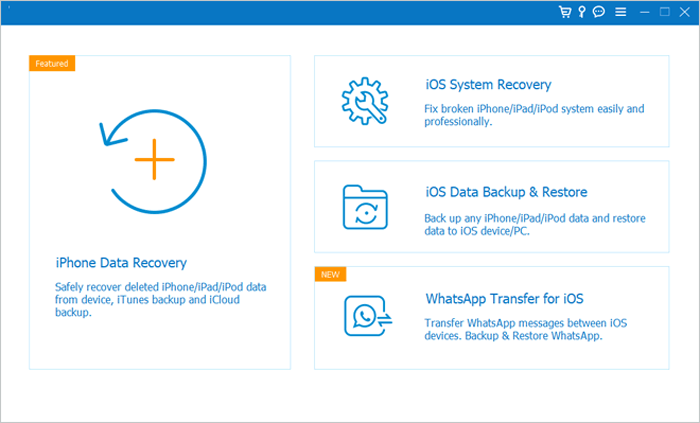
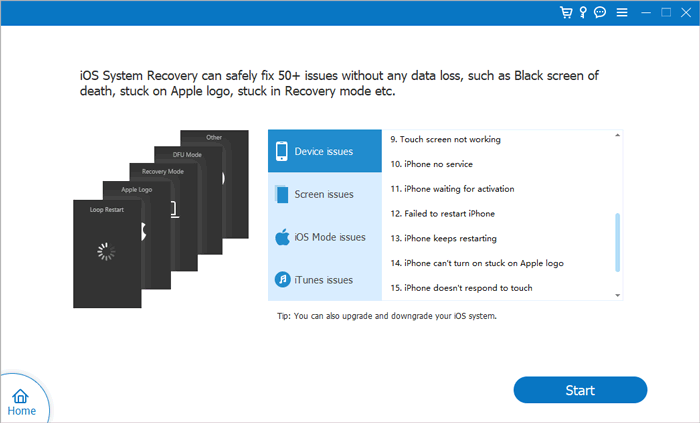
02Tap the Start button to start resolving iTunes error 14. This powerful software can detect particular issues with your device and solve them effectively.
03Tap the Question tab and adhere to the guidelines to set your device to DFU or Recovery mode. Tap the Repair button to download the iPhone firmware.
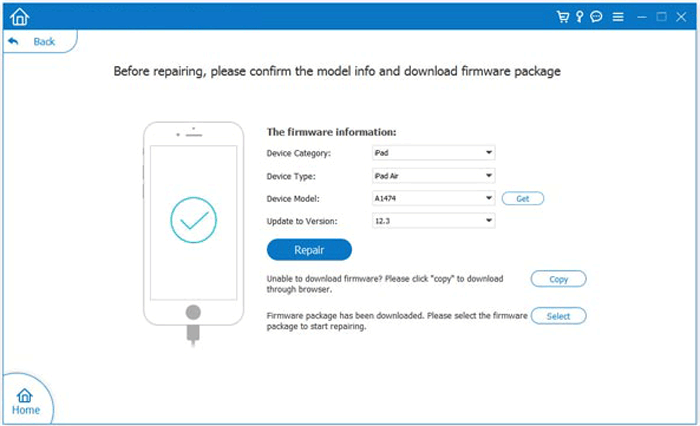
04After the download, iOS System Recovery will fix your device and return it to its normal state.
Other than the last method, all the others are trial methods and are not guaranteed to be fully effective in resolving error 14 on your iPhone. They might negatively affect your iOS device or cause loss of data. Thus, rather than using these unassured methods that might put your important data at risk, it is advisable to use a method that will guarantee data protection and error-free functionality. iOS System Recovery is the best and most ideal method to use to fix error 14 on any iOS device.
Related Articles:
How to Fix Touch ID Not Working on iPhone in No Time? (Incredibly Simple)
How to Retrieve Deleted Text Messages on iPhone with or without Backup
How to Fix iPhone/iTunes Error 56 Quickly? [Ultra Tutorial]
4 Solutions to Fix iTunes or iPhone Error 9006 [100% Success]