Coolmuster Data Erasure Online Help
This guide will help you use Coolmuster Data Erasure, a powerful data erasure software, focusing on its three main modes: File Shredder, Drive Wiper, and Free Space Wiper. Each mode has specific features and steps for secure data deletion, you can choose the mode that best fits your needs to ensure your data is permanently erased and unrecoverable.
Part 1. How to Use File Shredder - Targeted Deletion
Part 2. How to Use Drive Wiper - Complete Sanitization
Part 3. How to Use Free Space Wiper - Residual Data Cleanup
Video Tutorial:
Part 1. How to Use File Shredder - Targeted Deletion
The File Shredder mode is designed to permanently delete specific files or folders from your computer. This ensures that the data cannot be recovered by any means. Using the File Shredder is ideal for individuals who want to securely erase sensitive files, ensuring complete data destruction.
Steps to Use File Shredder:
Step 1. Open Coolmuster Data Erasure and select the File Shredder mode.
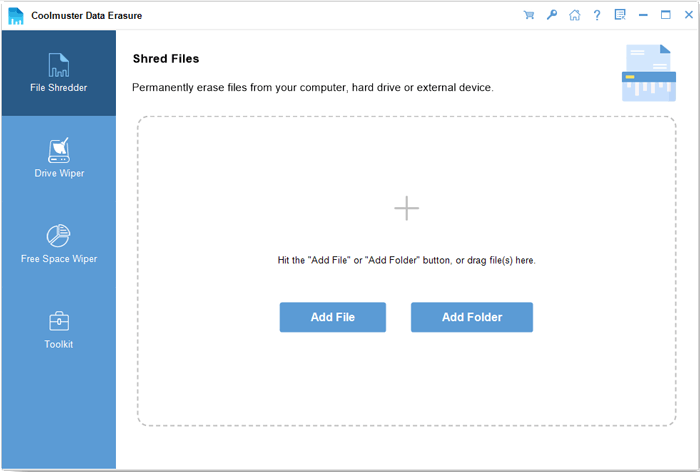
Step 2. Add the files or folders you want to erase. You can browse through your directories to find the specific items.
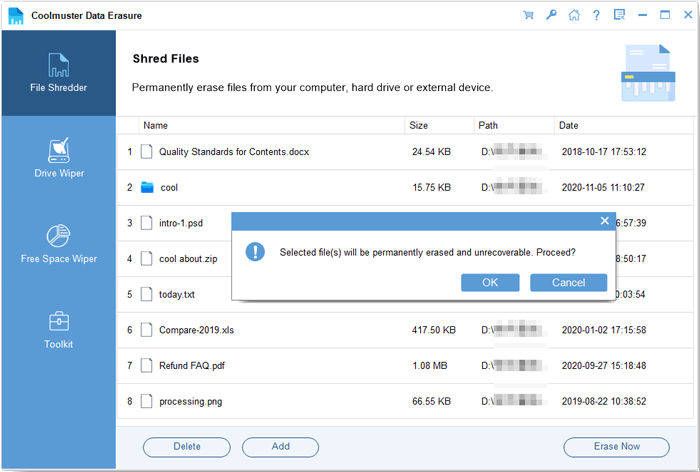
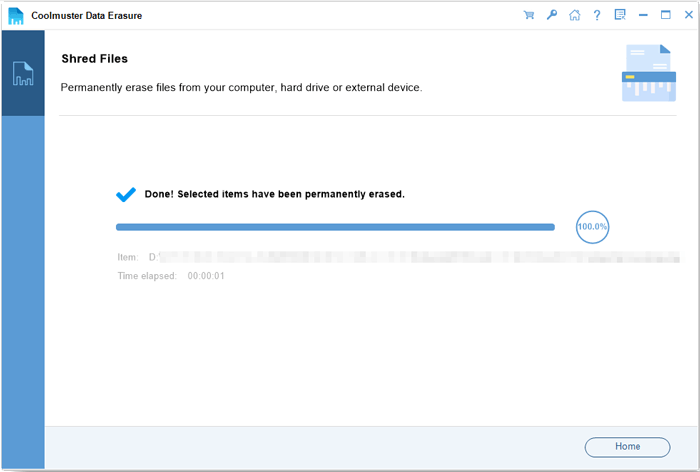
Step 3. Click the Erase Now button to start the process. Confirm the action in the dialog box that appears. Remember, this action is irreversible.
Part 2. How to Use Drive Wiper - Complete Sanitization
The Drive Wiper mode allows you to erase all data from entire drives or external devices, including both existing and deleted files. This mode is perfect for users looking to sell or dispose of their devices securely.
Steps to Use Drive Wiper:
Step 1. Select the Drive Wiper mode from the main interface.
Step 2. Select the erasing level as you need, either Quick Erase or Deep Erase.
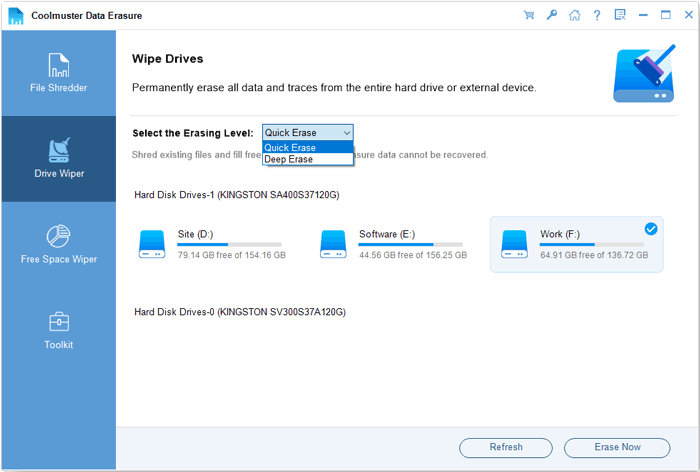
Step 3. Choose the drive you wish to wipe. This could be an internal hard drive or an external USB device.
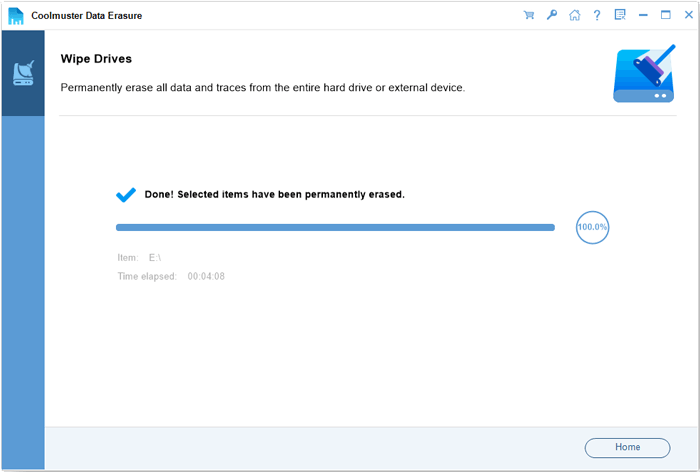
Step 4. Click on the Erase Now button to initiate the wiping process.
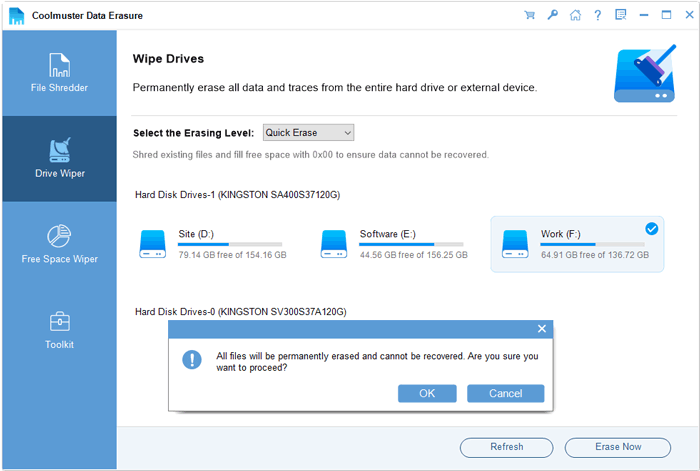
Step 5. Confirm your selection when prompted. Ensure that you have backed up any necessary data, as this will erase everything on the drive.
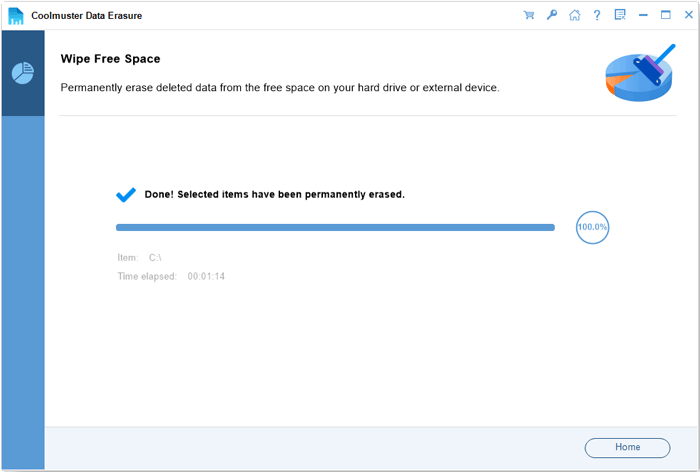
Part 3. How to Use Free Space Wiper - Residual Data Cleanup
The Free Space Wiper mode is designed to securely erase free space on your drives, preventing recovery of previously deleted files. This mode is particularly useful for maintaining privacy on your device without having to erase all existing files.
Steps to Use Free Space Wiper:
Step 1. Select the Free Space Wiper mode from the main menu.
Step 2. Choose the drive from which you want to wipe the free space.

Step 3. Click the Erase Now button to begin the process. Confirm the action in the dialog box that appears.