Coolmuster Data Recovery for Mac Online Help
Losing files from your hard drive is no more a nightmare! You can easily get them back in an easy and efficient way with a professional recovery tool. In the below tutorial, you will know how to use Coolmuster Data Recovery for Mac software to recover the lost files from internal hard drive as well as external hard drive within simple steps.
Step 1. Run Software and Choose Recovery Mode
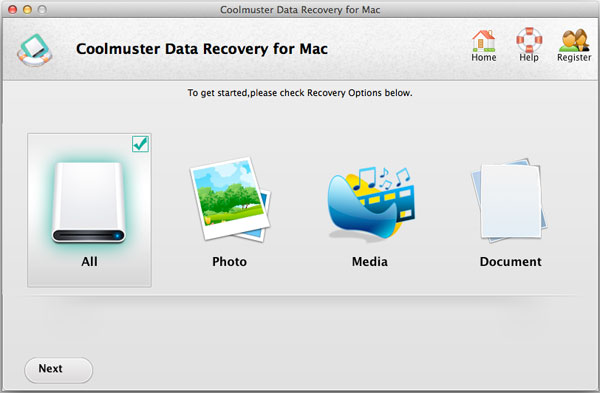
First of all, open the installed Coolmuster Data Recovery for Mac software on the Mac computer and then you will see the main interface as pictured in the below. Choose the right recovery options and then click on Next to continue the process.

Step 2. Scan the Drive Where You Lost Data
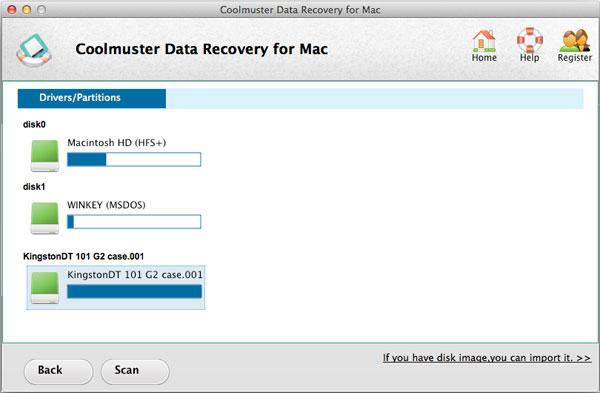
In this step, you will see the below interface where all partitions and drives are displayed on the Mac computer. You can then locate to the drive you have lost files. After that, click on Scan option to let this software detect all the lost files and show them for your reference.

Step 3. Start to Recover Lost Data
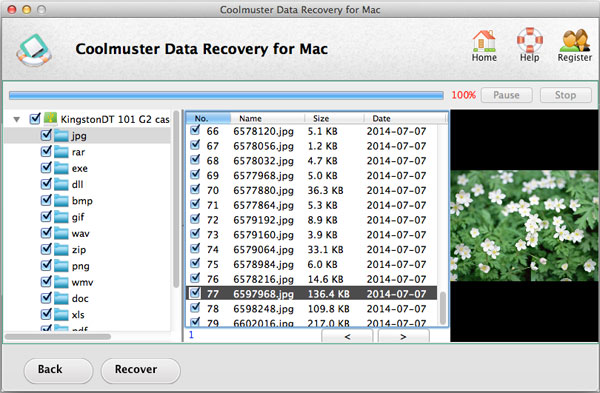
Now, all the lost files folders will be detected and displayed on the left panel as pictured in the below. You can then enter the different tabs to preview more detailed in formation. Finally, tick out the files you want to recover and hit the Recover option to begin the file recovery process.

Finally, you will see a promo dialogue requiring you to define a folder to save the lost files. Here, you are kindly suggested to not save these files in the drive you've lost them before. This software is quite easy to use, right? So, after losing files from any hard drive, just get this software to recover them in one click!
