Coolmuster Data Recovery Online Help
This step-by-step guide will show you how to use Coolmuster Data Recovery to recover lost or deleted data from both internal hard drives and various external storage devices.
Step 1. Run the Software and Choose a Recovery Mode
Step 2. Scan and Select Lost Files
Step 3. Start Recovering Lost Data
Video Tutorial:
Step 1. Run the Software and Choose a Recovery Mode
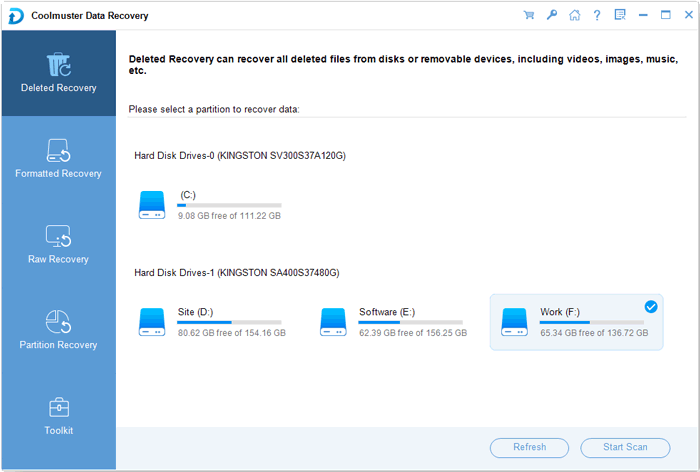
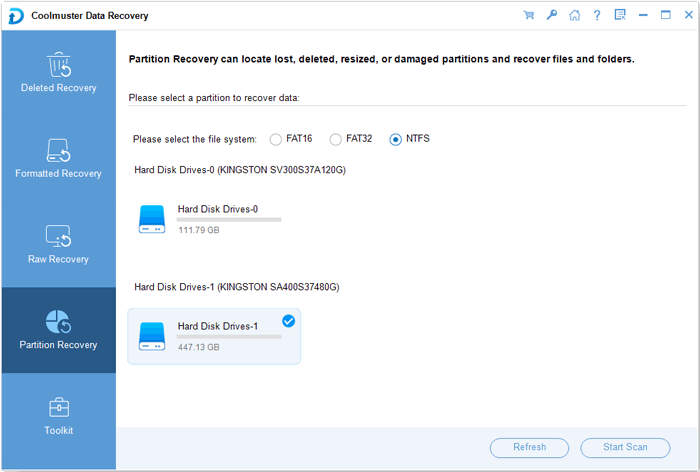
Launch the Data Recovery software to access the interface, which presents four recovery options: Deleted Recovery, Format Recovery, Raw Recovery, and Partition Recovery. Select the appropriate mode based on your needs to proceed.
- Deleted Recovery: Recover all deleted files from disks or removable devices, including videos, images, music, etc.
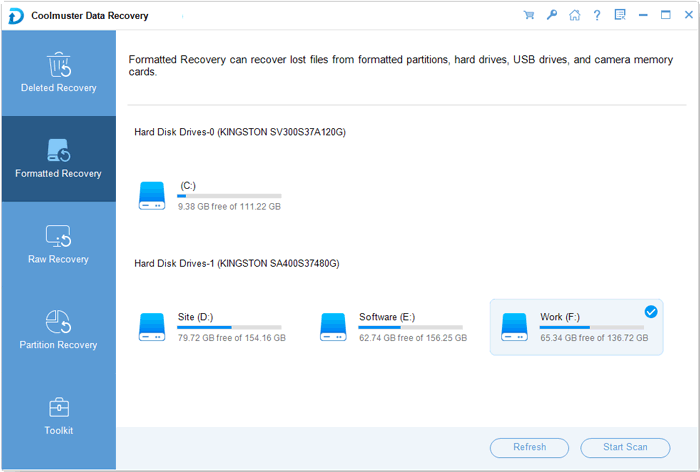
- Formatted Recovery: Retrieve lost files from formatted partitions, hard drives, USB drives, and camera memory cards.
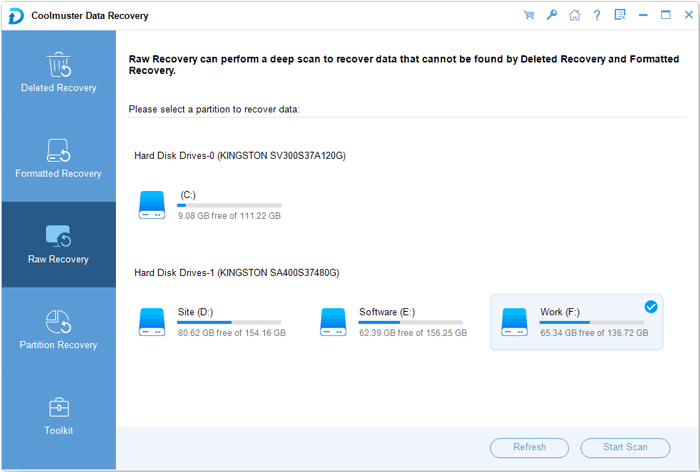
- Raw Recovery: Perform a deep scan to recover data that cannot be found by Deleted Recovery and Formatted Recovery, even when the file system is corrupted.
- Partition Recovery: Locate lost, deleted, resized, or damaged partitions and recover files and folders. (Recommended for professional users only.)
Step 2. Scan and Select Lost Files
The data recovery program will detect and display all partitions and drive letters on your computer. Choose the drive where your data was lost and click the "Start Scan" button to initiate the scan for lost files.
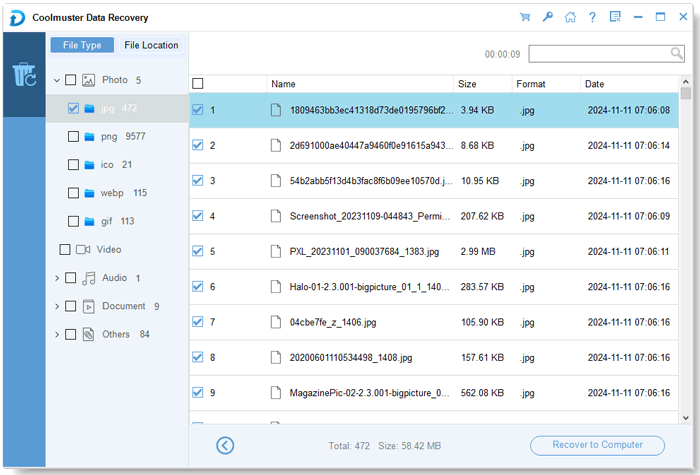
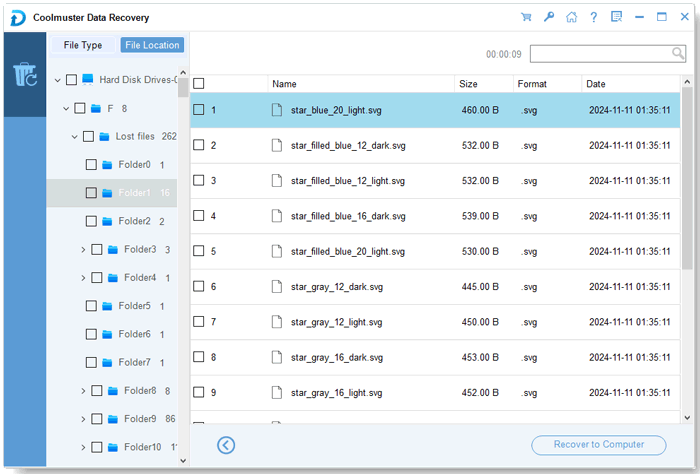
After scanning, all files, including lost ones, will be categorized and displayed in a tree structure according to their original File Type and File Location. You can preview and select the files you want to recover.
- Check your files by File Type:
- Check your files by File Location:
Step 3. Start Recovering Lost Data
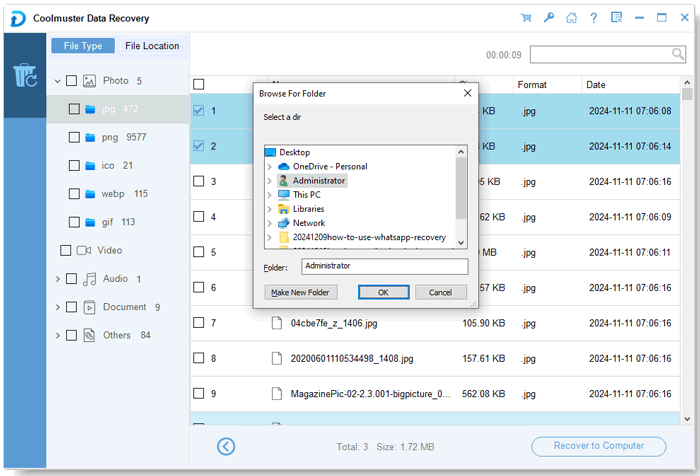
After selecting your target files, click the "Recover to Computer" button to start recovering your lost data.
There will be a popped-up dialog-box for you to define an output folder to save these recovered data. Just customize a folder and click OK. We kindly suggest your choose a different location to keep the recovered data, instead of the original place where you lost them before.
