Coolmuster iOS Assistant Online Help
Welcome to the guide center of Coolmuster iOS Assistant. In this part, you will have a comprehensive understanding of this software and then you will know how to use it to backup data, import data and manage files of iPhone, iPad and iPod. Below is the step-by-step user guide.
Notes: Please make sure your iDevice can be detected by iTunes or Music, or the program will fail to detect your device.
Part 1. Make Your iDevice Recognized
Part 2. Manage iOS Device Data as Wanted
Part 3. Manage iTunes Backup for iOS Device
Video Tutorial:
Part 1. Make Your iDevice Recognized
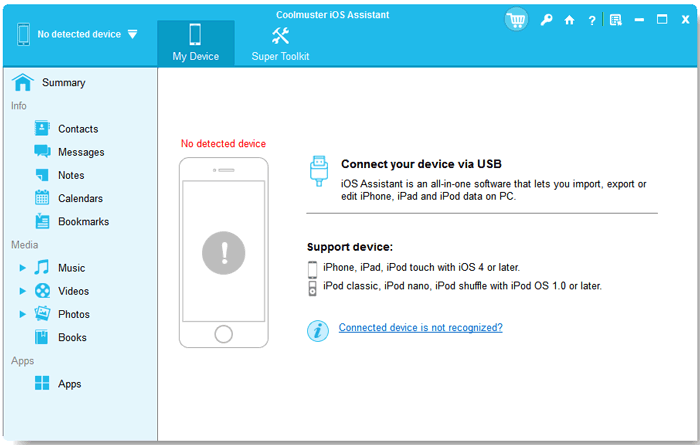
After downloading the right version of this software, open it and then you will see the below interface. Please connect your device to the computer via a USB cord as prompted.
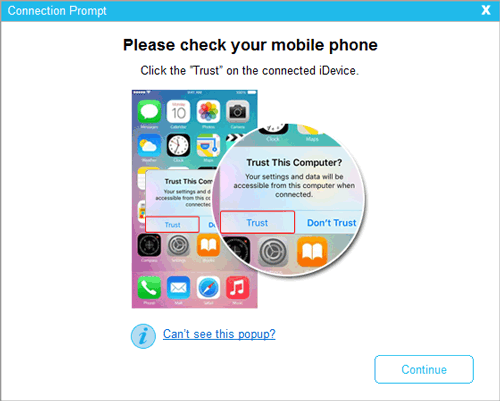
Generally, the software will automatically detect your linked device and then a pop-up window will appear on your computer. Hit the Trust option on your device and then click "Continue" option to go on.
Notes:
(1) Can't see the "Trust This Computer?" pop-up window? You can hit the "Can't see this popup" option at the bottom.
(2) The program fails to recognize your phone? Please click the "Connected device is not recognized?" option to fix it.
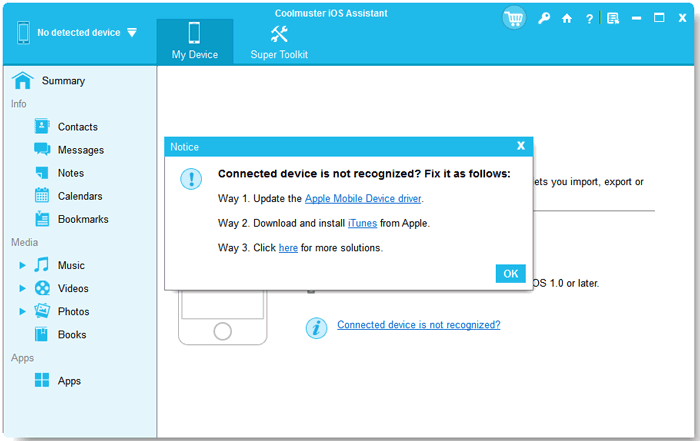
(3) If it still fails to detect your device, check here to learn what to do if iDevice fails to connect.
Once your device is detected by this software, you will see the main interface as pictured in the below. As you can see now, all different file folders are arranged on the main interface.

Part 2. Manage iOS Device Data as Wanted
1. Export Files from iPhone/iPad/iPod to Computer
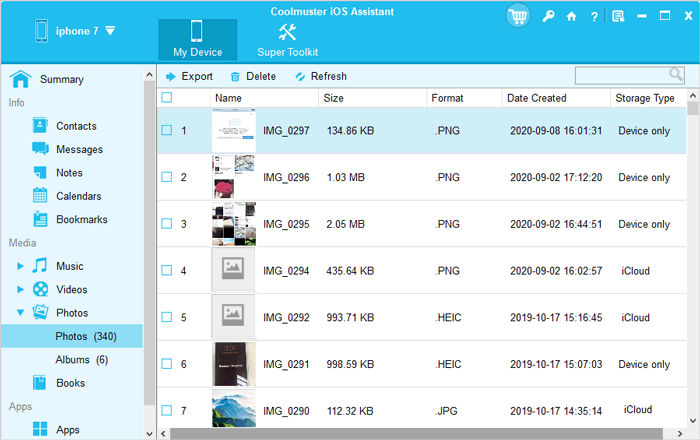
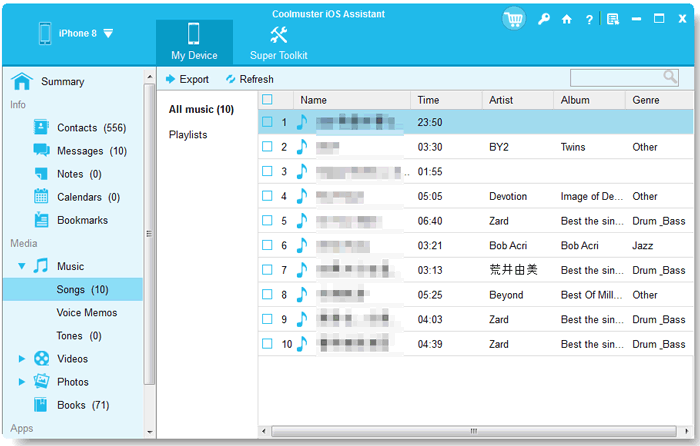
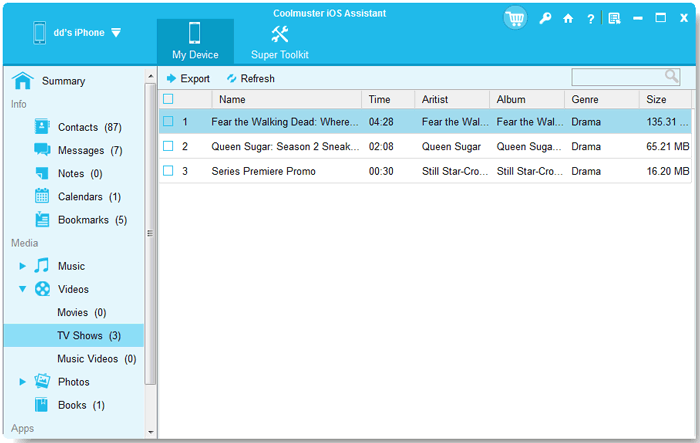
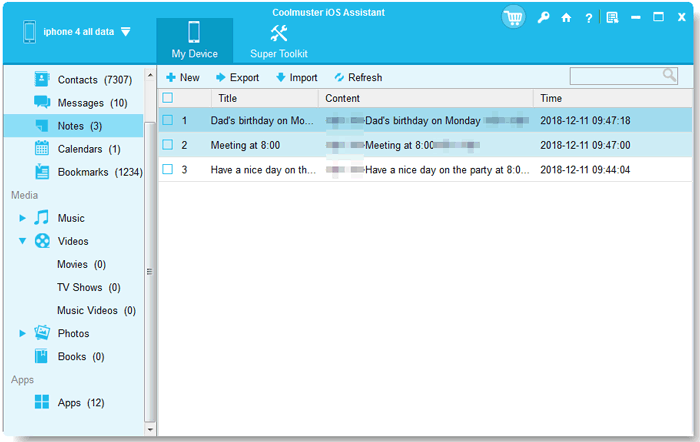
This software is able to transfer everything as listed above from your iPhone/iPad/iPod to the computer. So if you want to transfer other files to the computer as a backup, just follow the similar steps as introduced in the part of transferring contacts.
Important: When selecting text messages, notes, and voice memos, remember to respond promptly to the unlock prompt on your phone screen. Enter your password to unlock access.
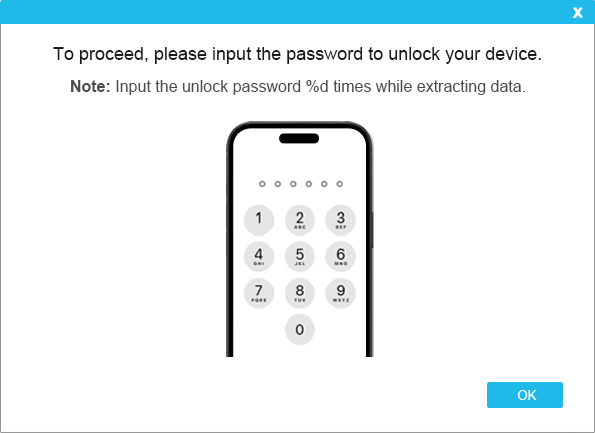
Contacts:
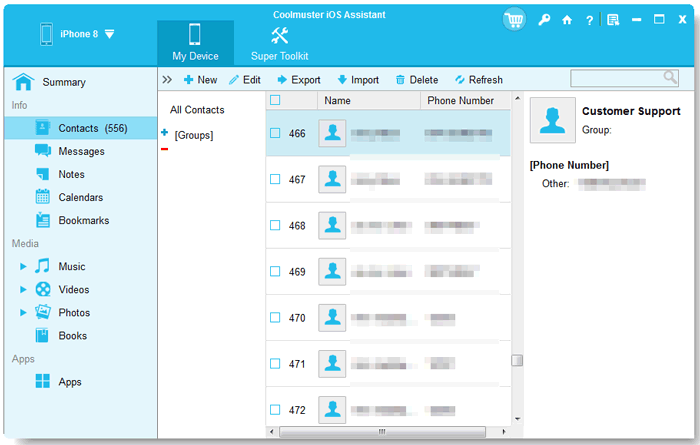
- Enter the Contacts folder and preview more detailed file information.
- While previewing, select the contacts that you want to export to the computer.
- Hit the Export option, choose the right file output format and begin the process.
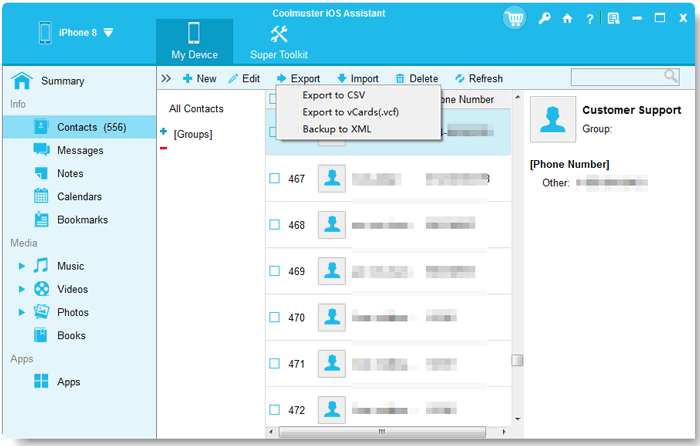
Messages:
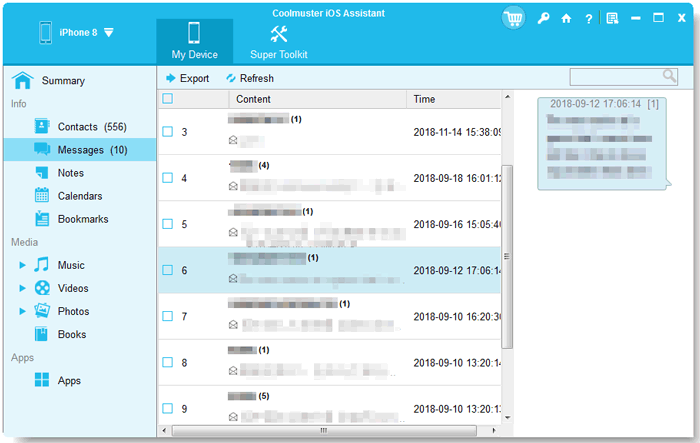
Photos:
Music:
Videos:
Notes:
(Notice: Notes is supported in iOS 17.)
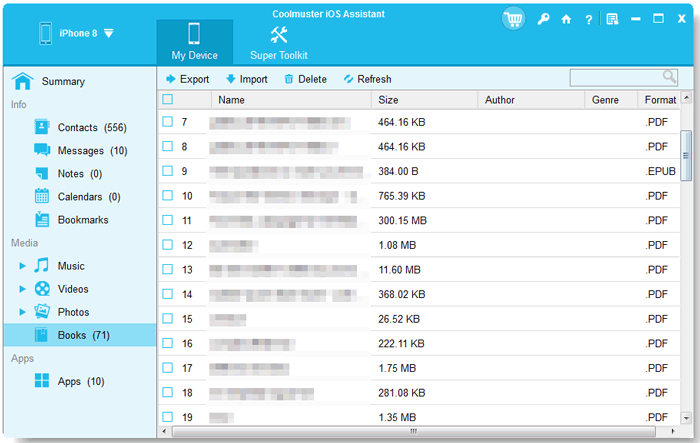
Books:
2. Import Files from Computer to iPhone/iPad/iPod
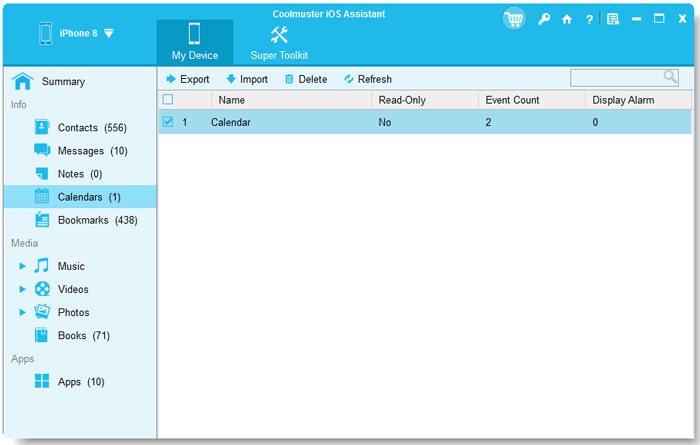
Attention: Currently, only contacts, calendars and bookmarks can be imported from the computer to iDevice. But more files will be supported in the coming versions.
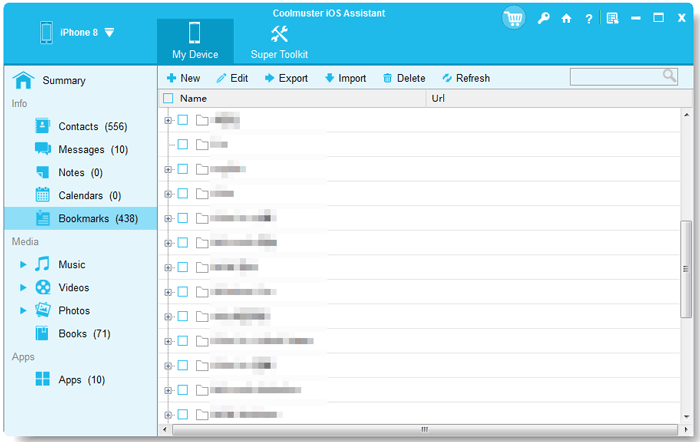
To import files to iPhone/iPad/iPod, just follow the below steps, taking Bookmarks as example:
- Enter the Bookmarks file tab.
- Hit the Import option and navigate to the files that you want to import to iDevice.
- Tap on OK option to begin the process.
Calendars:
3. Uninstall Apps from iPhone/iPad/iPod
- Open the installed software and link your device to the computer.
- Go to Apps tab to preview more detailed file information.
- Tick out the apps that you want to uninstall from your device.
- Hit the Uninstall option to continue the process. On the promo dialogue, click on OK option to confirm your action.

Part 3. Manage iTunes Backup for iOS Device
1. One Click to Backup iOS Data to iTunes or Computer
- Switch to Super Toolkit section when your device has been detected by the software.
- Hit iTunes Backup & Restore tab on the interface.
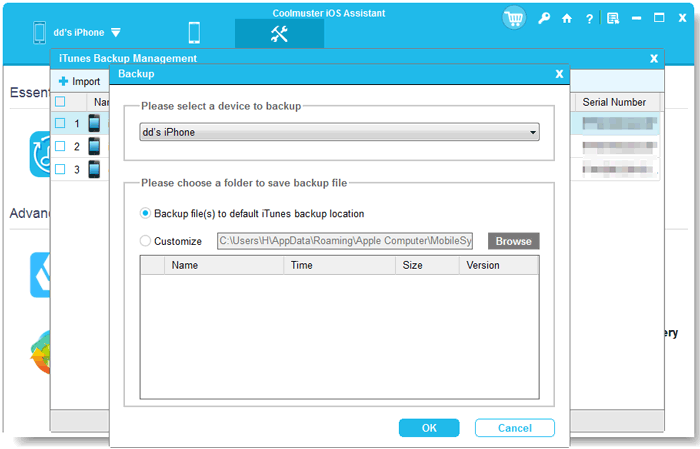
- Click Backup tab and select your device for backup from the drop-down menu.
- Choose the location to save the new backup files, either on the default iTunes backup location or on any place on computer you like by clicking Browse option, then click OK button to start backing up iOS data.
2. One Click to Restore iTunes Backup File to iPhone/iPad/iPod
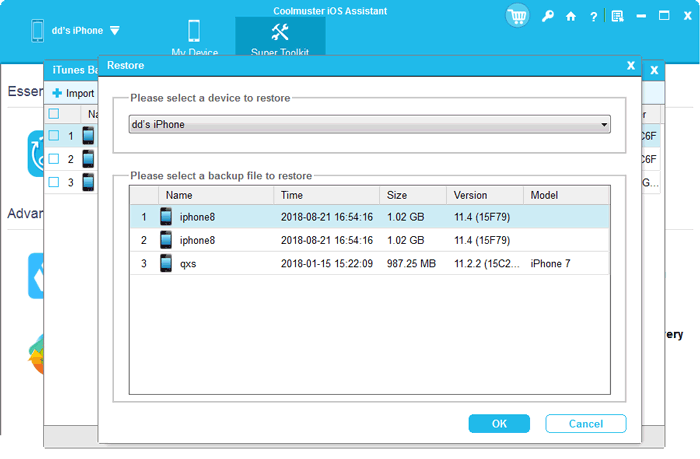
- Click Supper Toolkit > iTunes Backup & Restore tab, then hit Restore option on this software.
- Choose your device to restore iTunes backup from the drop-down menu.
- Select a backup file to restore into your iOS device from the list and click OK option.
- Click OK option again after reading the notes on the pop-up window to begin restoring iTunes backup to iOS device.
3. Import iTunes Backup Files to iOS Device
- Under Super Toolkit, click iTunes Backup & Restore option.
- Click Import tab and choose the backup files from your computer while browsing.
- Hit OK option to start transfer backup file to iPhone/iPad/iPod device.
3. Delete iTunes Backup Files for iOS on Computer
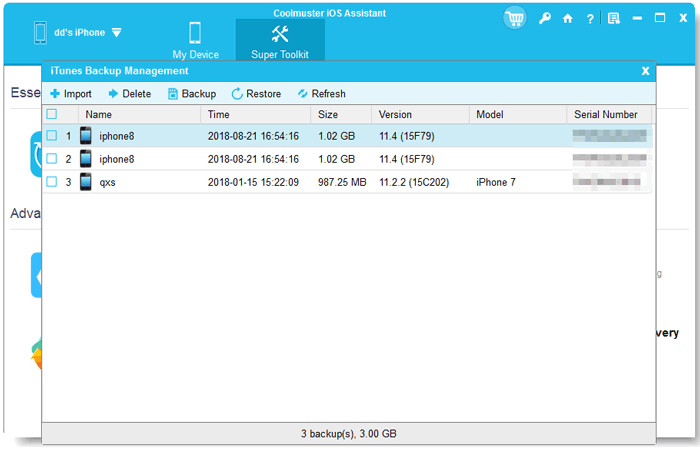
- Turn to Supper Toolkit > iTunes Backup & Restore section on the software.
- The software will automatically detect and show the backup files on your computer.
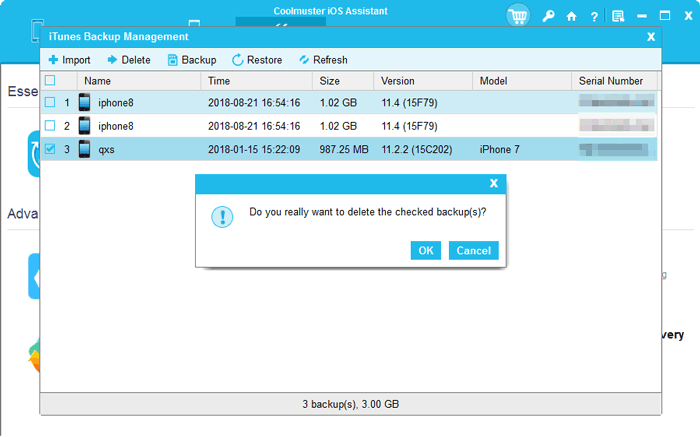
- Hit Delete tab and check the unwanted backup files from the list.
- Click Delete and then OK options to delete backup files for iOS device immediately.
