Coolmuster iPhone Data Recovery Online Help
The following is a comprehensive guide of Coolmuster iPhone Data Recovery, helping you recover deleted and the existing data from iOS devices, iCloud and iTunes backup without reset easily.
Part 1. Recover Data from iOS Devices
Part 2. Recover Data from iTunes Backup
Part 3. Recover Data from iCloud Backup
Video Tutorial:
Part 1. Recover Data from Your iOS Device
Step 1: Connect iOS Devices to Computer
After downloading and installing the program on the computer, please launch it on your desktop. Then connect your iOS device to the computer via a USB cable.
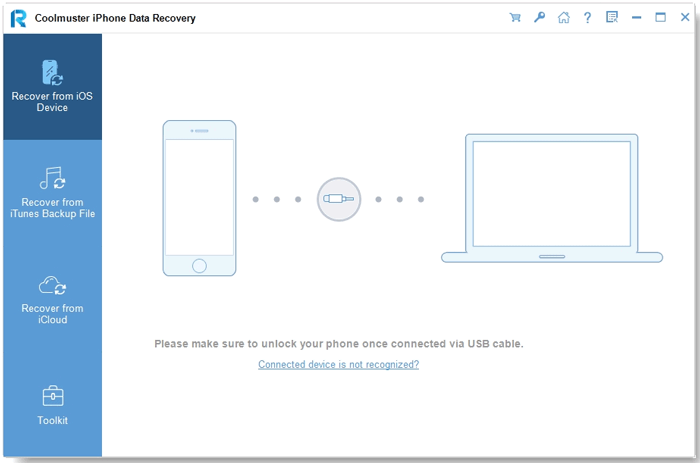
Note: If you connect more than one device to the computer, please select one and click the "Next" icon to go on.
In general, the software will fast detect your device. Please click the "Trust" option on your mobile device for recognition.
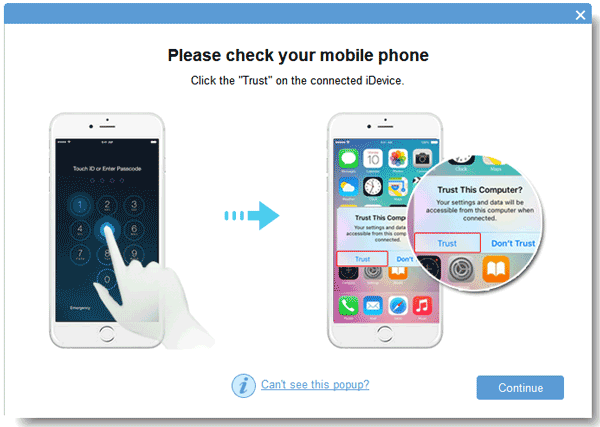
Tips:
(1) Can't see the popup on your device? You can hit the "Can't see this popup" icon to get help.
(2) Connected device is not recognized? Hit it to get help from the popup window. There are 3 solutions for your reference. Still fail to connect? Please tap the "Device still can't be detected" option to get further tutorials.
Once connected, you will see the interface as follow. Please select the data types you want on the interface, and click the "Start Scan" to continue.
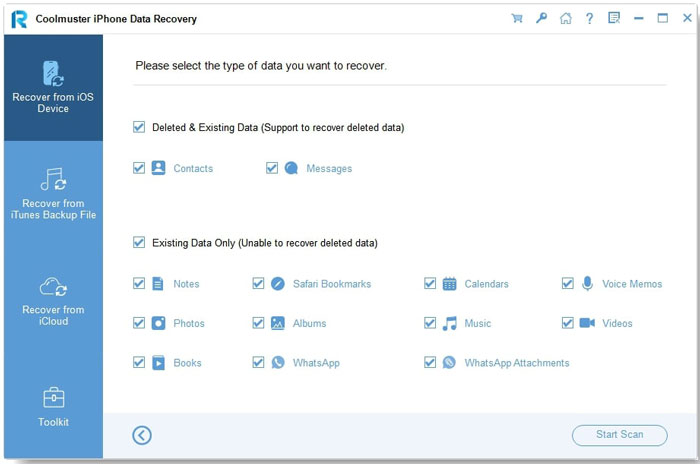
Step 2: Preview and select the iOS data your want
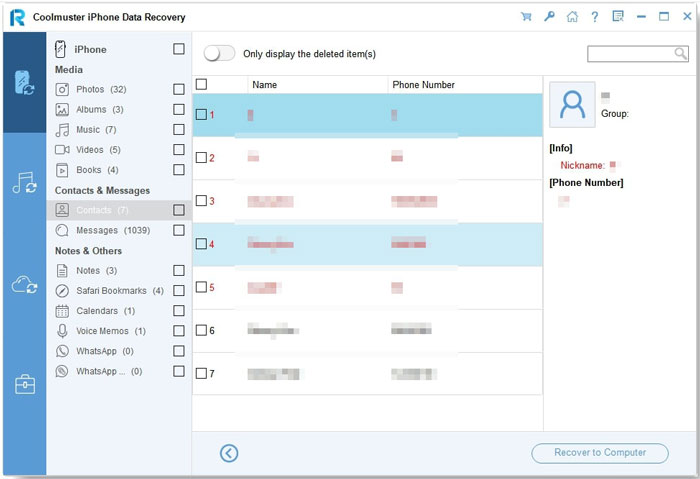
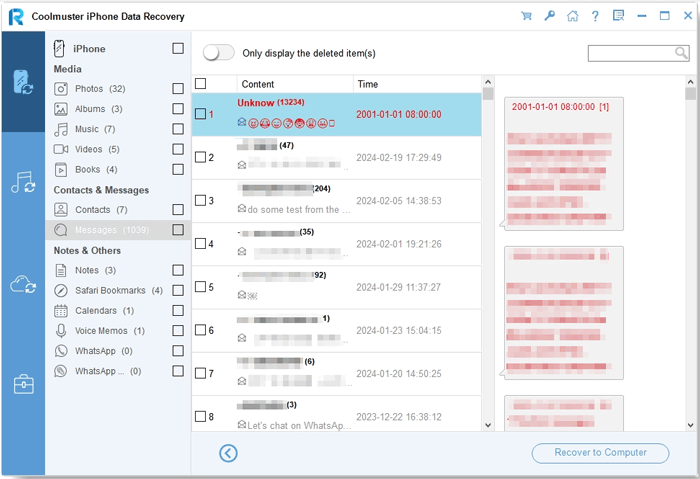
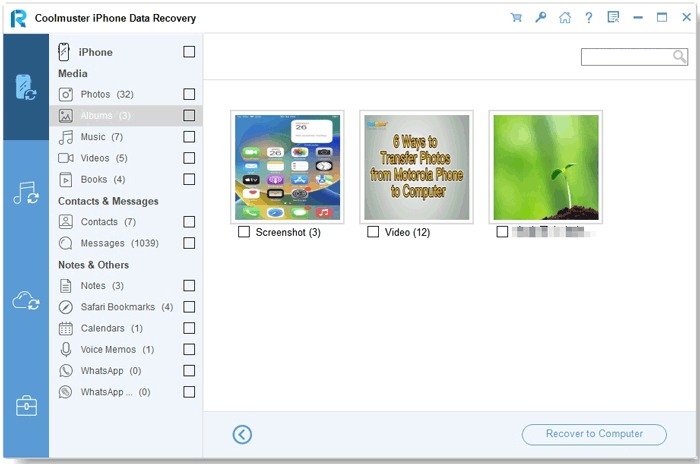
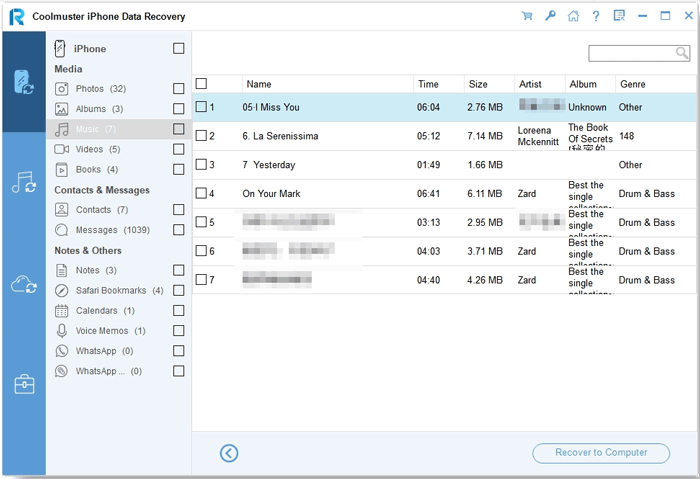
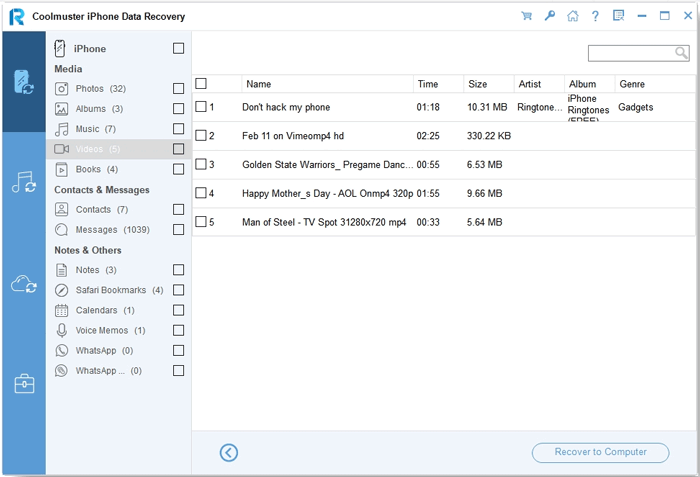
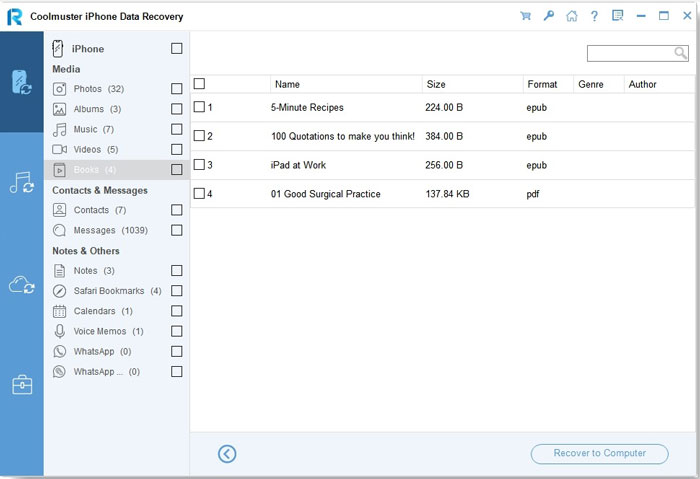
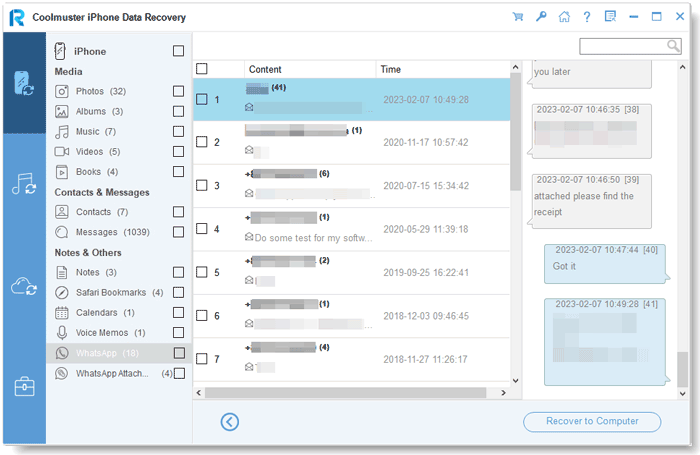
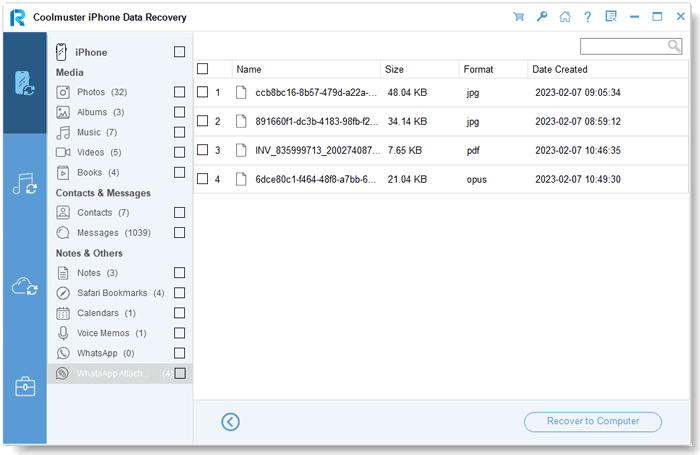
After the program scans out your selected data types, you can preview the detailed files on the interface, including deleted and existing files. Please choose one category on the left panel, and select detailed items on the right side.
Tips:
1. If you turn on the "Only display the deleted item(s)" button, the program will only show you the deleted files.
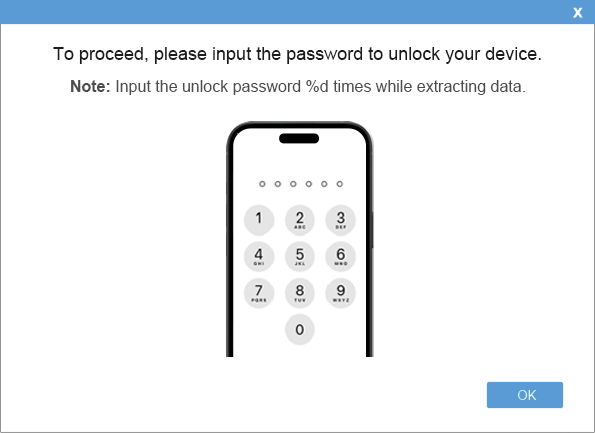
2. When selecting text messages, notes, voice memos, WhatsApp chats, deleted contacts, and deleted text messages, be attentive to the unlock prompt displayed on your phone screen. Enter your password promptly to unlock access.
Contacts:
Messages:
Camera Roll:
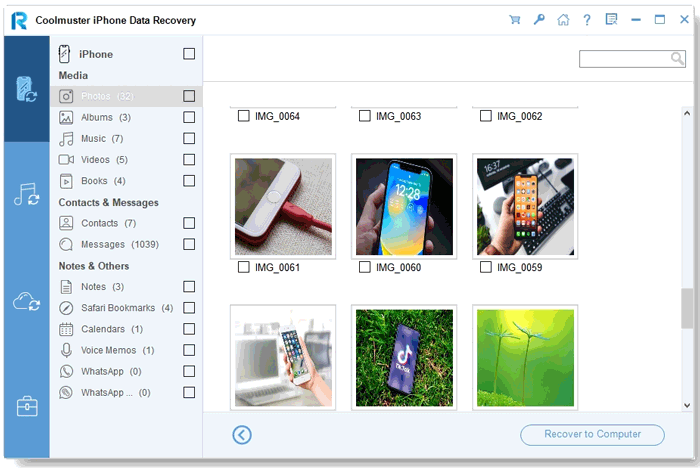
Photos:
Music:
Videos:
Books:
Notes:
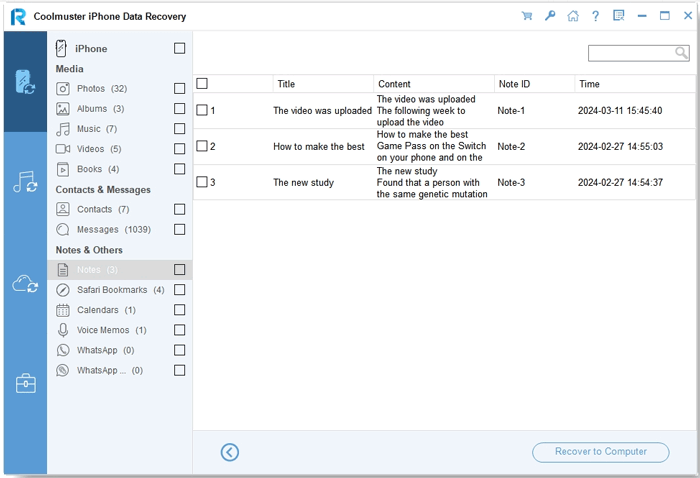
Safari:
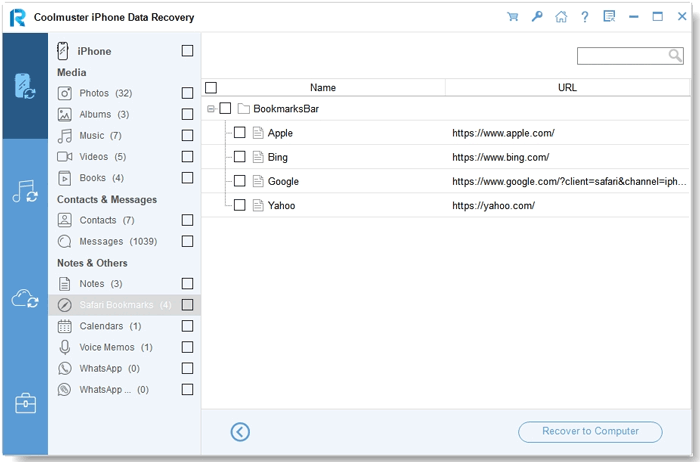
Calendars:
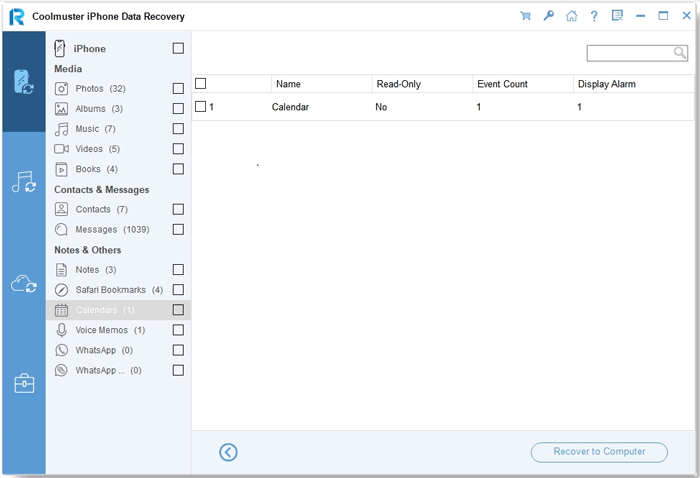
Voice Memos:
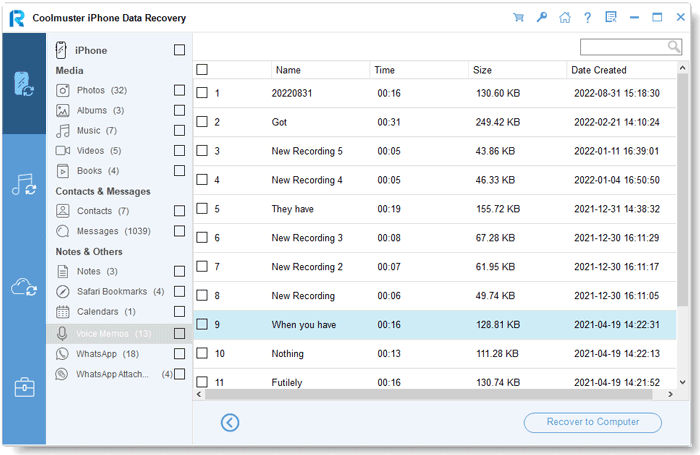
WhatsApp:
WhatsApp Attachments:
Step 3: Start the iOS data recovery
Once selecting the data you want to recover, you can tap the "Recover to Computer" icon to recover deleted data from the iPhone to the computer, and transfer the existing files to the computer.
Part 2: Recover Data from iTunes Backup
Want to restore iPhone from iTunes backup? You can get the job done without connecting your iOS device. Download and run the Coolmuster iPhone Data Recovery, then choose the "Recover from iTunes Backup File" tab on the left.
Step 1: Choose an iTunes Backup File
- In the beginning, it will scan the default iTunes backup location on your computer. Please select a backup file from the list on the interface, and click the "Start Scan" button.
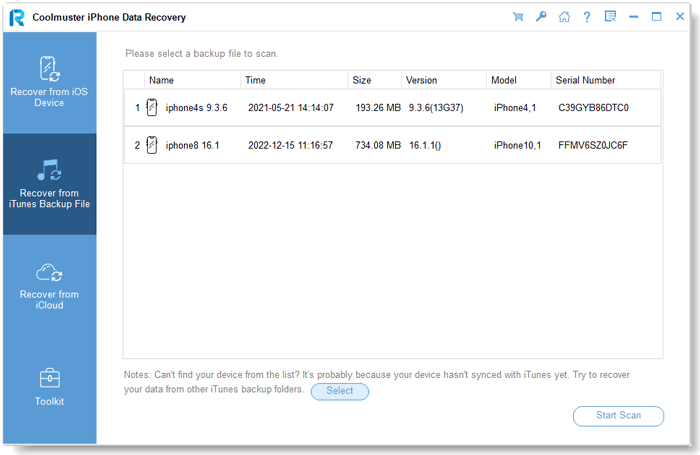
- If you cannot find the file you want, please hit the "Select" icon to pick your iTunes backup file from other folders.
Step 2: Select data types
Note: Call history and Safari history are not supported in iOS 10 and later.
Please tick off the data types you intend to restore, and tap the "Start Scan" icon at the bottom right.
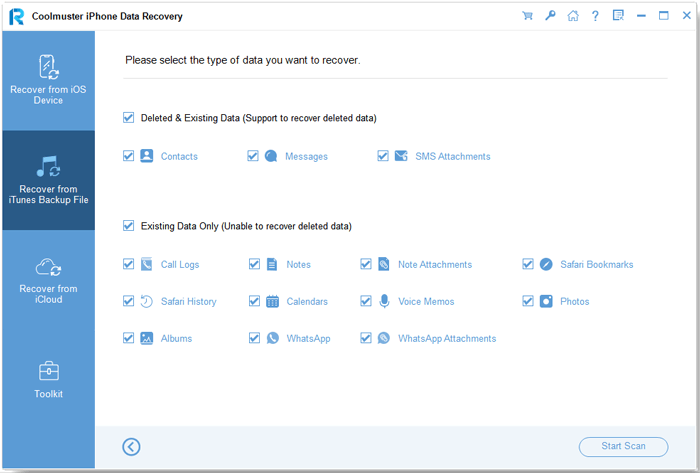
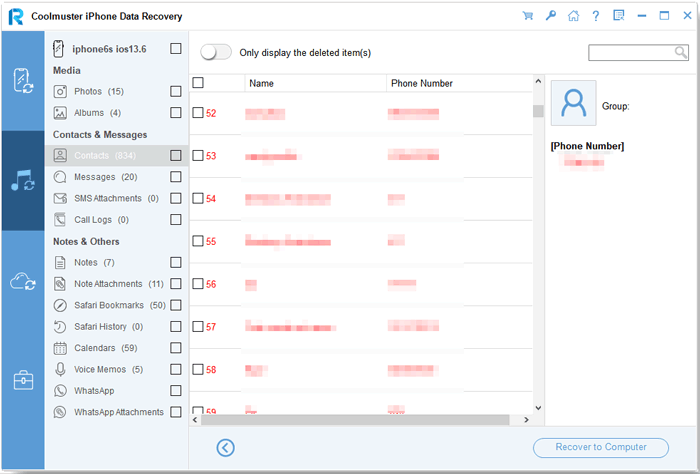
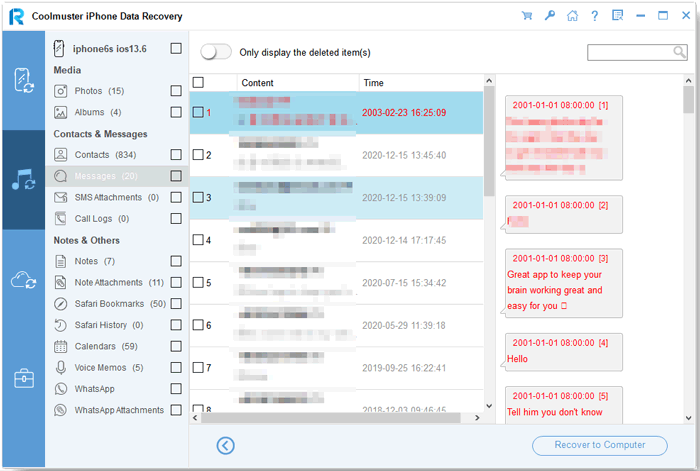
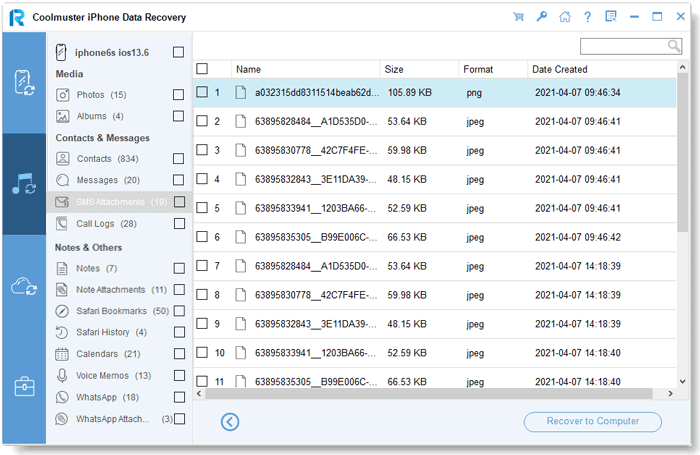
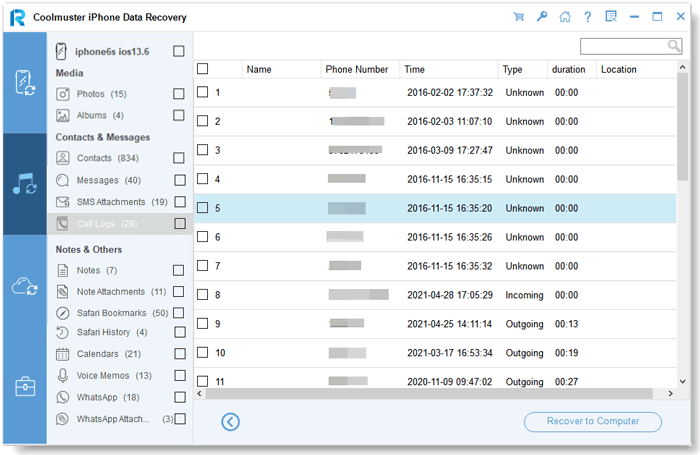
Then you can preview the iTunes backup files on the computer.
Contacts:
Messages:
SMS Attachments:
Call Logs:
Camera Roll:
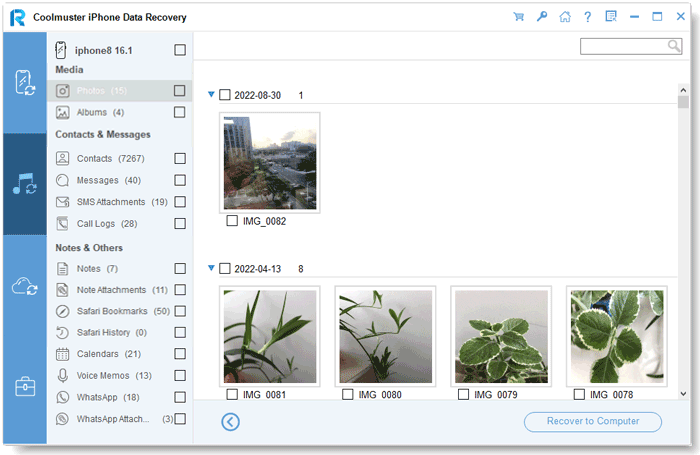
Photos:
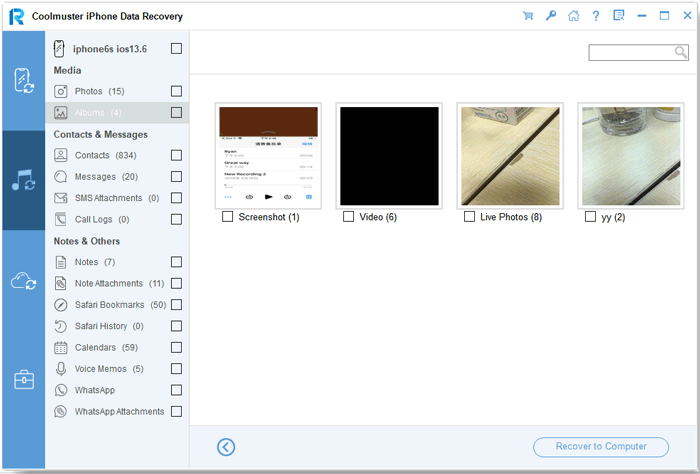
Notes:
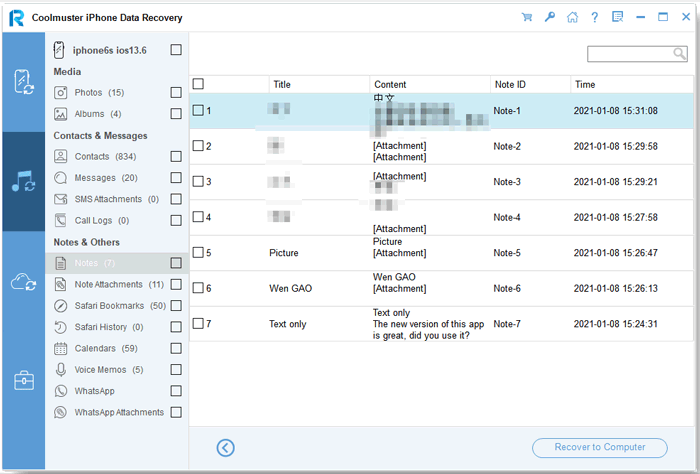
Note Attachments:
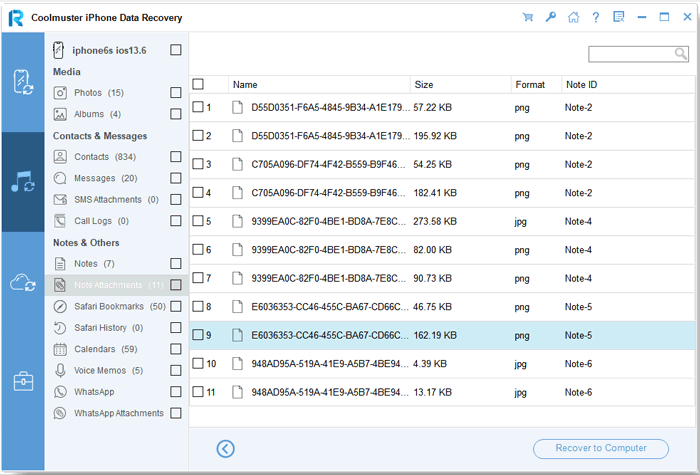
Safari:
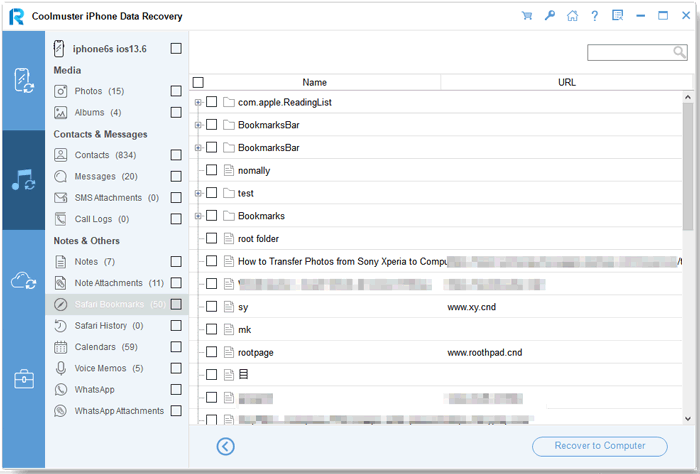
Safari History:
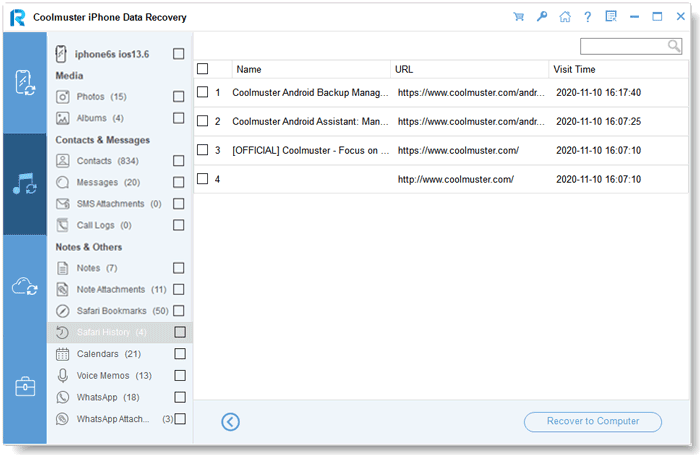
Calendars:
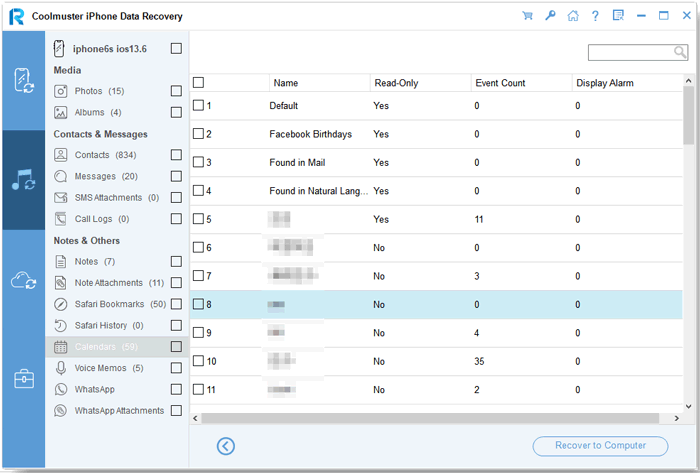
Voice Memos:
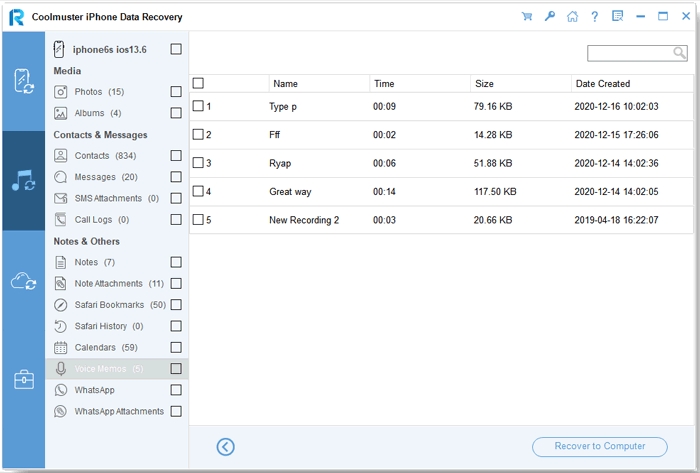
WhatsApp:
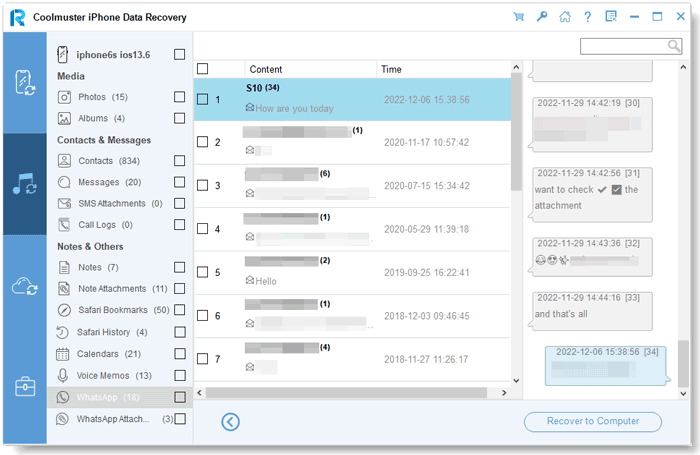
WhatsApp Attachments:
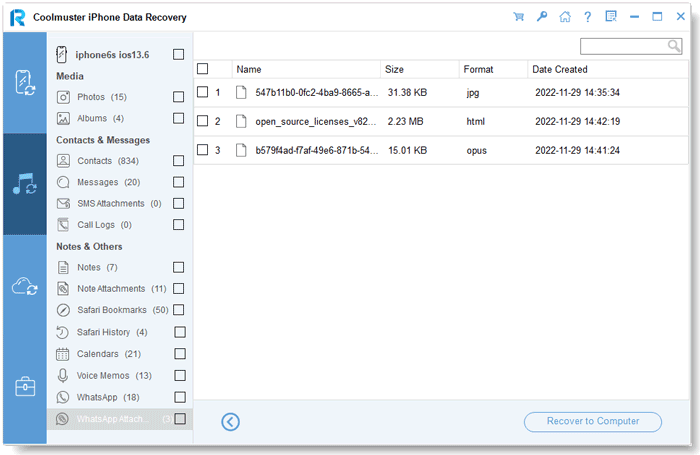
Step 3: Recover iOS data from iTunes backup
Click a category, and select detailed deleted and existing files on the right. Finally, click the "Recover to Computer" icon to begin restoring files from iTunes backups.
Part 3. Recover Data from iCloud Backup
Want to restore your files from iCloud backup? You can selectly recover whichever files from your iCloud backup without reset. Just check it out below.
Step 1: Get Started and Sign Into iCloud
Open the software and enter the "Recover from iCloud" mode, then sign into your iCloud account as prompted to move on.
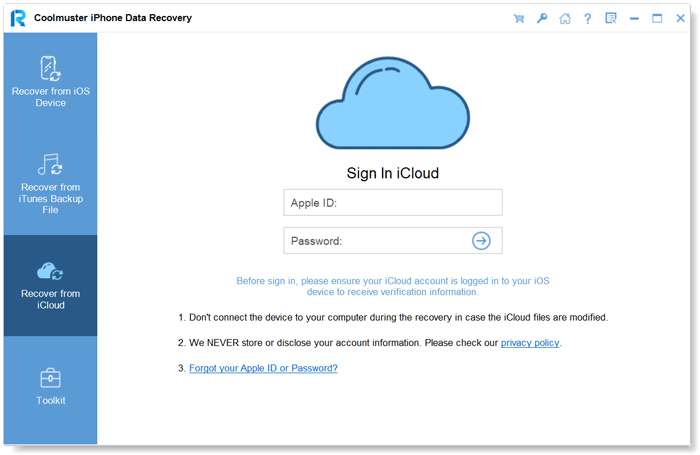
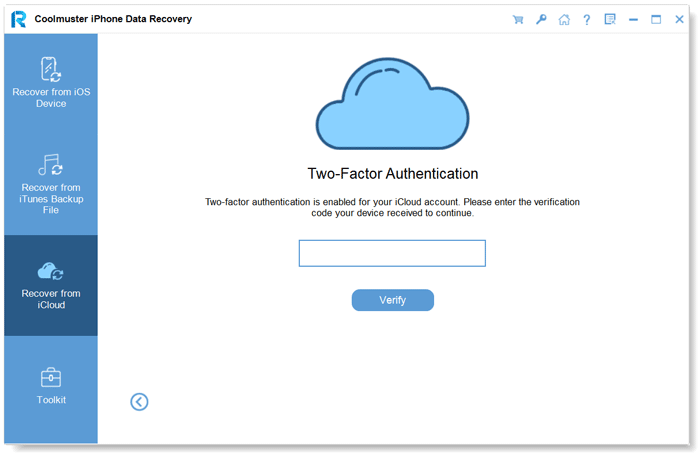
Notes: If it asks for Two-factor authentication, please enter verification code your iOS device received and click "Verify" to go on.
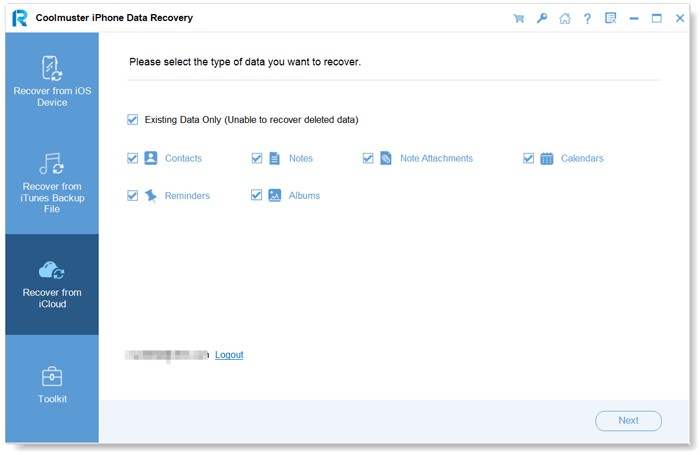
Step 2: Select the Desired File Types to Scan
Please choose the file types you want to restore, and click the "Next" icon to start quick scanning. Thus you can preview more details of your iCloud backup files.
Step 3: Select Whichever Files to Recover
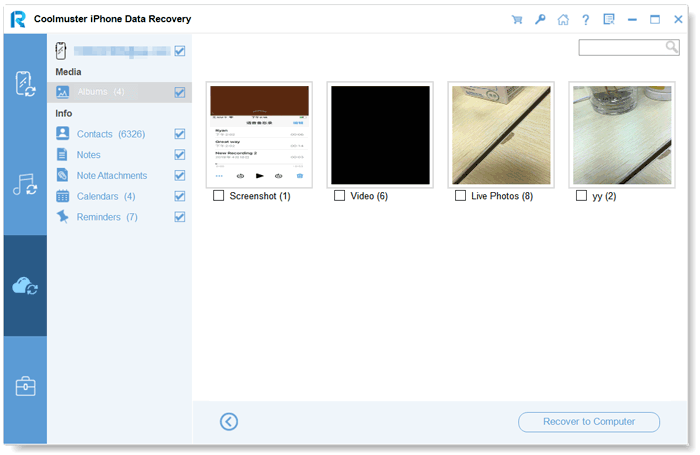
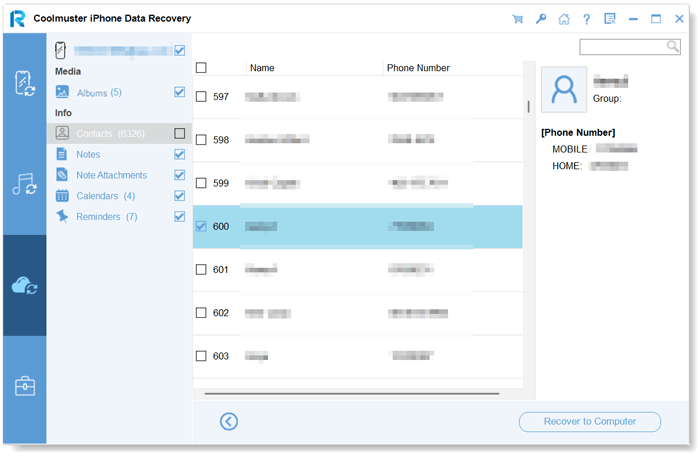
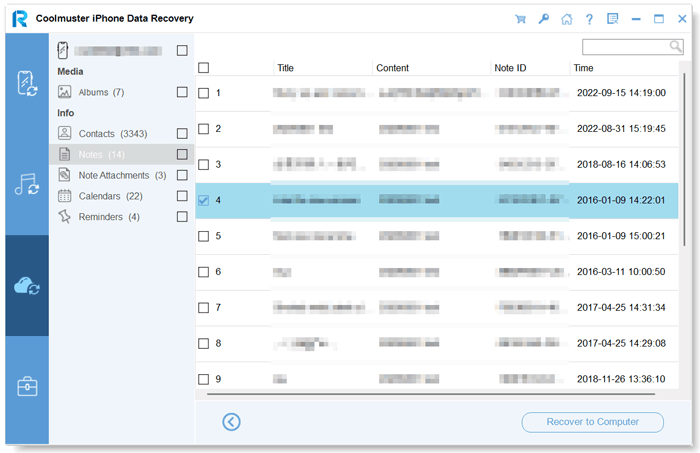
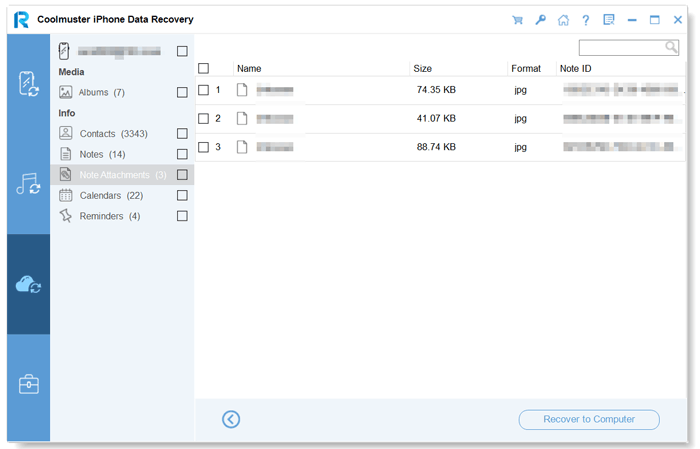
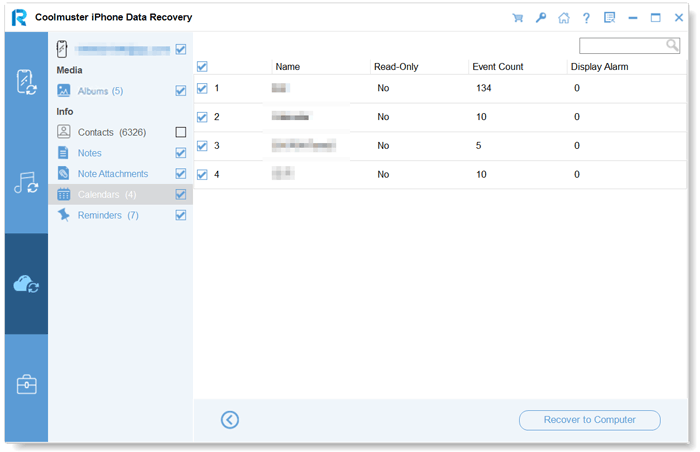
Select the files you want to restore, and click the "Recover to Computer" button to save your files on your computer.
Photos:
Contacts:
Notes:
Note Attachments:
Calendars:
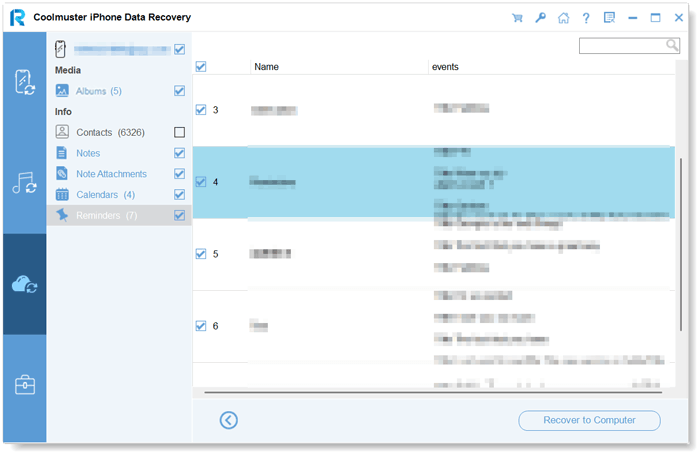
Reminders:
