Coolmuster PDF Creator Pro Online Help
Coolmuster PDF Creator Pro is specially developed to make PDFs from images, text, MOBI, ePub, word (.docx), CHM, and HTML files. The following guide is about how to use the program to create PDF files step by step.
Video Tutorial:
Step 1. Choose Conversion Type Before You Add Files
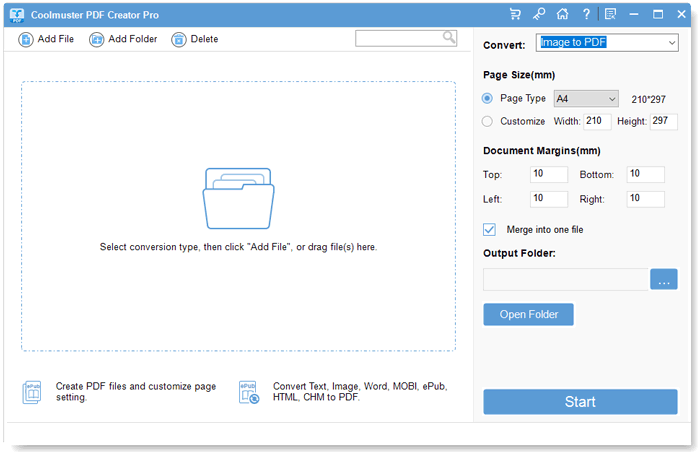
(1) Open the software, and select your target conversion type from the drop-down options: Word to PDF, ePub to PDF, Image to PDF, HTML to PDF, MOBI to PDF, Text to PDF, and CHM to PDF.
(2) Now, upload files from your computer to the program for conversion by clicking "Add File", "Add Folder", or by drag-and-drop option.
Notes: When uploading files, please select the files with the corresponding file format of your selected conversion type. For example, if you choose Text to PDF, please upload files in TXT format; if you choose Image to PDF, you can import images in JPG, JPEG, PNG, BMP, and TIF; and you can load DOCX Word files when you choose Word to PDF.
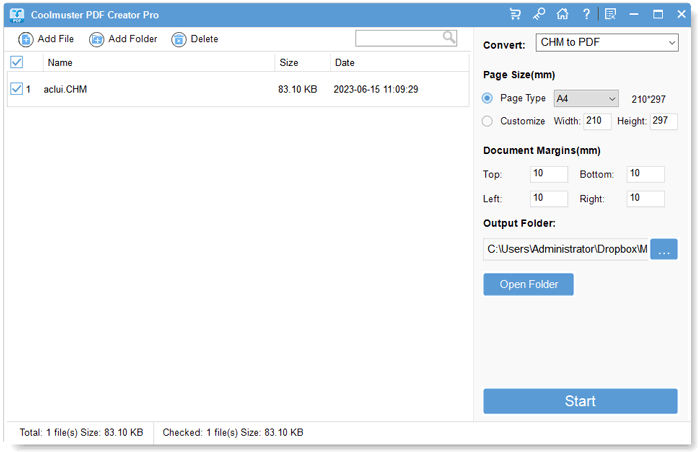
Once loaded, file information will appear in the file list, including File Name, Size, and Date. etc.
Step 2. Select Target Files and Customize Output Settings
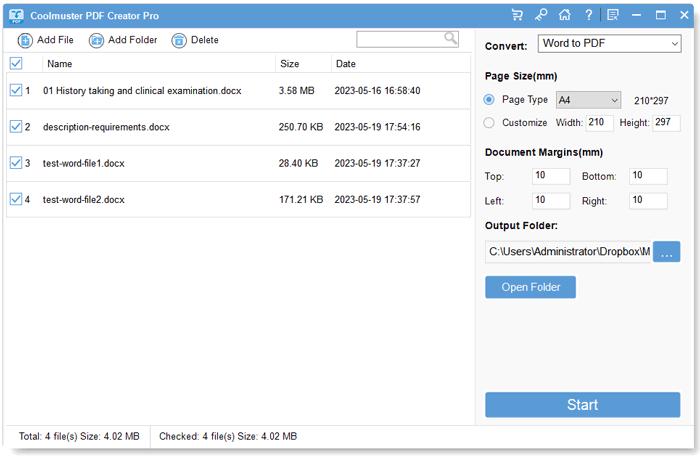
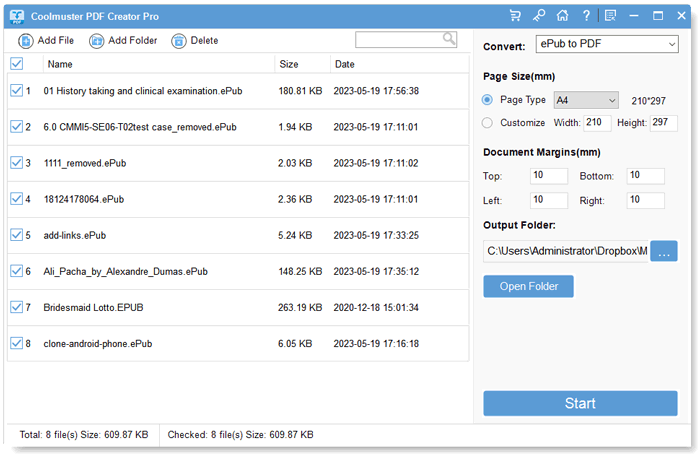
You can select whichever file(s) you want from the uploaded files to create PDF documents. If needed, you can also customize the page size and PDF document margins and choose an output folder for the output PDF files.
(1) Convert Word to PDF:
(2) Convert ePub to PDF:
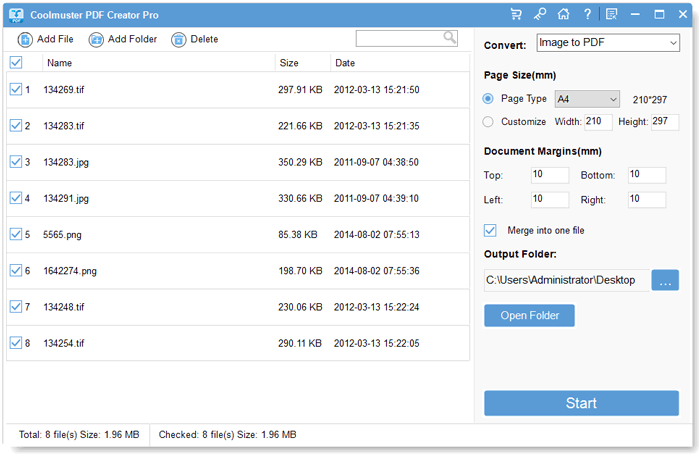
(3) Convert Image to PDF:
Tips: If you convert images to PDF, you can also check the "Merge into one file" option to combine all selected image files into a single PDF.
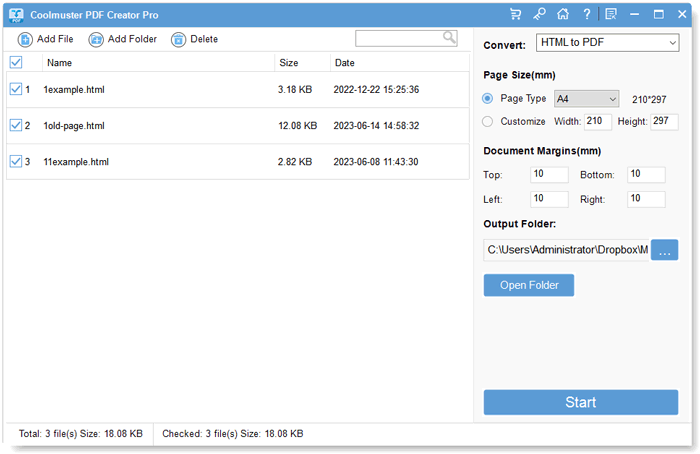
(4) Convert HTML to PDF:
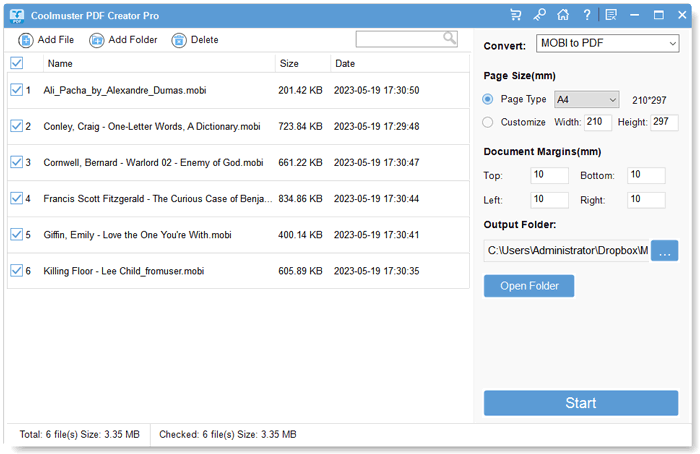
(5) Convert MOBI to PDF:
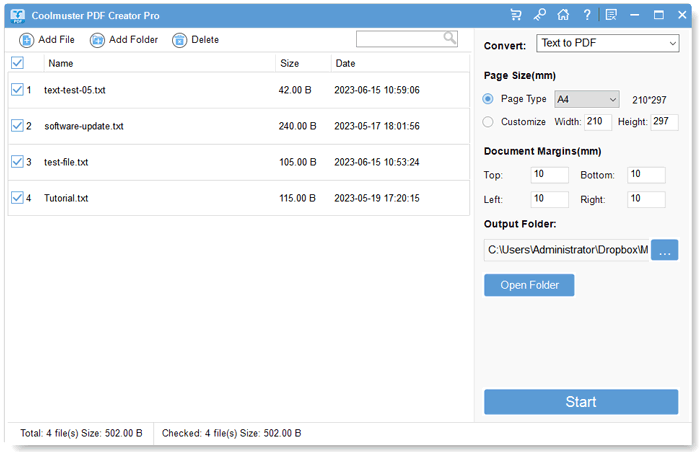
(6) Convert Text to PDF:
(7) Convert CHM to PDF:
Step 3. Start to Create PDF Files
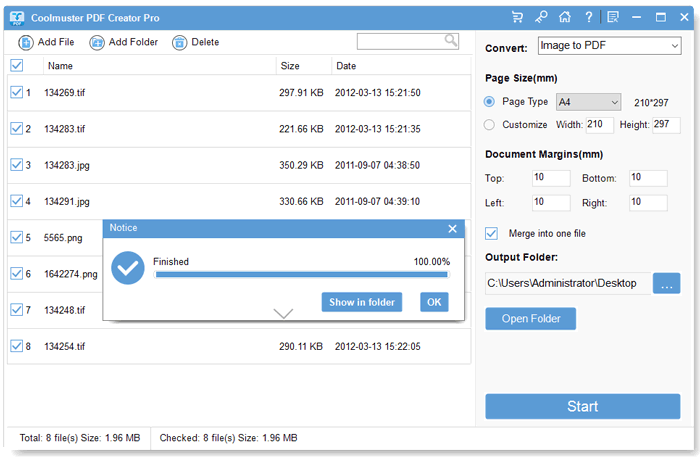
After making all the necessary settings, just click the "Start" button to begin PDF creation. Wait for a while till all is done. Then you can click the "Show in folder" button to get the created PDF files.
