Coolmuster PDF Image Extractor for Mac Online Help
Coolmuster PDF Image Extractor for Mac offers a high-effective solution for Mac users who’d like to get photos and pictures from PDF files. With it, extracting images from Adobe PDF is as simple as 1-2-3 simple clicks. You can save the extracted PDF images as JPG/JPEG, the most popular image format for other uses.Below is the tutorial showing you how to extract images from PDF files on Mac by using Coolmuster PDF Image Extractor for Mac.
Step 1. Import PDF Files to Extractor
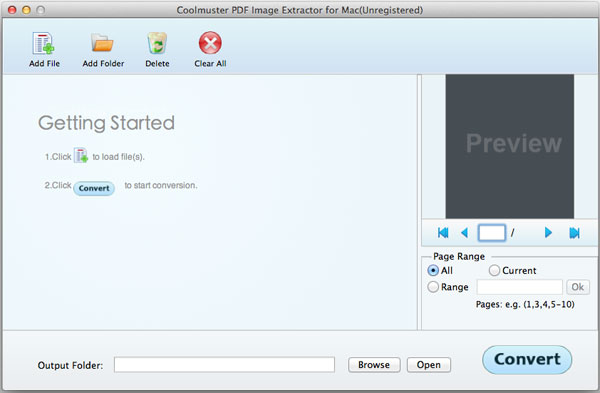
You'll see a clear and intuitive program interface after you run this Mac extracting software. Now, this software offers optional 3 ways to load PDF files to the software:
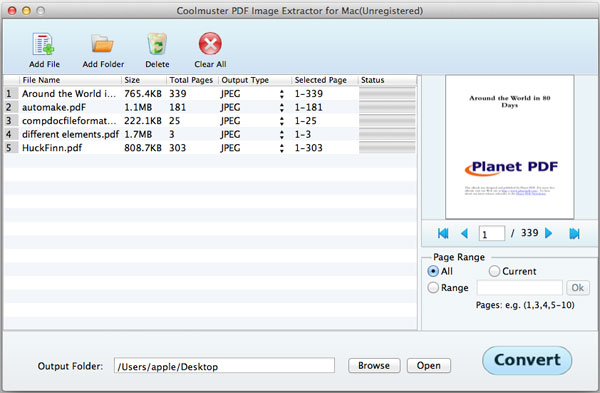
1) Click the "Add File" to browse and load PDF files or the whole folder one by one.
2) Press the "File" to select "Add File(s)..." or "Add Folder..." to add PDF file individually or the whole folder at a time.
3) Direct drag the target PDF files to the interface of the software.

Step 2. Customize Output Settings
This software will export image of PDF to JPEG/JPG by default. You don't need to define output format. The output file will be saved in source folder. To customize the output folder, you can click "Browse" and customize a new output direction.

Step 3: Extract Images
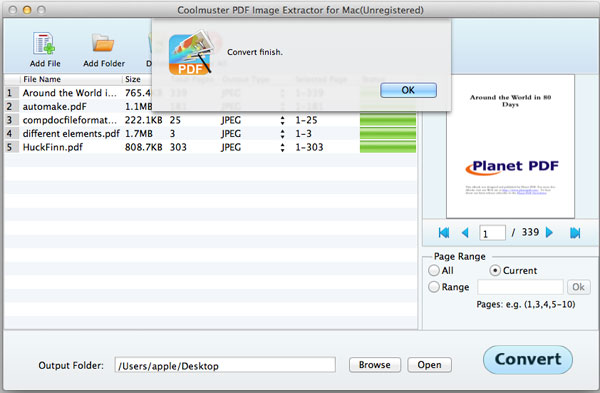
1) Click the button of "Start" to extract images from PDF files right now. All the extracted images will be saved to the output location you specified as above.

You can stop and restart the extraction anytime according to your need. After that, you can click on the "Open" button to check the extracted PDF images.
