Coolmuster Word to PDF Converter for Mac Online Help
Follow the tutorial as below to learn how to convert Microsoft Word documents to PDF files by using Coolmuster Word to PDF Converter for Mac.
Step 1. Run Software and Add Word Documents
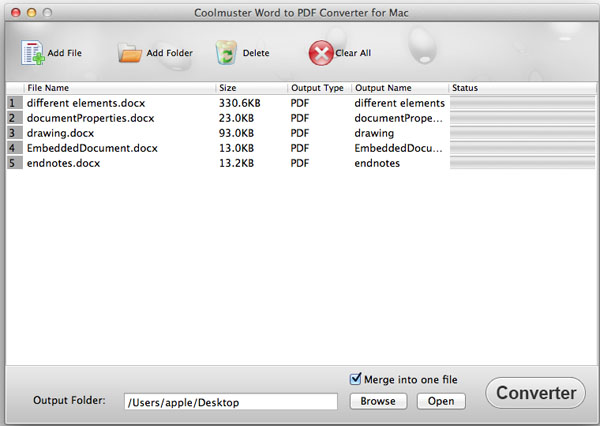
After you download and install the Word to PDF Converter for Mac, launch it and click "Add File" or "Add Folder" button on the top toolbar to import the Word documents you want to convert to PDF. To save time, you can directly drag and drop one or more Word documents to the program at one time. After importing files into the program, you can see the file information like Name, Size, Output Type, Status, etc. in the file list area.

Step 2. Set Output
Set output folder: Click "Browse" button to select an output folder to save the converted files if you don't want to save target files in source folder.
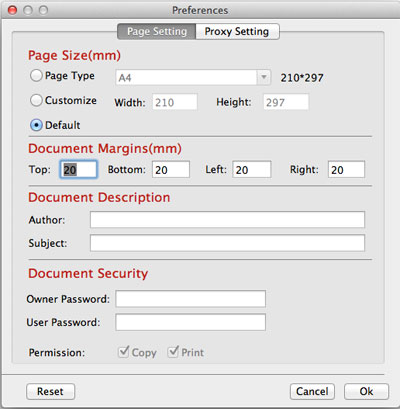
Set PDF margins and encryption: You can also set the margin of the output PDF files by clicking the product name from the top left corner of the Mac, choose "Preference" from the drop-down menu and customizing the pixels of top, left, bottom and right. Even you can set the PDF security like applying owner or user password, as well as coping or printing permission.

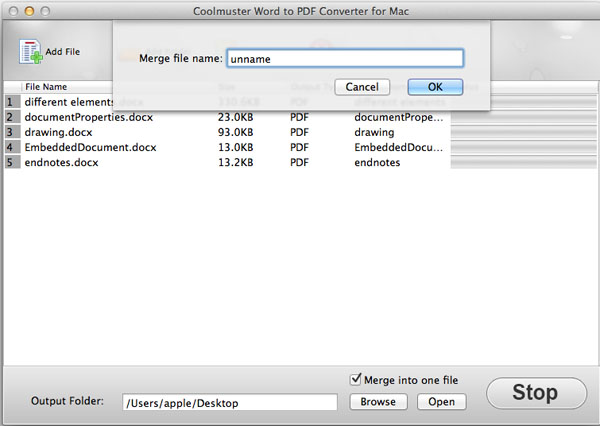
Name output PDF: After you choose the Merge option and click the button of "Start", there will be dialog box pops up, asking you to give a name to the converted PDF. Just name it and click the "Ok" button to begin the conversion.

Tips: Check the option of "Merge into one file", all the Text files will be converted into one single PDF.
Step 3. Begin conversion
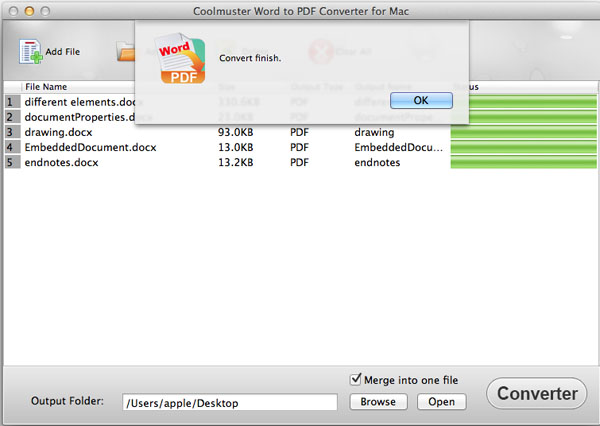
If everything is OK, you can click the "Start" button to begin the conversion. During the conversion, a progress bar will show you how much is converted. Once the bar becomes 100%, the conversion is completed. You can click the "Open" button besides "Browse" to check the output files.

