
How to Transfer Data from iPad to iPad: 5 Top Methods You Need to Know

"Is switching iPads difficult? How do I transfer everything from one iPad to another?"
- from Reddit
Transferring data from one iPad to another iPad can be an exhausting task, especially if you are not tech-savvy. Whether you are upgrading to a new iPad or just want to transfer some files to your friend's device, there are several ways to do it. In this passage, we will explore some of the top methods that you need to know about how to transfer data from iPad to iPad. By the end of this passage, you should be able to transfer your data seamlessly and efficiently.
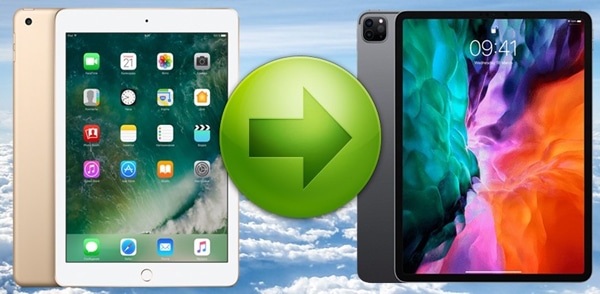
Coolmuster Mobile Transfer is the perfect choice for you if you are looking for a simple and reliable way to transfer data between two iPads. Coolmuster Mobile Transfer is a powerful tool that can transfer various types of data, such as contacts, photos, videos, etc., between iOS devices. In addition, it also supports data transfer between devices in different systems, such as between iPhone and Android, and between Android and Android.
See some of the fantastic features of this tool:
Here are the steps to transfer from iPad to iPad using Coolmuster Mobile Transfer:
01Download and install Coolmuster Mobile Transfer on your computer.
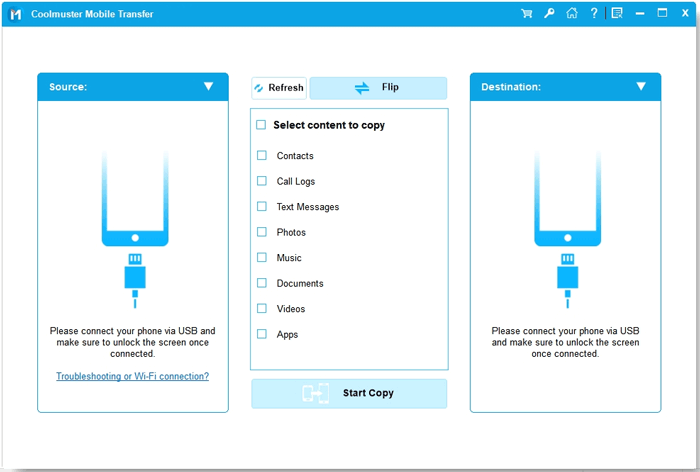
02Connect both iPads to your computer with USB cables. The program will detect them and show them on the interface. Make sure the source iPad is on the left and the target iPad is on the right. You can click "Flip" to change their positions if needed.
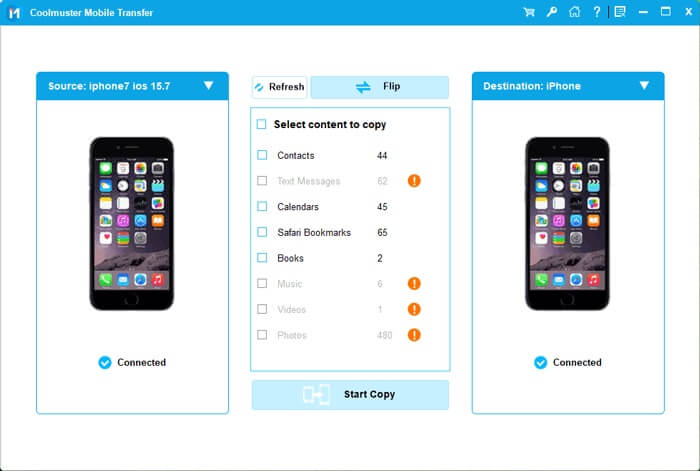
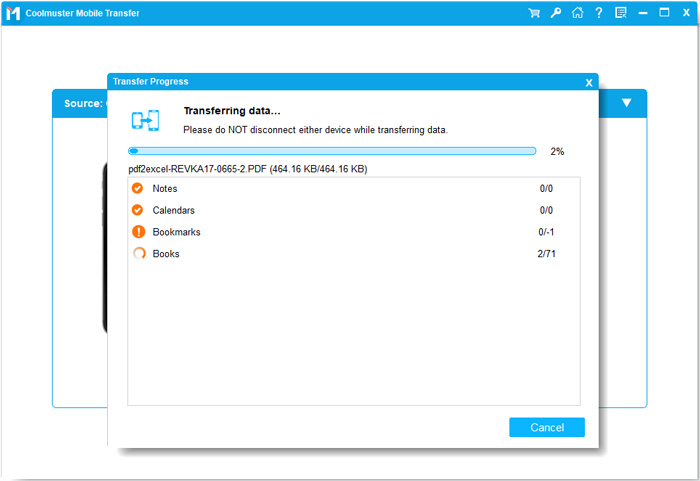
03Choose the data types you need to transfer from the source iPad to the target iPad. You can select all or some of them according to your needs. Then, click "Start Copy" to begin the transfer process.
With the help of Finder on your Mac, you can easily transfer all your data from one iPad to another. Here's how to achieve iPad-to-iPad transfer using Finder:
Step 1. Connect both iPads to your Mac using their respective lightning to USB cables. Once they're connected, open Finder on your Mac.
Step 2. In Finder, you'll see both iPads listed under the "Locations" section. Select the iPad that contains the data you want to transfer.
Step 3. Once you've selected the source iPad, you'll see a list of options in the Finder window. You can choose which types of data you want to transfer. You can transfer photos, videos, music, contacts, etc.
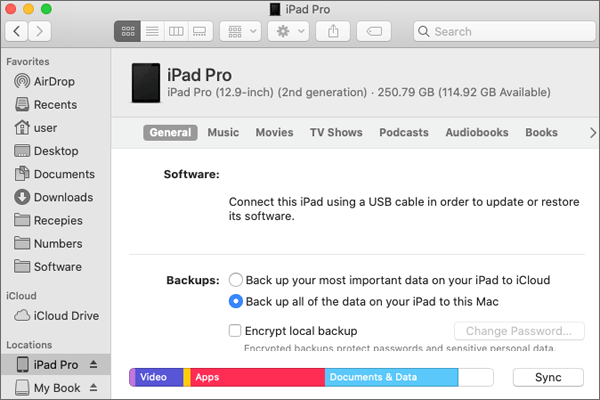
Step 4. To transfer the data, simply drag and drop the files from the source iPad to the destination iPad. You can drag and drop individual files or entire folders.
Step 5. Once you've selected the data you want to transfer and dragged it to the destination iPad, wait for the transfer to complete. The transfer speed will depend on the amount of transferred data and the speed of your Mac.
You can also use a computer with iTunes installed to transfer information from one iPad to another. This method involves backing up your old iPad to iTunes and then restoring the Backup to your new iPad.
Here are the steps to follow:
Step 1. Connect your old iPad to your computer with a USB cable and launch iTunes. If you don't have iTunes, you can download it from Apple's website for free.
Step 2. Click on the device icon in the upper left corner of iTunes and select your old iPad from the sidebar.
Step 3. Click on the Summary tab and then click on "Back Up Now". Wait for the Backup process to complete. You can check the progress in the status bar at the top of iTunes.
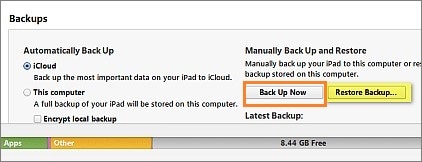
Step 4. When the Backup is done, disconnect your old iPad and connect your new iPad to your computer with a USB cable. Then click on the device icon in the upper left corner of iTunes and select your new iPad from the sidebar.
Step 5. Click on the "Summary" tab and then click on "Restore Backup". Choose the backup you just made from the drop-down menu and click on "Restore". Wait for the restore process to complete. You can check the progress in the status bar at the top of iTunes.
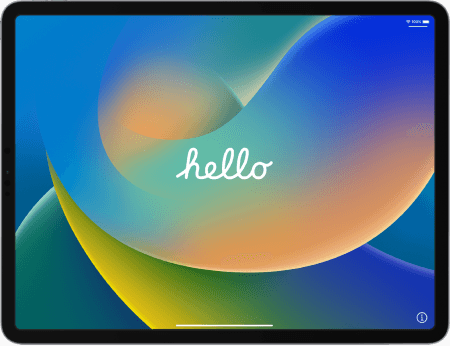
Step 6. When the restore is done, your new iPad will restart and display a Hello screen. Follow the on-screen instructions to set up your new iPad and activate it.
Note: This method will erase all the existing data on your new iPad and replace it with the data from your old iPad, so please back up your iPad. If you want to keep some data on your new iPad, you can use other methods, such as iCloud or third-party software.
You can achieve iPad-to-iPad data transfer with iCloud as well. Just make sure that both devices are connected to Wi-Fi and have enough battery power. By the way, what if you don't have enough iCloud storage? Solve it with these tricks.
Here are the steps for you to follow:
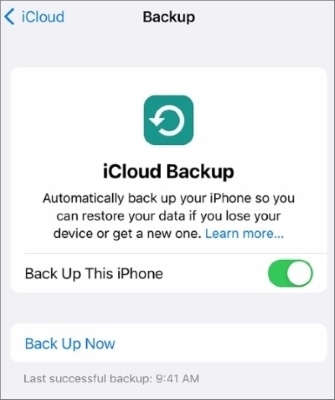
Step 1. On your old iPad, go to "Settings" > "[your name]" > "iCloud" > "iCloud Backup" and tap "Back Up Now". Wait until the backup is complete.
Step 2. On your new iPad, turn it on and follow the onscreen instructions until you reach the "Apps & Data" screen. Tap "Restore from iCloud Backup" and sign in with your Apple ID and password.
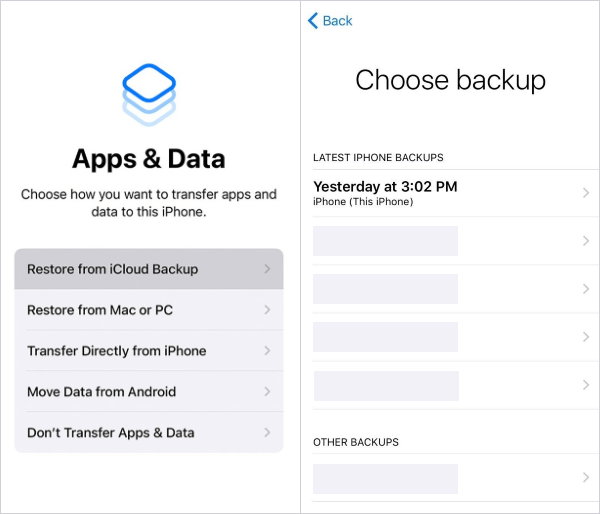
Step 3. Choose the backup that you made from your old iPad. You can check the date and size of each file to find the right one.
Step 4. Wait for the restore process to finish. Your new iPad will download your apps, photos, music, and other data from iCloud.
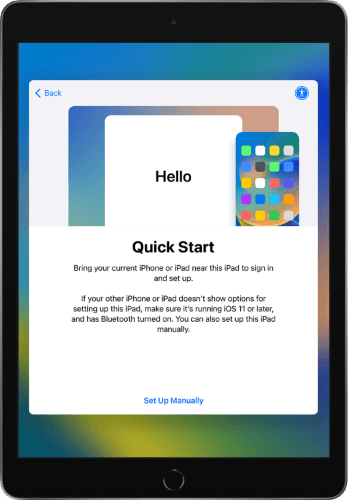
With the introduction of Quick Start by Apple, transferring files from an old iPad to a new one has become easier than ever before. Quick Start is a feature introduced in iOS 11 that allows you to easily transfer data from one iPad to another without iCloud or a computer.
Here's how to transfer to new iPad:
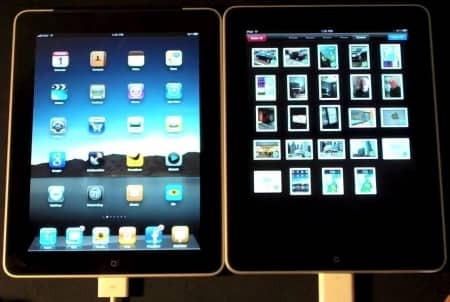
Step 1. Turn on your new iPad and place it near your old iPad. Ensure that both devices are plugged into power and connected to Wi-Fi.
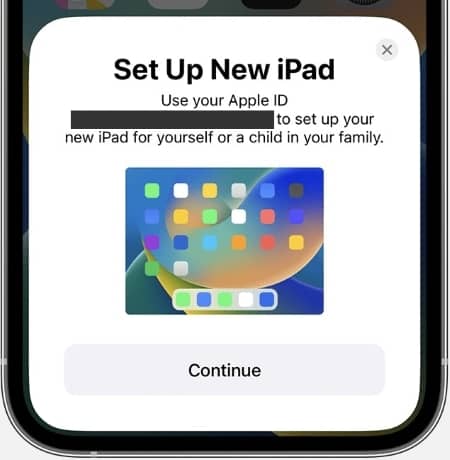
Step 2. On your new iPad, you should see a screen that says "Set Up New iPad". Tap "Continue" and wait for an animation to appear on your new iPad.
Step 3. On your old iPad, you should see a prompt that says "Use your Apple ID to set up your new iPad". Tap "Continue" and then hold your old iPad over the new iPad so that the animation is centered in the viewfinder. When you see a message that says "Finish on New iPad", enter your old iPad's passcode on your new iPad.
Step 4. Follow the instructions on your new iPad to set up Face ID or Touch ID, and then choose whether you want to restore from a backup or transfer your data directly from your old iPad. If you choose to transfer your data directly, you can choose whether you want to transfer some settings as well, such as Apple Pay and Siri, from your old iPad to your new iPad.
Note: Requirements for Quick Start:
In this article, we have discussed five top tricks to transfer data from one iPad to another. From using Coolmuster Mobile Transfer (the easiest way) to Quick Start, there are several options available to transfer your data seamlessly. You can choose any method according to your convenience and needs. Whether you want to transfer photos, music, or documents, these methods will help you do it with ease. Be free to leave a comment below if got any problems!
Related Articles:
How to Transfer Apps from Old to New iPad? Clever Tips Provided
How to Transfer Photos from iPad to iPad
How to Transfer Music from One iPad to Another? 5 Useful Ways


